Configuring up the Controller
The controller web interface can be reached at http://127.0.0.1:8888/.
The first time the controller is initialized, three accounts are automatically created:
| Username | Password | Type |
|---|---|---|
| root | root | Administrator |
| foo | foo | User |
| bar | bar | User |
The first account has administrator privileges, while the other two are user accounts. Notice how there can be only one administrator account define in the controller.
Login as root and you will be presented the following page:
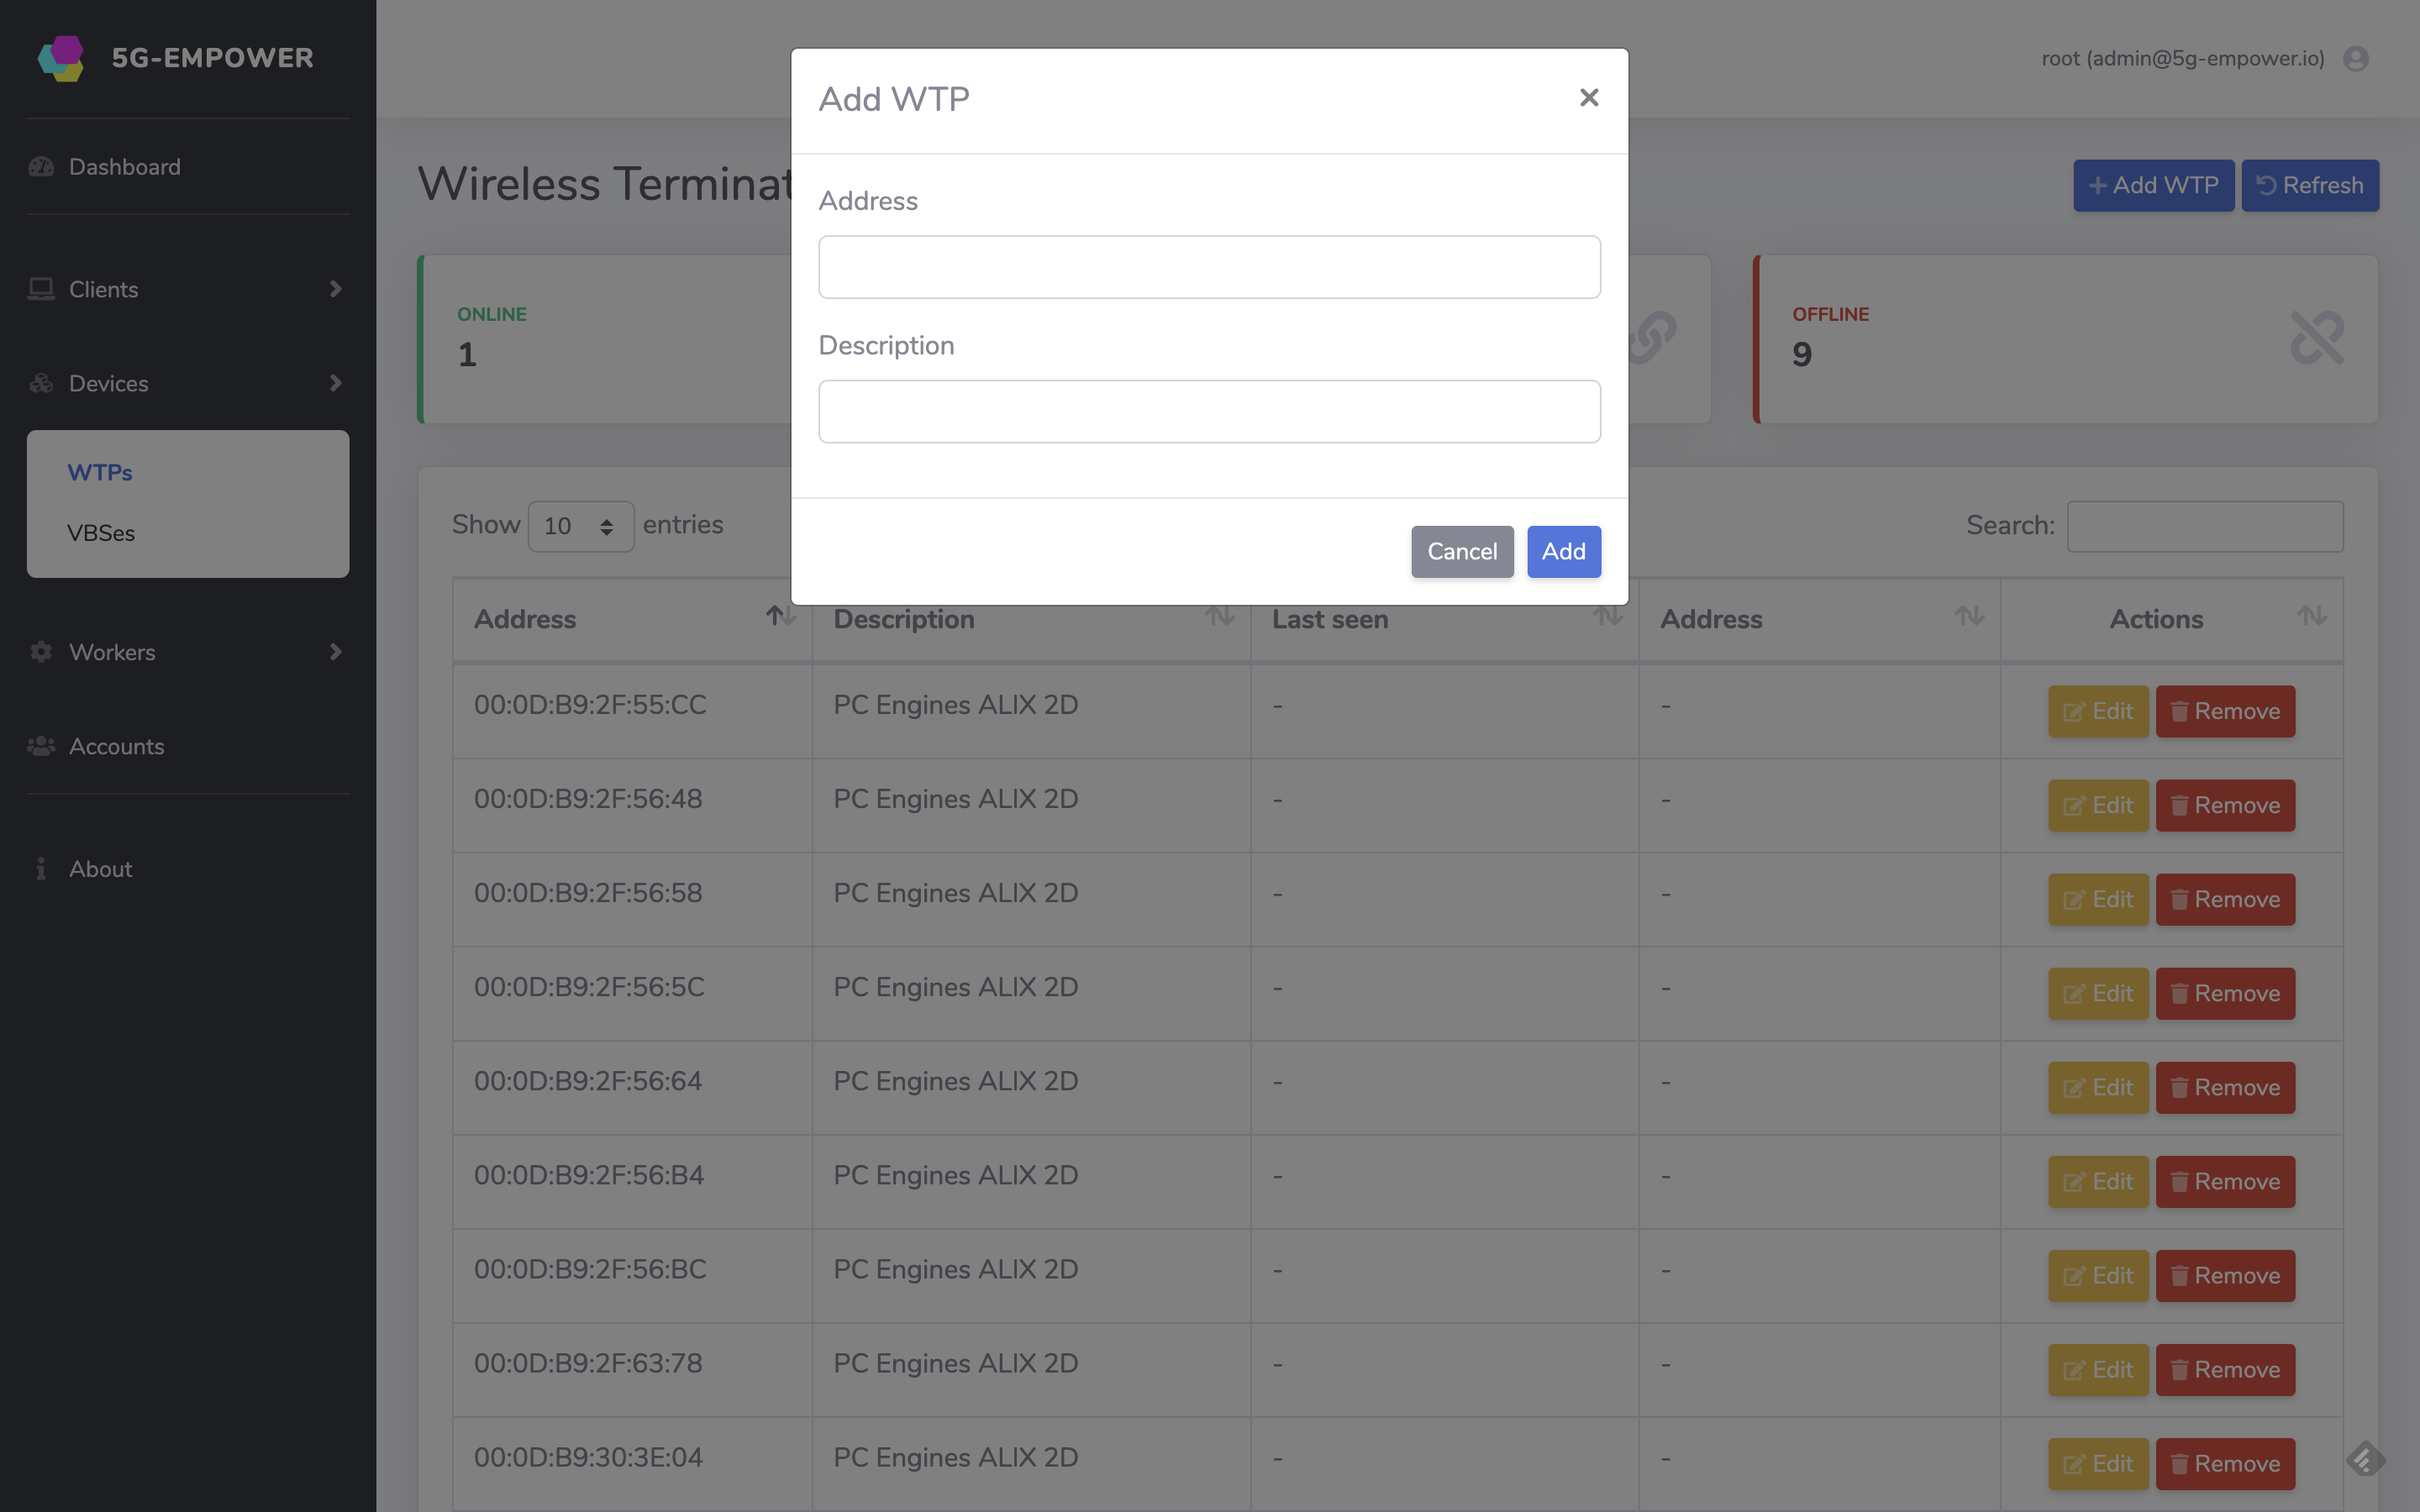
Click on the Devices menu entry and then on WTPs or VBSes.

Click on the Add icon and specify the MAC address of the device that is authorized to connect to the controller. Notice how you can also add a human-readable description of the device, e.g. "First Floor, Meeting Room"
After all devices have been added and if the controller is reachable by the devices on the IP address specified in their configuration files then you should see an output like this in the controller terminal:
2019-08-24 20:54:11,829 - empower.services.ranmanager.lvapp.lvappmanager - INFO - Incoming connection from ('192.168.1.9', 40898)
2019-08-24 20:54:11,833 - empower.core.wtp - INFO - Device 00:0D:B9:30:3E:18 mode disconnected->connected
2019-08-24 20:54:11,837 - empower.core.wtp - INFO - Device 00:0D:B9:30:3E:18 mode connected->online
You can follow the same procedure to add VBSes. The only different is that in this case you need to convert the eNodeB into a MAC address, for example, if the eNodeB id is 0xe21 then its MAC address representation will be 00:00:00:00:0E:21.
The 5G-EmPOWER Controller can run multiple virtual networks on top of the same physical infrastructure. Each virtual network is called Project in 5G-EmPOWER terminology.
Projects can be created and deleted only by administrators.
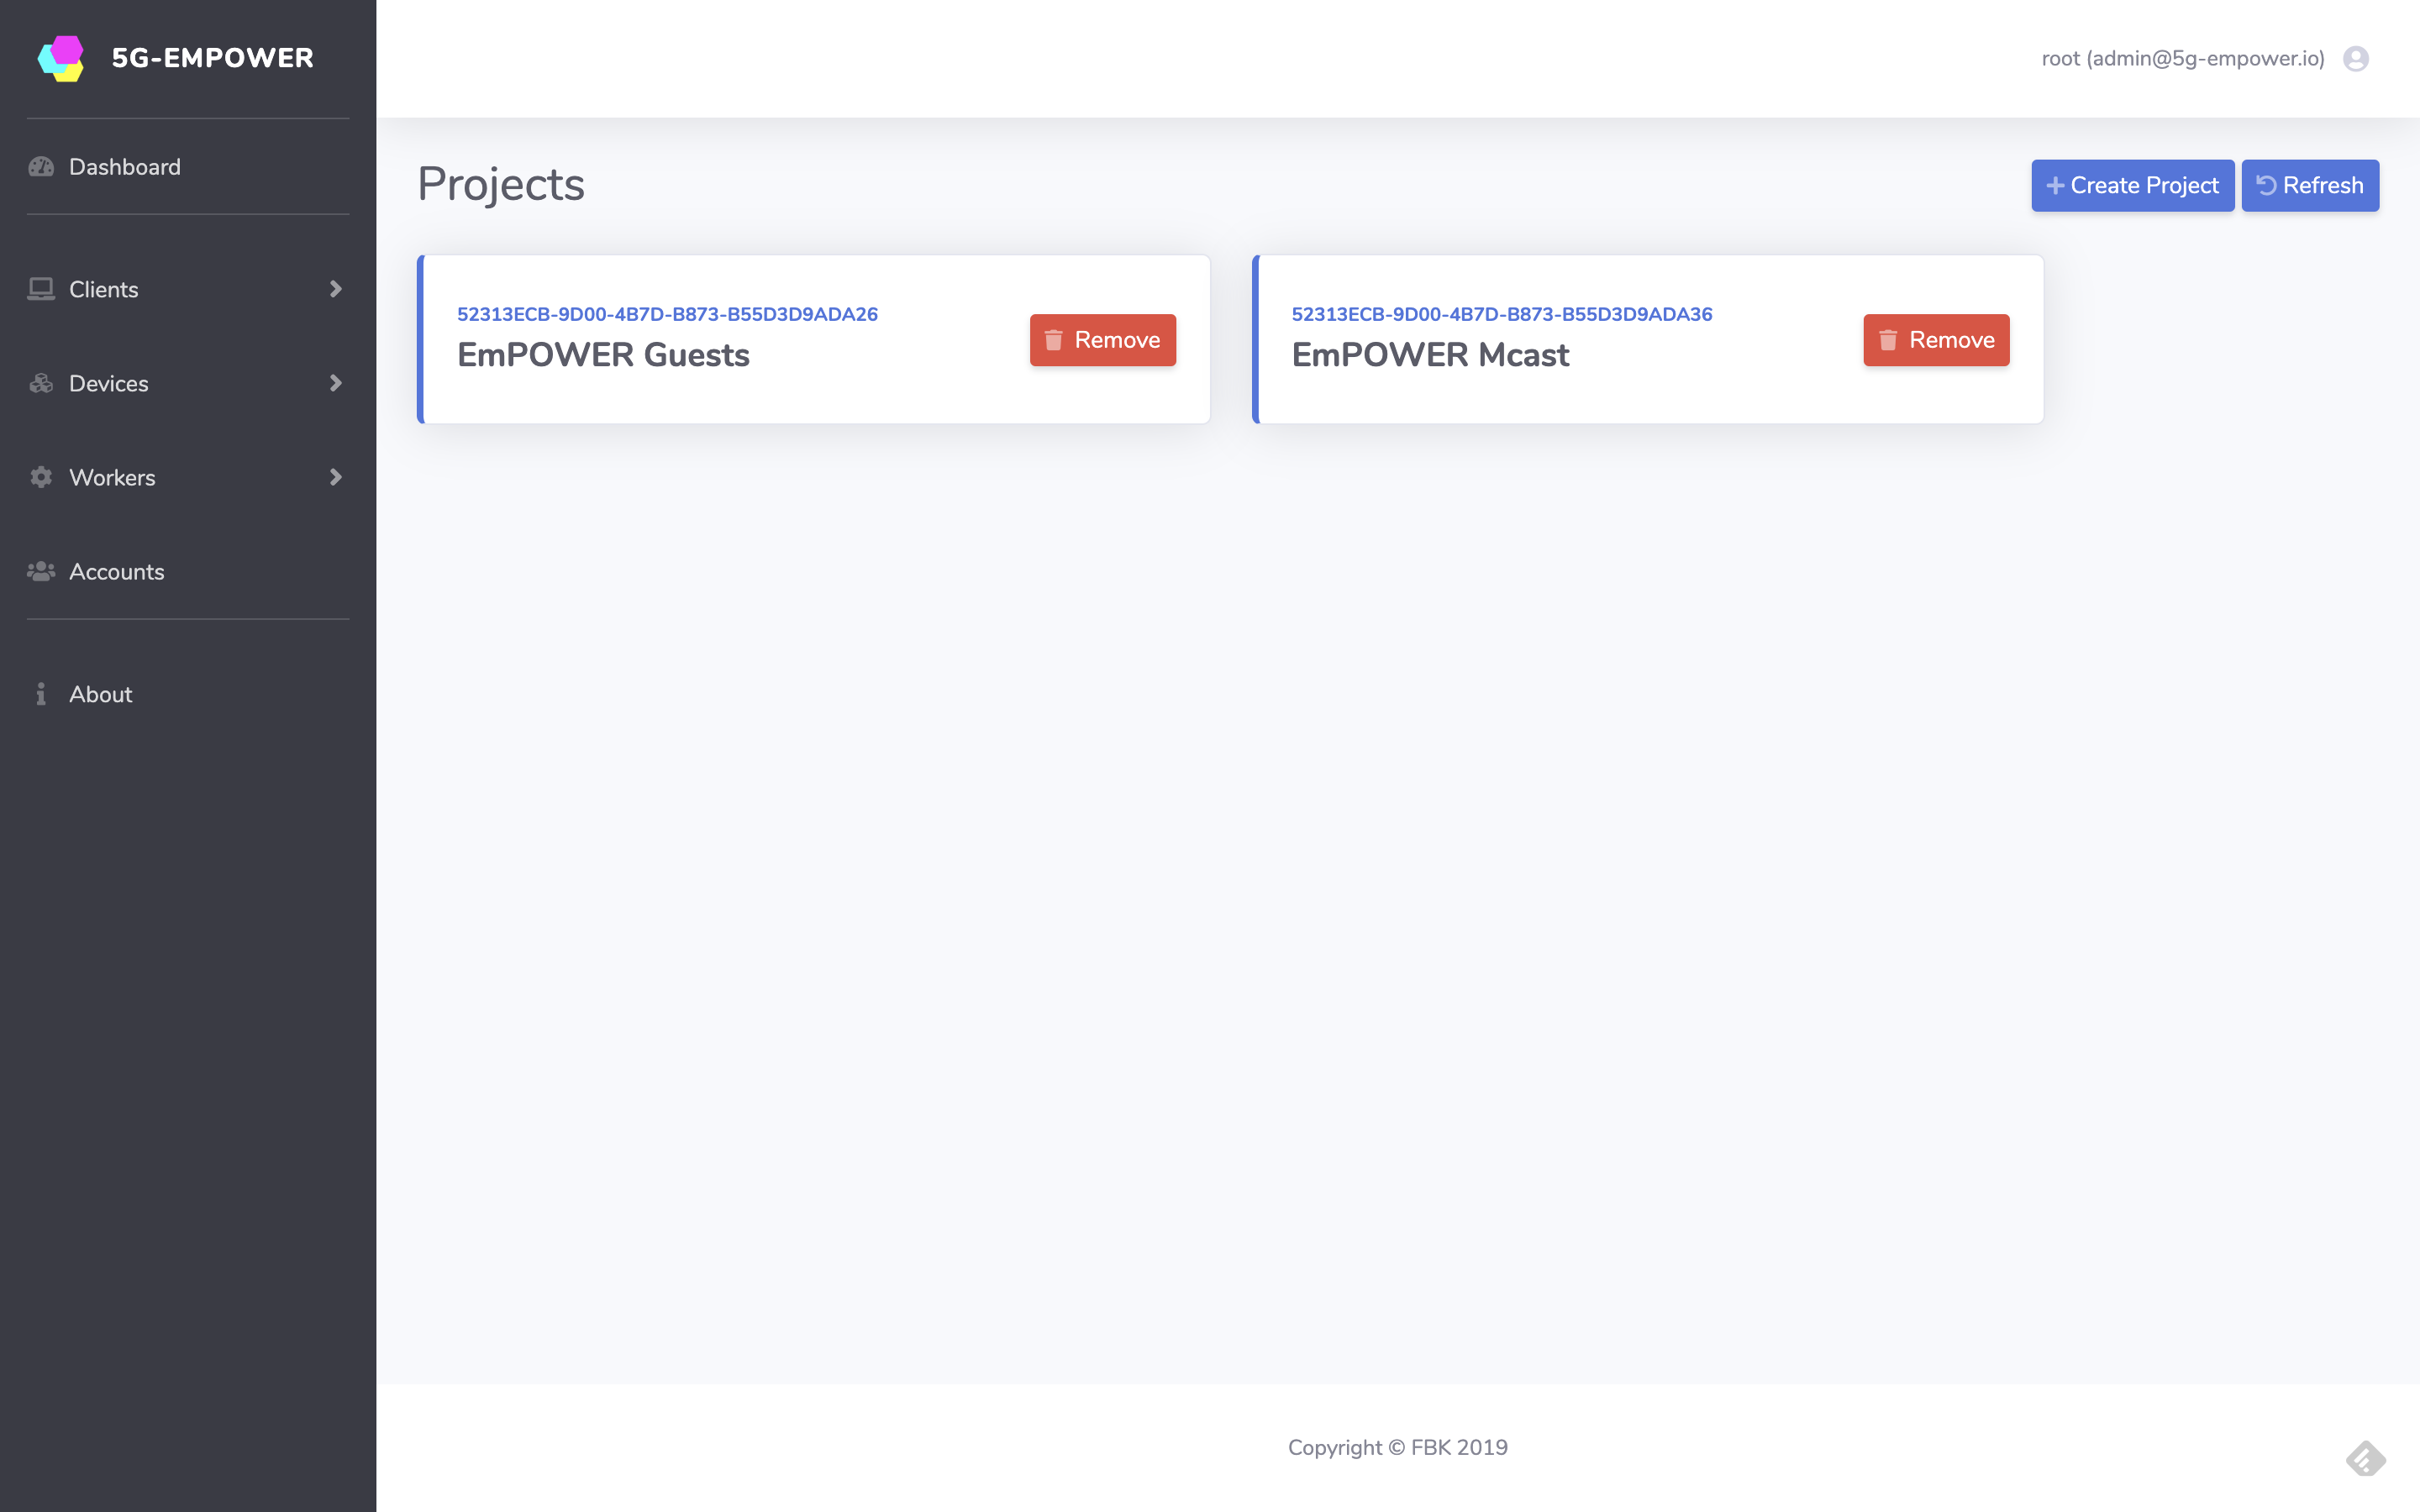
Log in as root and click on the Admin menu entry and then on Projects.
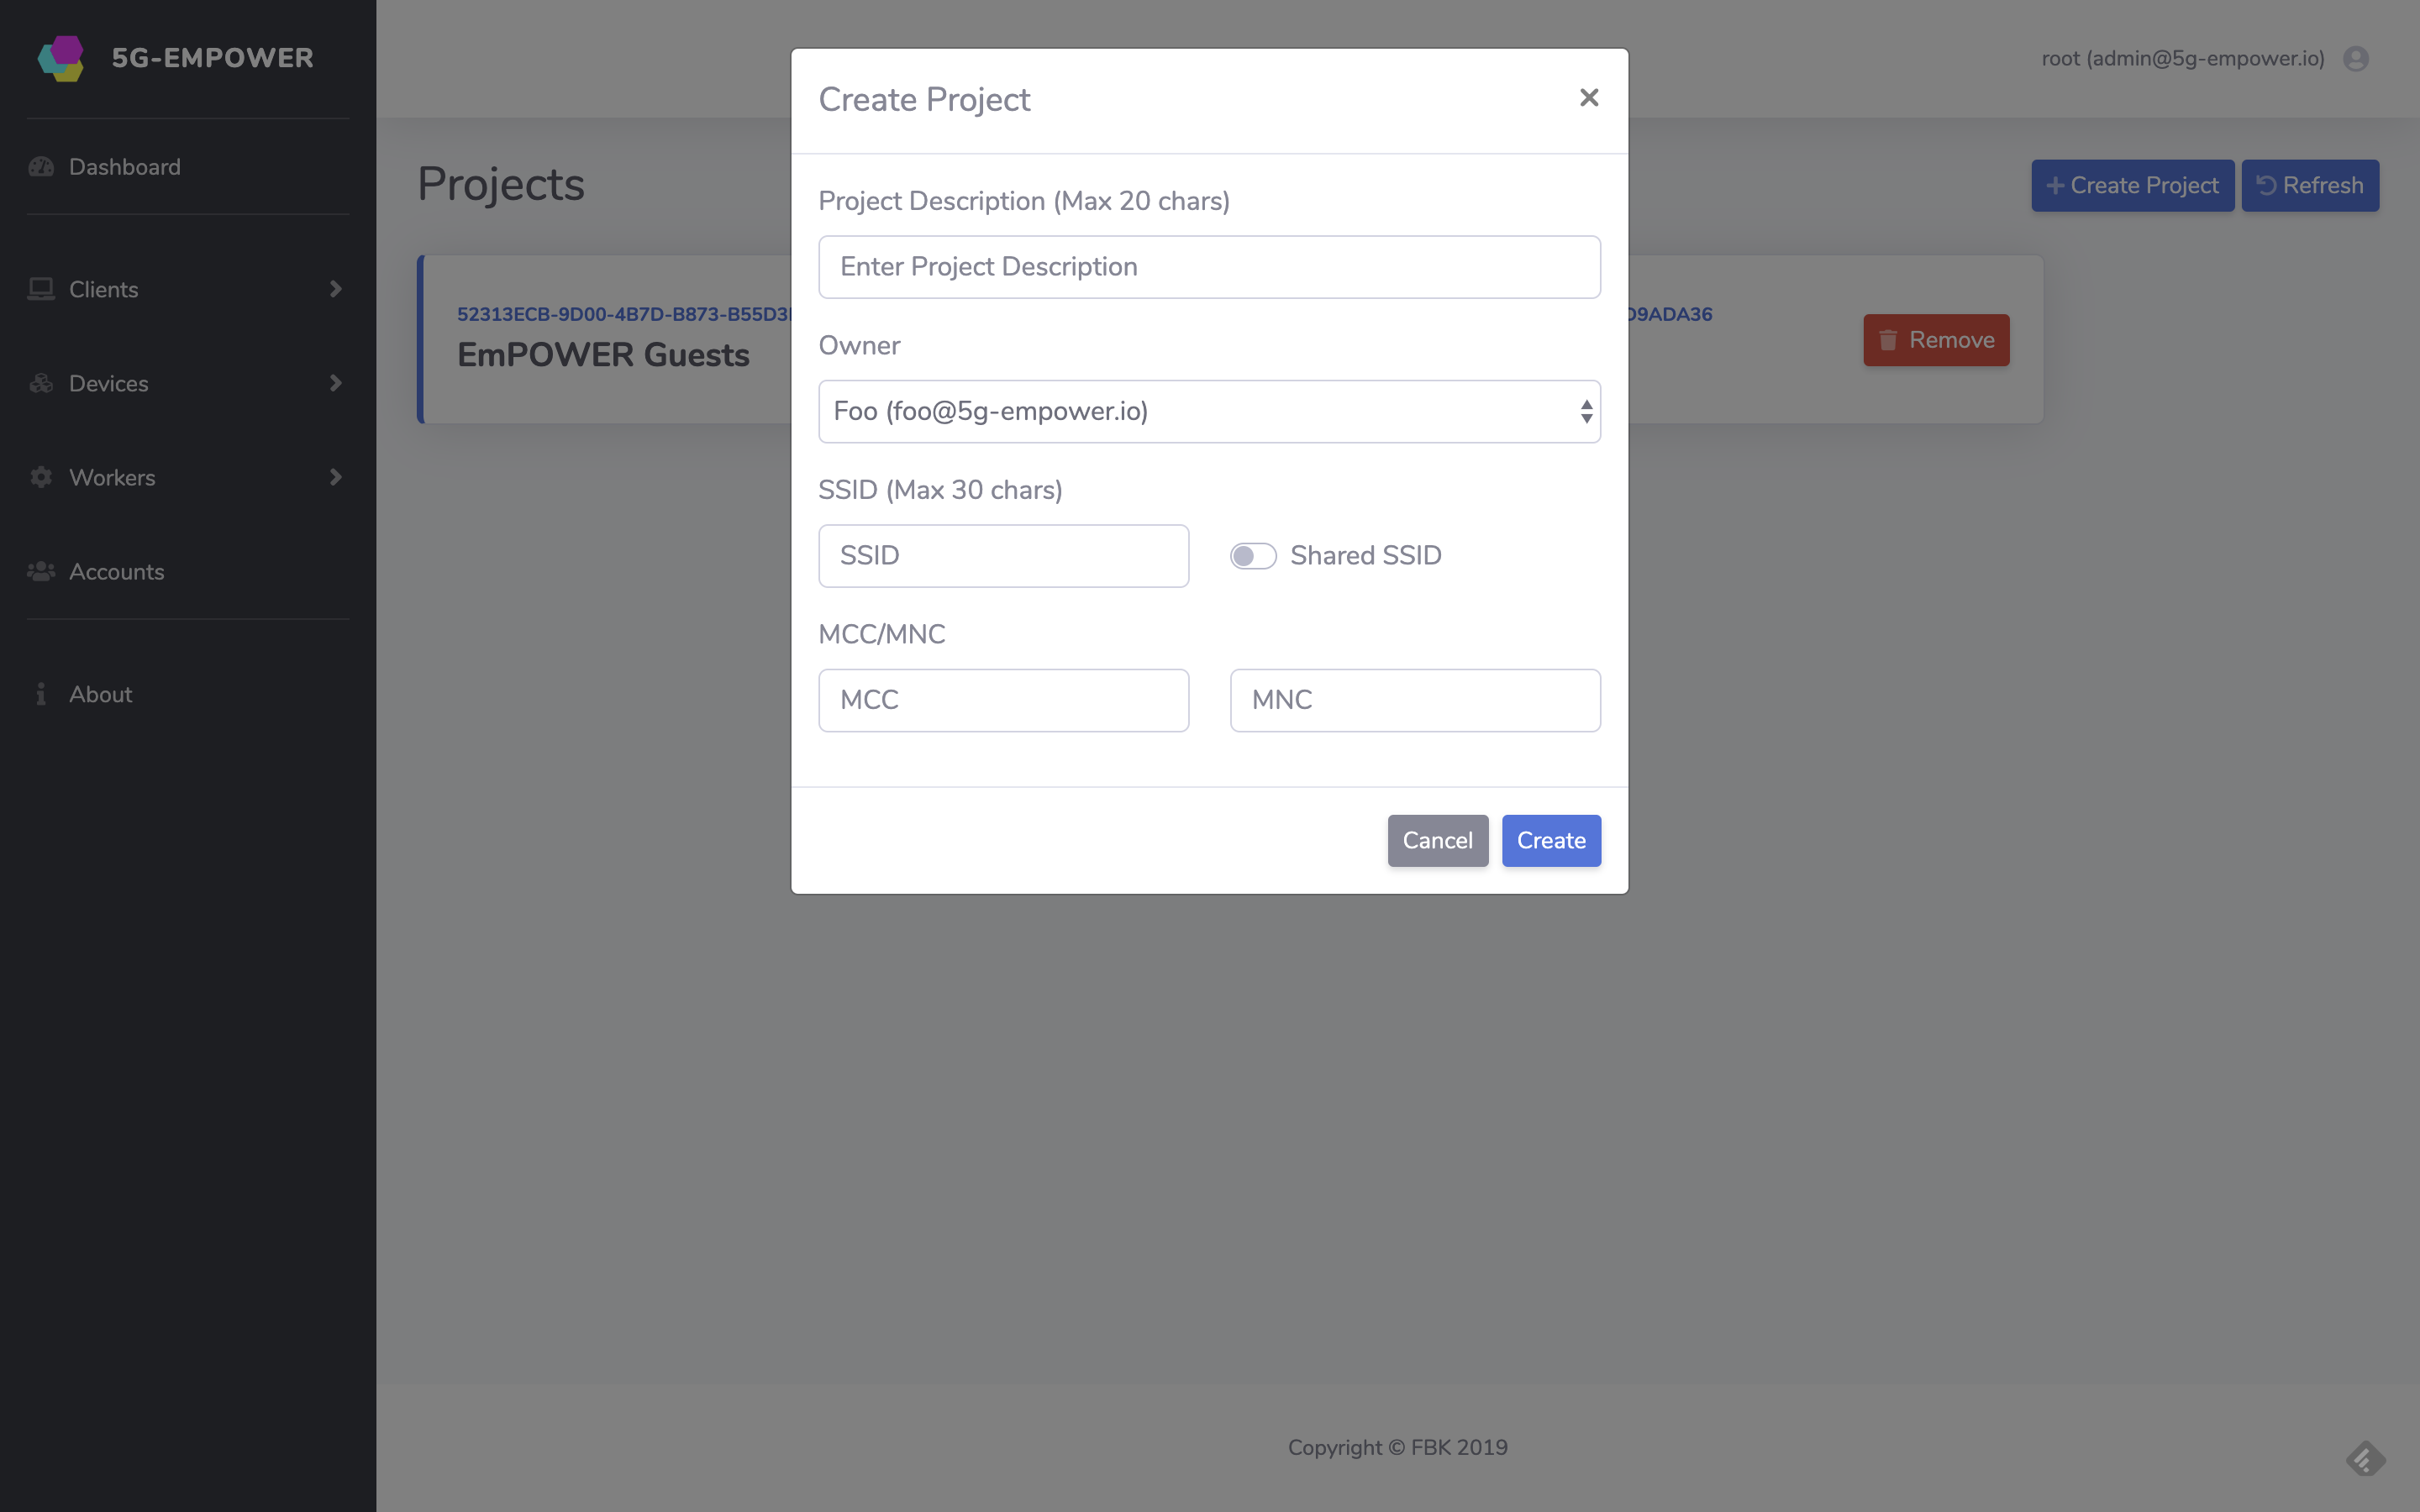
Click on the New project icon and specify a human-readable description of this project and select the owner of this project from the drop-down list.
In the Wi-Fi properties section you can specify the SSID (leave BSSID type set to "Unique"). In the LTE properties section you can instead specify the PMNID using the MCC and MNC fields. Make sure to use the same PLMNID as the one specified in your EPC configuration.
Notice how you do not need to specify the PLMNID if you want to use only the Wi-Fi features and, conversely, you do not need to specify the SSID if you want to use only the LTE features.
Finally, click on the button "Save".
The open-source version of 5G-EmPOWER does not support WPA authentication, so you must specify the list of MAC addresses that can connect to each of the projects (by default nobody can associate). The ACL for a specific project can only be modified later by the Project owner.
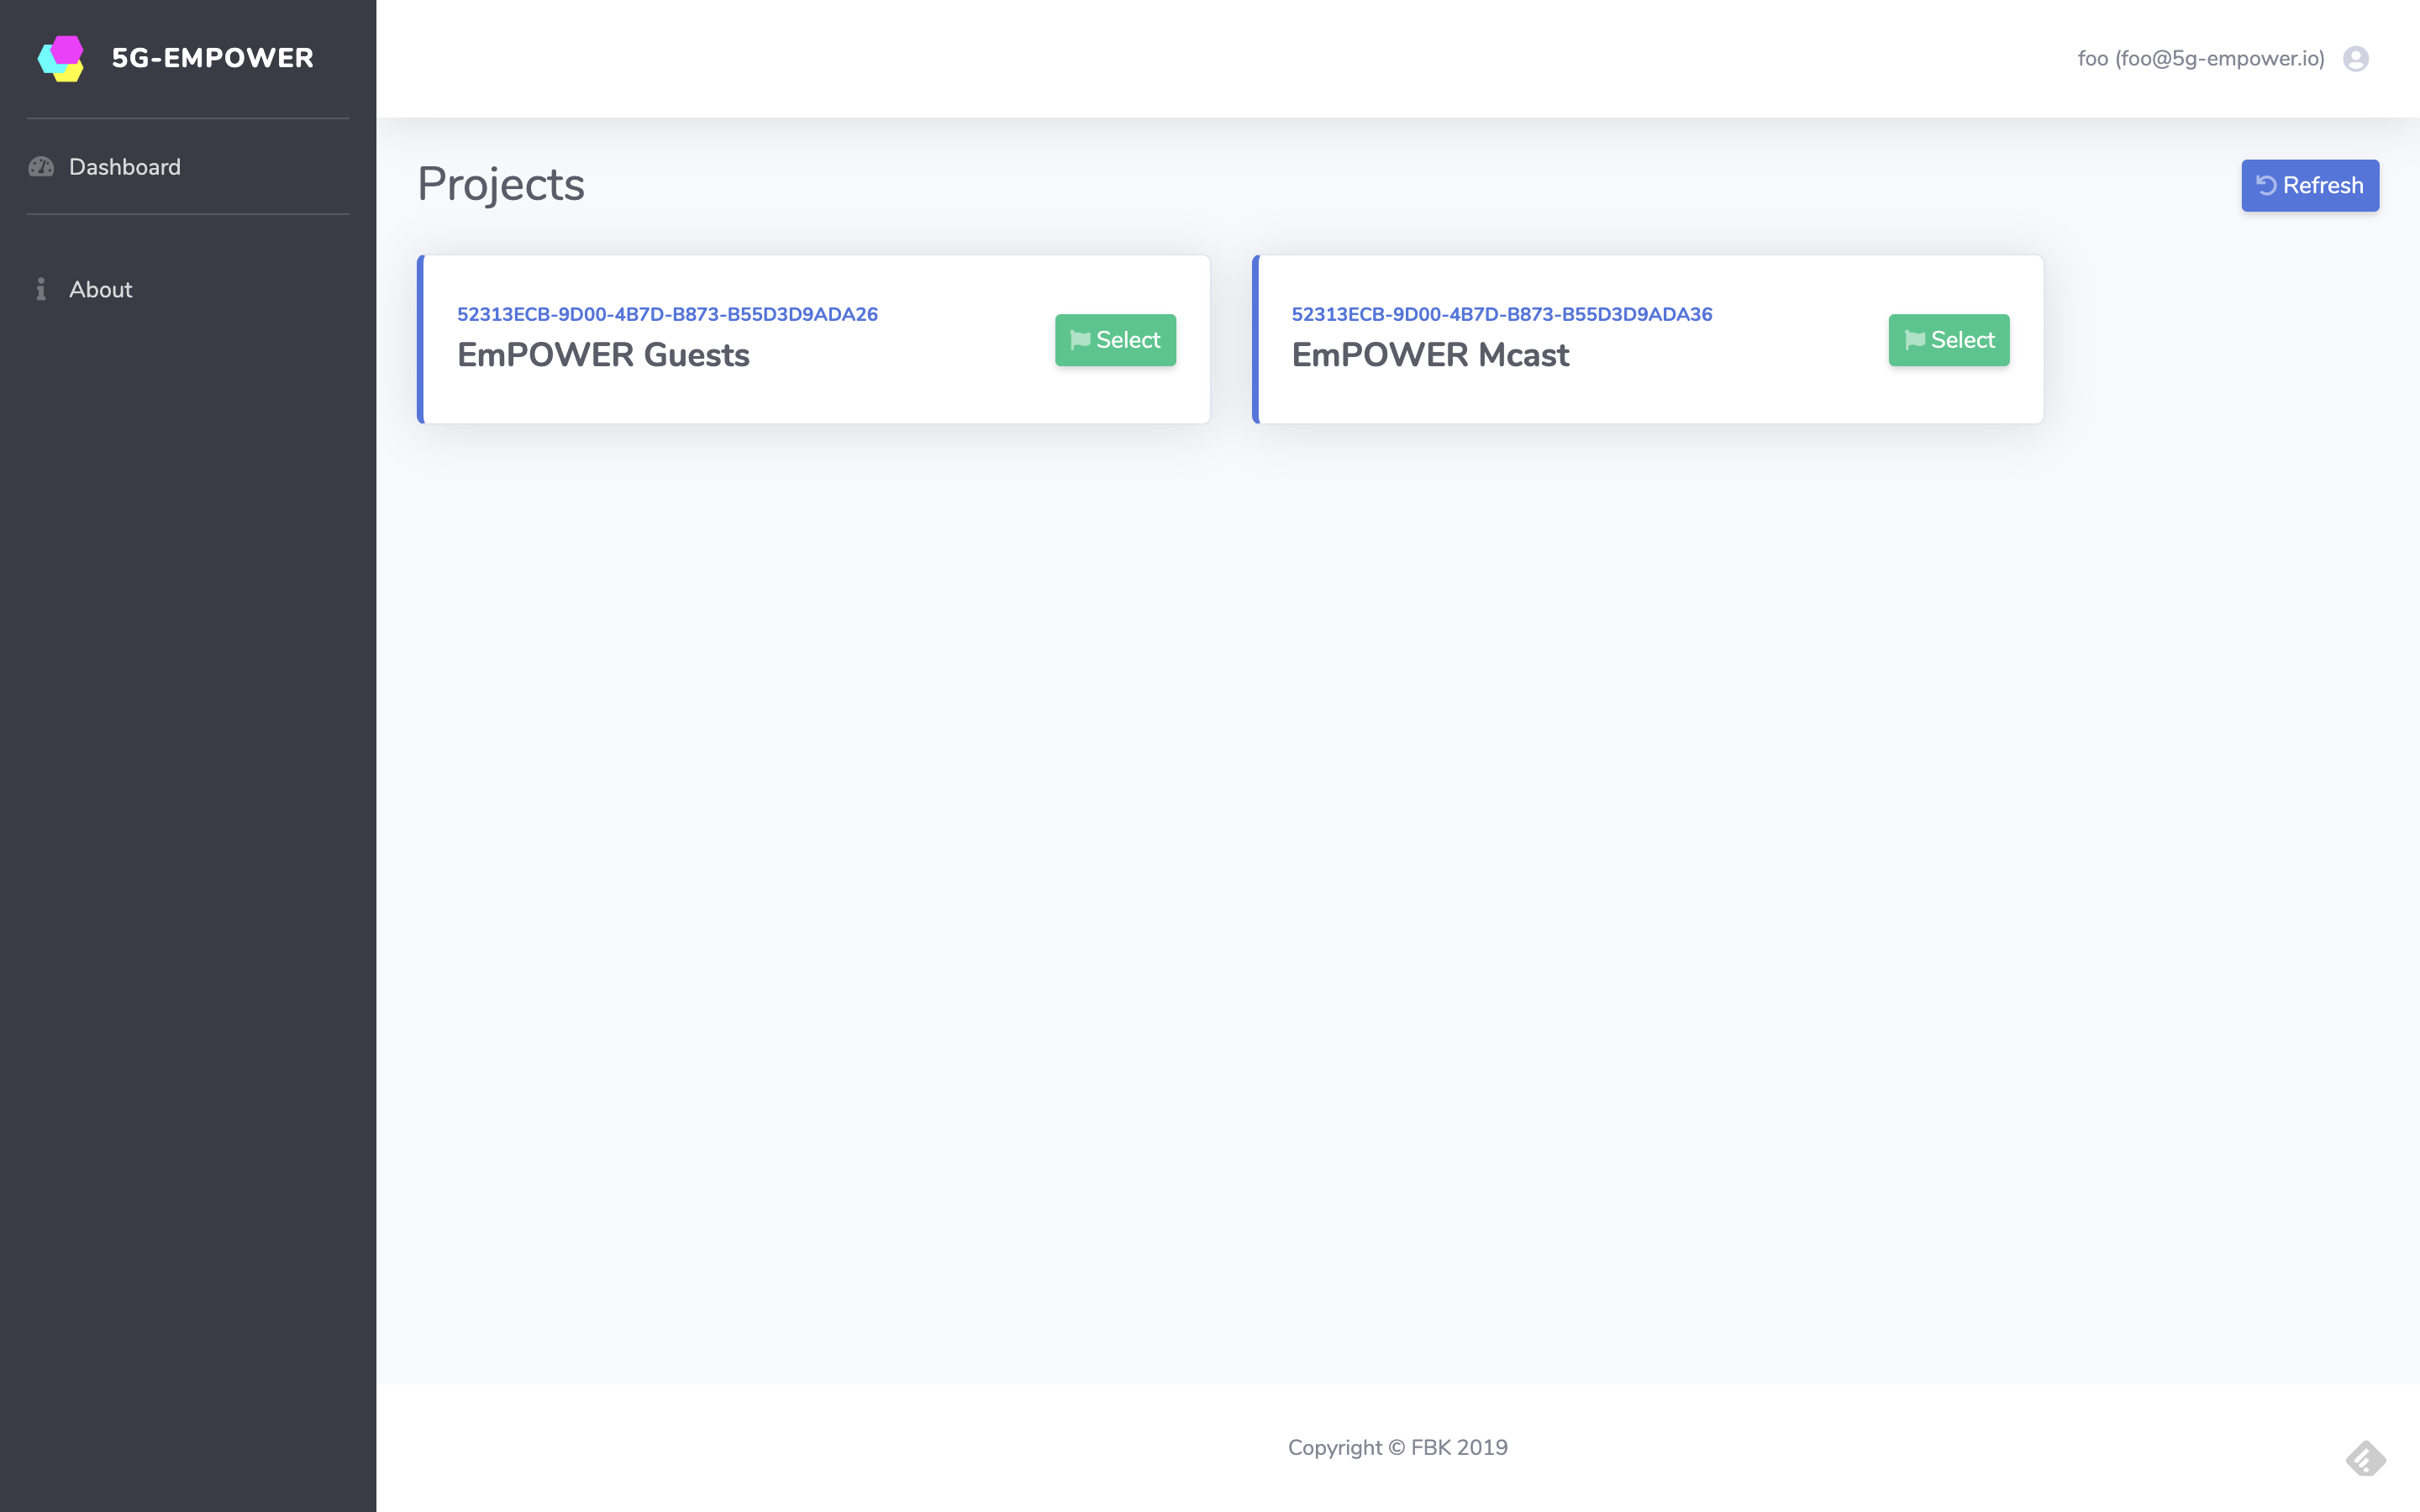
To do so login as a normal user, e.g. foo, and select a project by clicking on the Select icon in the dashboard. The name of your project will appear on the menu on the left.
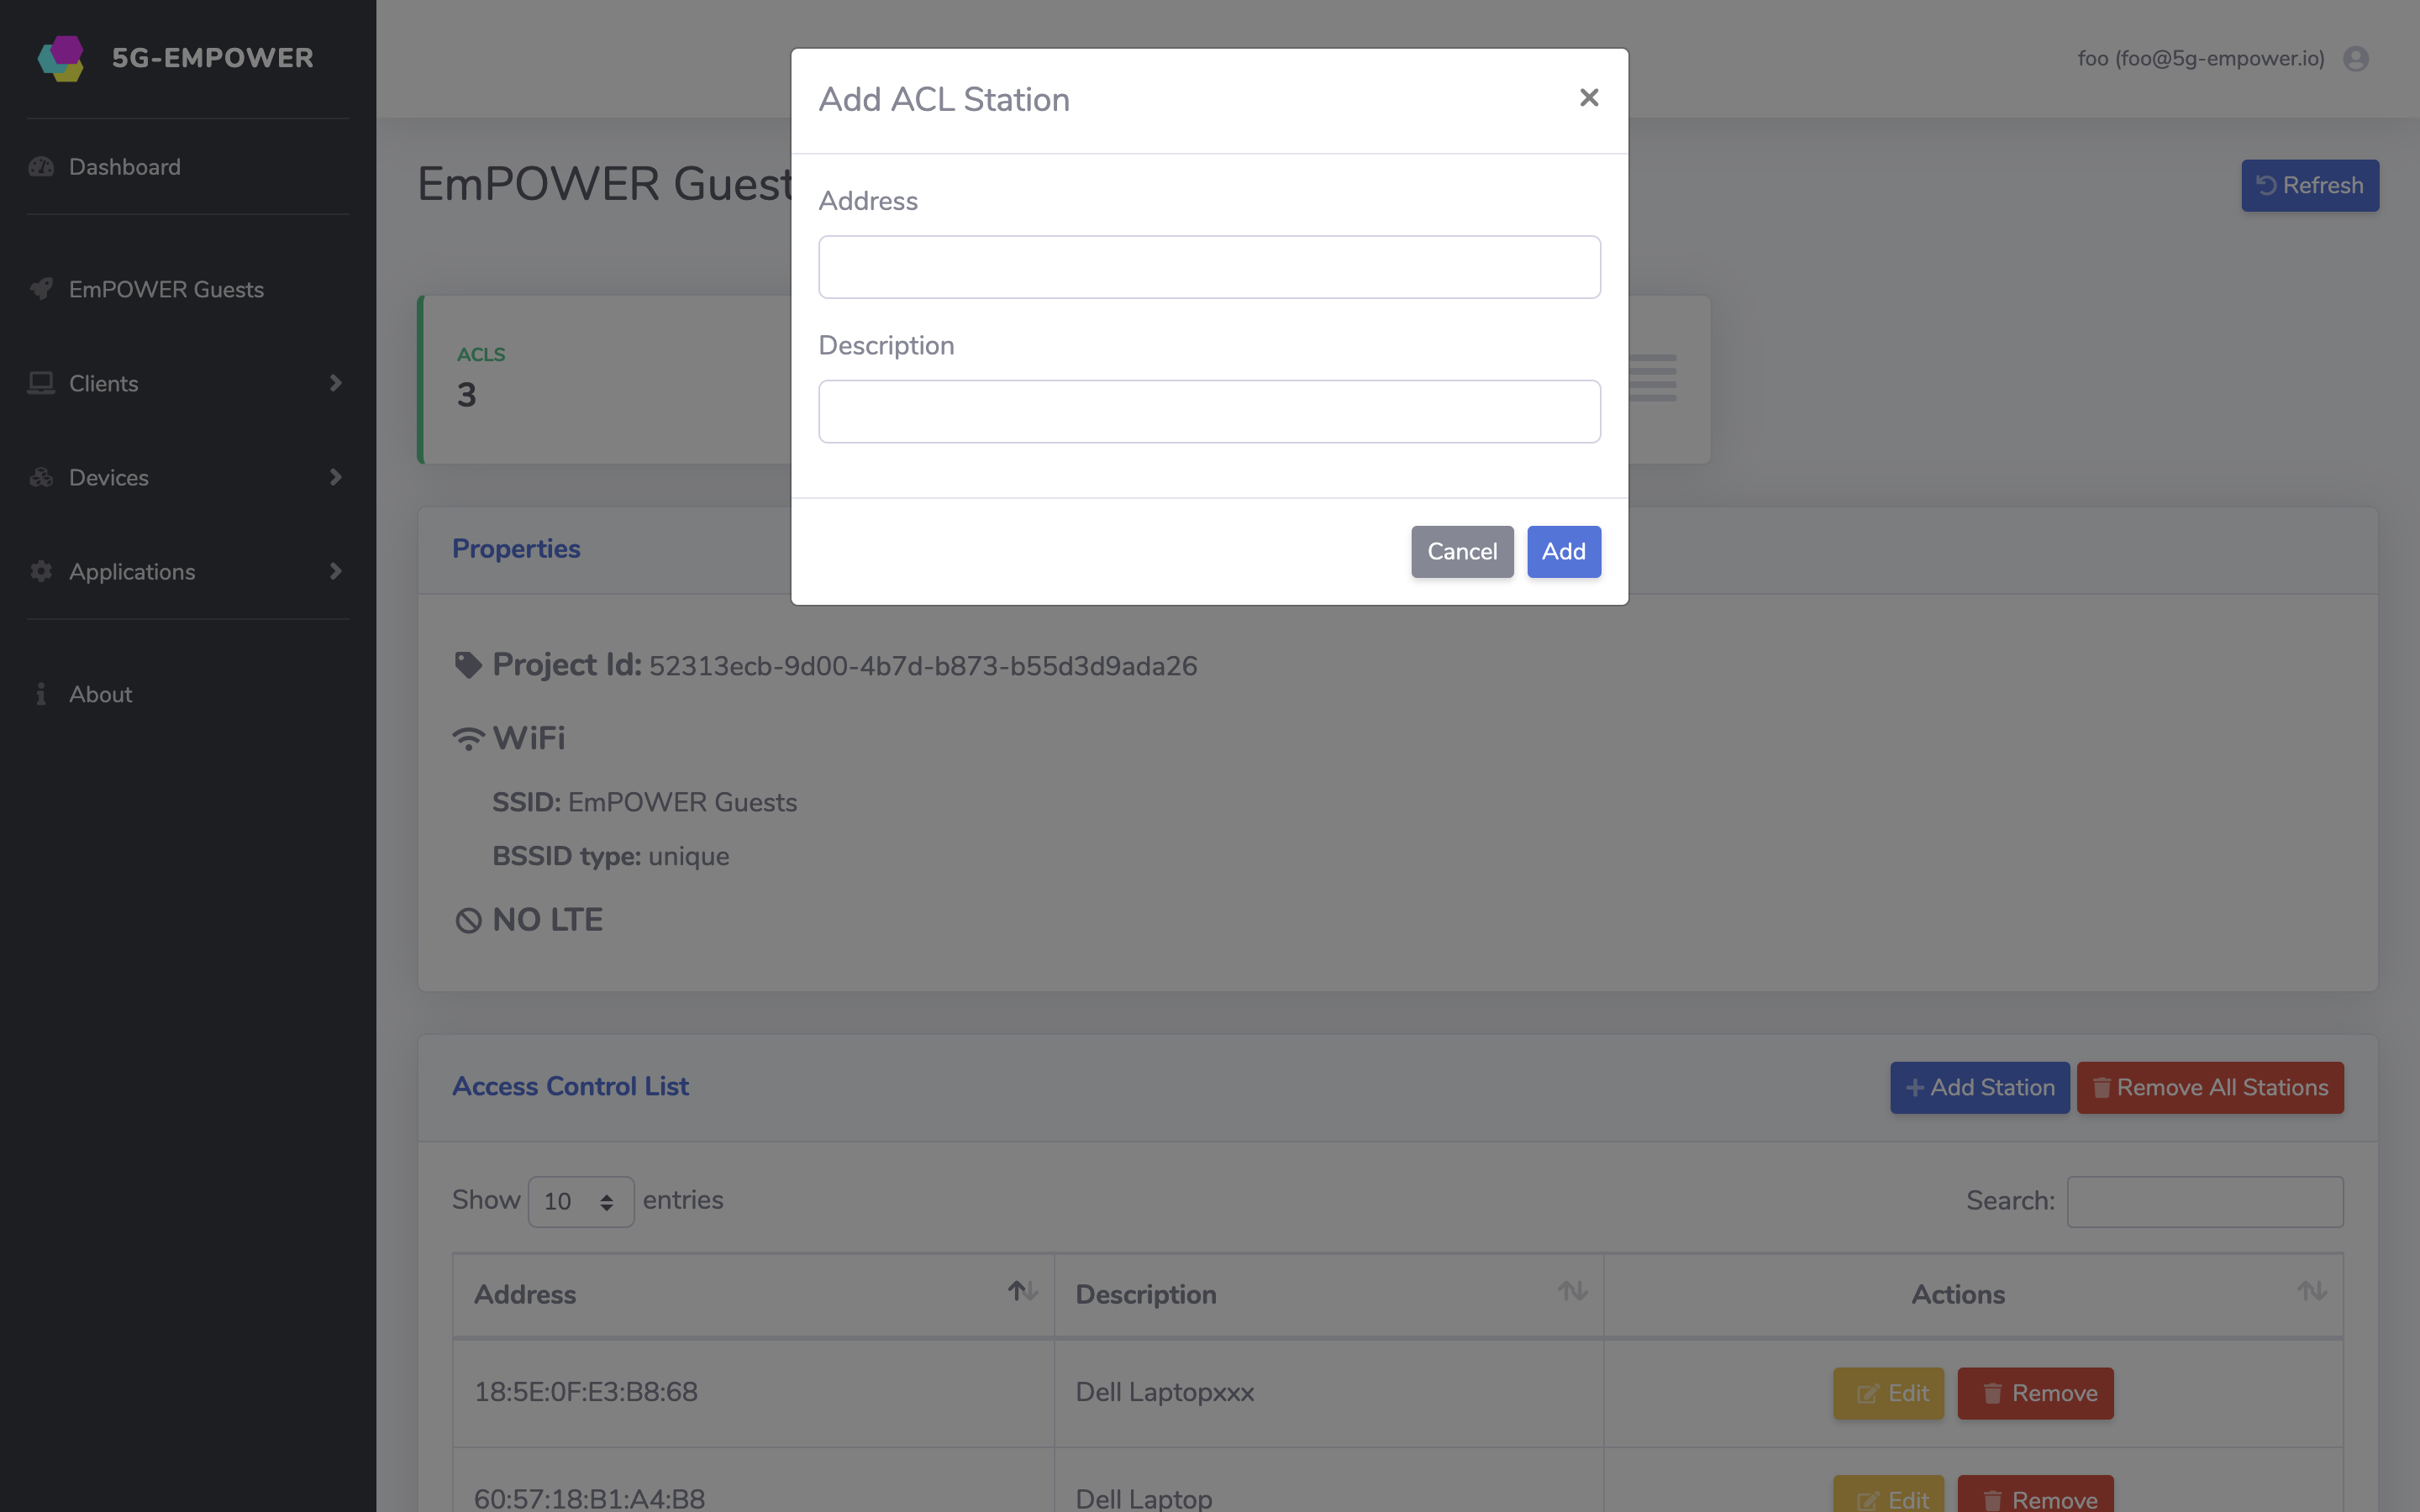
Click on the name of the project and then scroll down to the ACL section. Then click on the Add new station icon and specify the MAC address of the client together with a short human-readable description, e.g. Foo iPhone.
At this point, any of the clients that are allowed to use the network should see the new SSID and should be able to associate to it and to reach the public Internet (if the wireless APs have a backhaul that is connected to the Internet).