This document shows how to run the watson-assistant-slots-intro application in a container running on RedHat OpenShift.
You will need a running OpenShift cluster, or OKD cluster. You can provision OpenShift on the IBM Cloud.
- In your cluster, open your project or click on
+ Create Projectto create one. - In the
Overviewtab, click onBrowse Catalog

- Choose the
Node.jsapp container and clickNext.

- Give your app a name and add
https://github.com/IBM/watson-assistant-slots-introfor the github repo, then clickCreate.

The following instructions will depend on if you are provisioning Assistant from IBM Cloud or from an IBM Cloud Pak for Data cluster. Choose one:
Provision on IBM Cloud
- Find the Assistant service in your IBM Cloud Dashboard.
- Click on the
Managetab and then click onLaunch Watson Assistant. - Go to the
Skillstab. - Click
Create skill - Select the
Dialog skilloption and then clickNext. - Click the
Import skilltab. - Click
Choose JSON file, go to your cloned repo dir, andOpenthe workspace.json file indata/watson-pizzeria.json. - Select
Everythingand clickImport.
Provision on IBM Cloud Pak for Data
- Find the Assistant service in your list of
Provisioned Instancesin your IBM Cloud Pak for Data Dashboard. - Click on
View Detailsfrom the options menu associated with your Assistant service. - Click on
Open Watson Assistant. - Go to the
Skillstab. - Click
Create skill - Select the
Dialog skilloption and then clickNext. - Click the
Import skilltab. - Click
Choose JSON file, go to your cloned repo dir, andOpenthe workspace.json file indata/watson-pizzeria.json. - Select
Everythingand clickImport.
To find the WORKSPACE_ID for Watson Assistant:
- Go back to the
Skillstab. - Find the card for the workspace you would like to use. Look for
WatsonPizzeria. - Click on the three dots in the upper right-hand corner of the card and select
View API Details. - Copy the
Workspace IDGUID.
- In the next step, you will need to aadd this
Workspace IDto your application config map.
-
Back in the OpenShift or OKD UI, click on the
Resourcestab and chooseConfig Mapsand thenCreate Config Map. -
Add a key for
WORKSPACE_IDand the value you copied for the Workspace ID. ClickAdd itemto continue. -
Add a key for
PORTwith the value8080.

The remaining credentials to add will depend on if you provisioned Assistant from IBM Cloud or from an IBM Cloud Pak for Data cluster. Choose one:
Provision on IBM Cloud
- Retrieve the
apikeyandurlfrom your Watson Assistant service credentials:
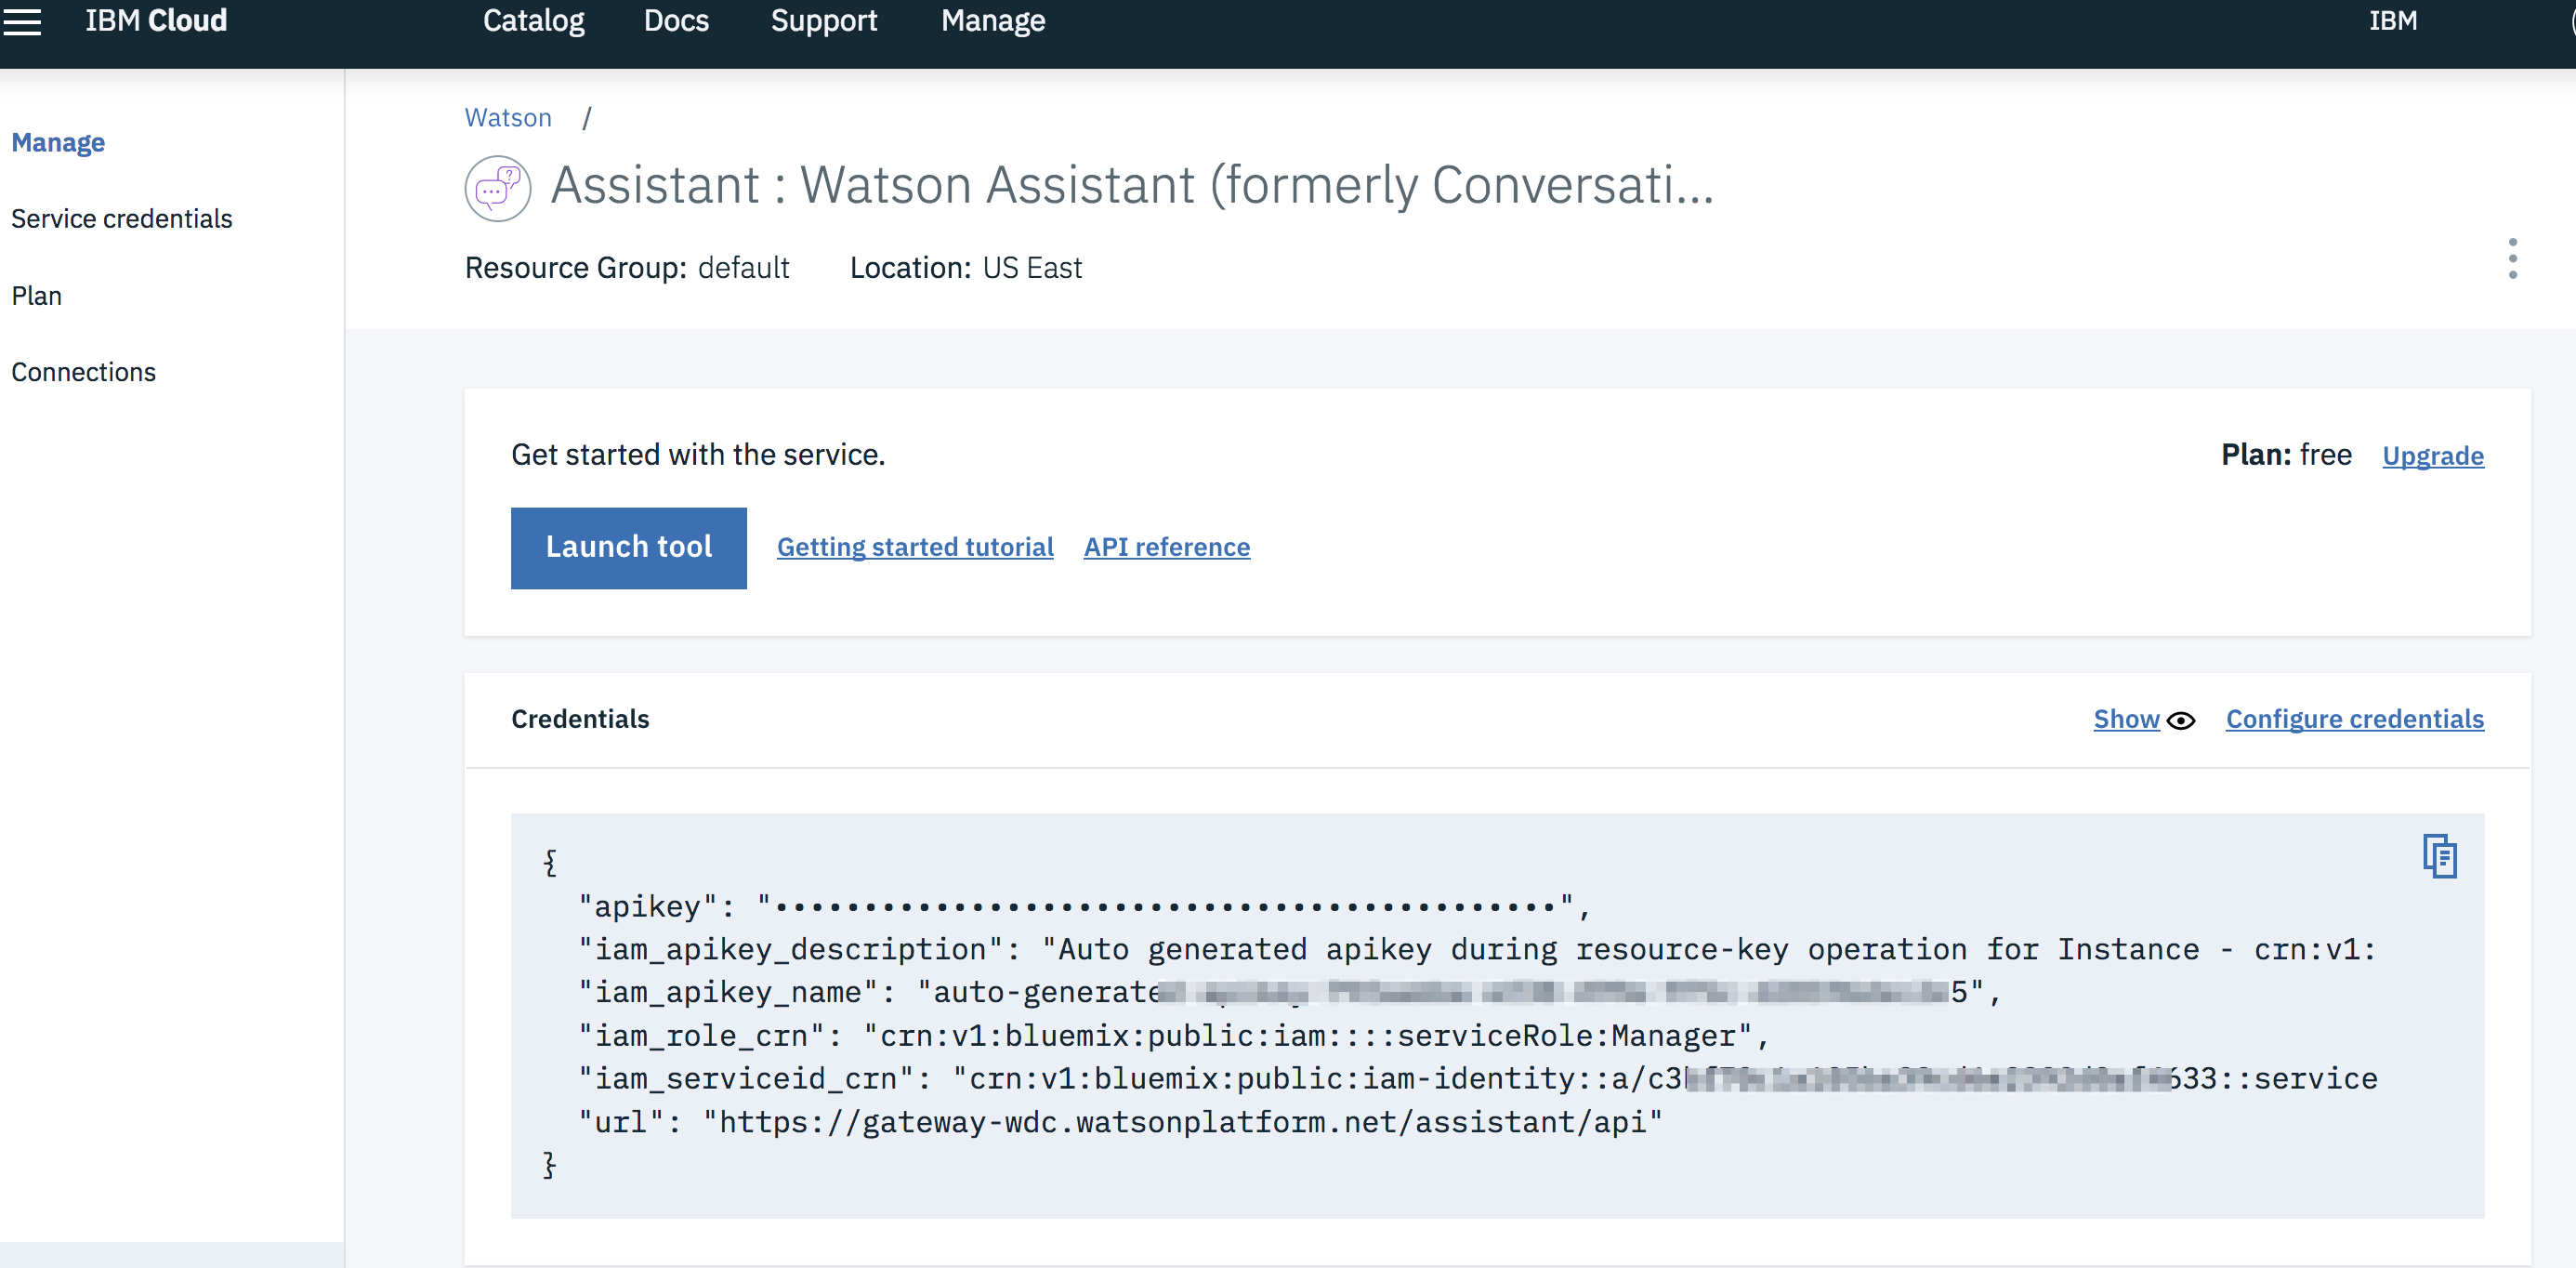
- Add keys for
CONVERSATION_IAM_APIKEYandCONVERSATION_URLto store your credentials.
Provision on IBM Cloud Pak for Data
- Retreive the
URLfrom your Watson Assistant service details panel:

-
Add the key
CONVERSATION_URLto store this value. -
Additionally, you will need to add the following keys and values:
CONVERSATION_AUTH_TYPEand set value tocp4dCONVERSATION_AUTH_URLand set value to the URL of your IBM Cloud Pak for Data clusterCONVERSATION_AUTH_DISABLE_SSLand set value totrueCONVERSATION_USERNAMEand set value to the IBM Cloud Pak for Data cluser usernameCONVERSATION_PASSWORDand set value to the IBM Cloud Pak for Data cluser passwordCONVERSATION_DISABLE_SSLand set value totrue
- Go to the
Applicationstab, chooseDeploymentsand theEnvironmenttab. UnderEnvironment FromConfig Map/Secretchoose the config map you just created [1]. Save the config [2]. The app will re-deploy automatically, or clickDeployto re-deploy manually [3]. To see the variables in the Config Map that will be exported in the app environment, clickView Details.

- Under
Applications->Routesyou will see your app. Click on theHostnameto see your Pizza ordering chat bot in action.