Jekflix is ready for Netlify CMS integration, which means you can create/edit posts, authors, categories, theme, etc... without touching a line of code!
However, you can only use this if you're cloning the repo. In the case you're using the gem, you'll need to setup Netlify CMS in your project by yourself.
Use the Netlify documentation to set up Continuous Deployment.
When setting the Build command, change it to gulp build. If you deployed your site already and forgot to do that, follow the steps below:
- Go to the top menu and select Deploys
- In Continuous Deployment > Build Settings, click on Edit settings
- Change the Build command to
gulp build
That's it. Every time you push a new commit, your project will build and deploy.
Once you have deployed your website with Netlify successfully, follow the Enable Identity and Git Gateway walkthrough to be able to access your website CMS.
Some important things to keep in mind:
- Access your CMS locally through
localhost:3000/adminoryourdomain.com/admin - The available CMS data is always pulled in from your repo. Which means, even if you are working locally, the CMS won't get local changes till you push them into GitHub.
- Every change published through CMS will be automatically deployed to production, so be careful with what you publish.
- The CMS allows you to save data as draft though, so it won't go to production till you publish the changes 🙂
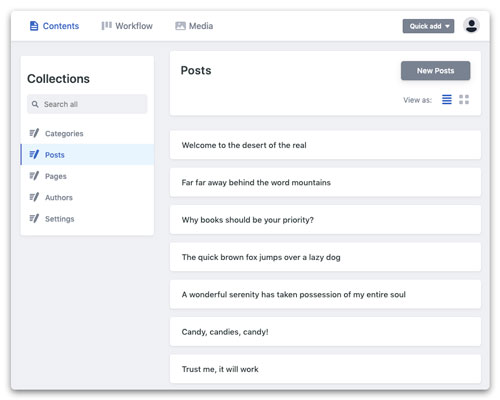
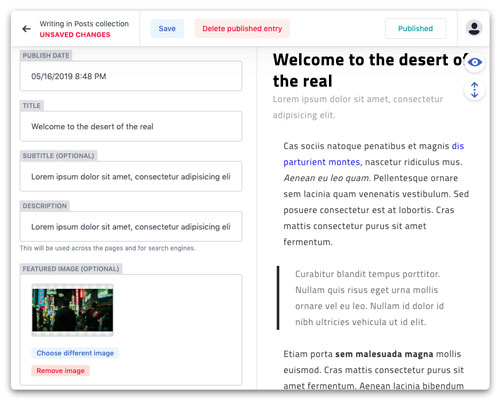
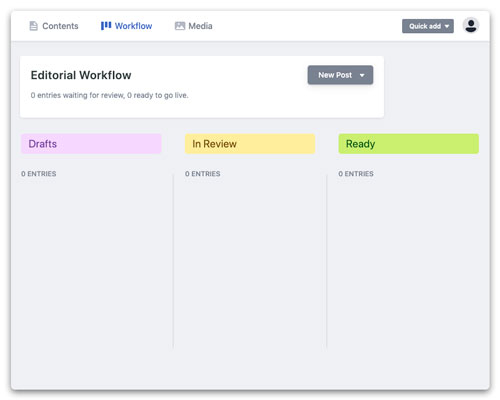
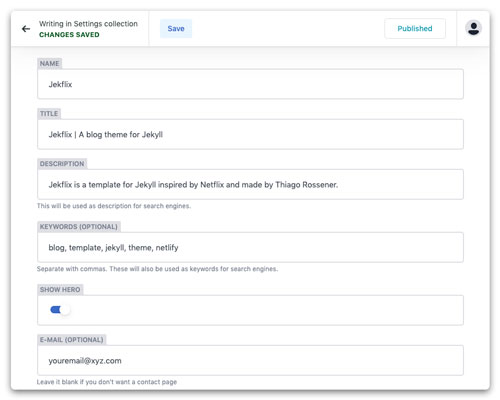
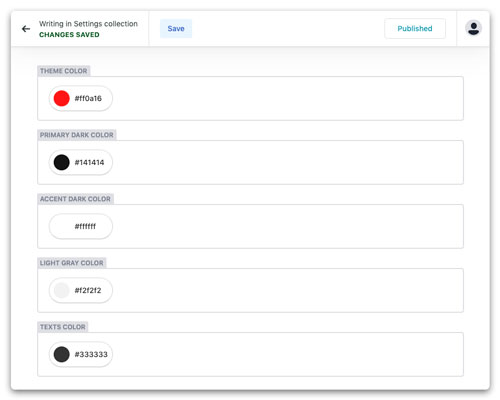
See some CMS screenshots: