2. Toolkit for Open and Sustainable City Planning and Analysis ‐ Administrator's Guide
Table of contents
4.3.1 Managing maps in GeoServer
5.1 Changing road speeds for the 'Calculate time map' module
The Toolkit for Open and Sustainable City Planning and Analysis (TOSCA) was developed in cooperation between the Digital City Science of the HafenCity University Hamburg (HCU) and Deutsche Gesellschaft für Internationale Zusammenarbeit GmbH (GIZ) in India and Ecuador. It is an open source tool and the software for this project is based entirely on open source components. The Open City Toolkit is a web-based geographic information system (GIS) for multi-touch tables that is optimised for the use by non-GIS-experts. It supports integrated and participatory urban planning processes, fostering dialogue between governments and citizens and exchange of knowledge and data between government departments. The main functionality of the Toolkit for Open and Sustainable City Planning and Analysis is to visualise and analyse complex urban data, jointly among local practitioners and with citizens. This manual is targeted to technical administrators of local TOSCA installations. It provides a high-level overview of the system’s design and guides administrators in the setup of the tool, including hardware and software installation, data preparation and maintenance.
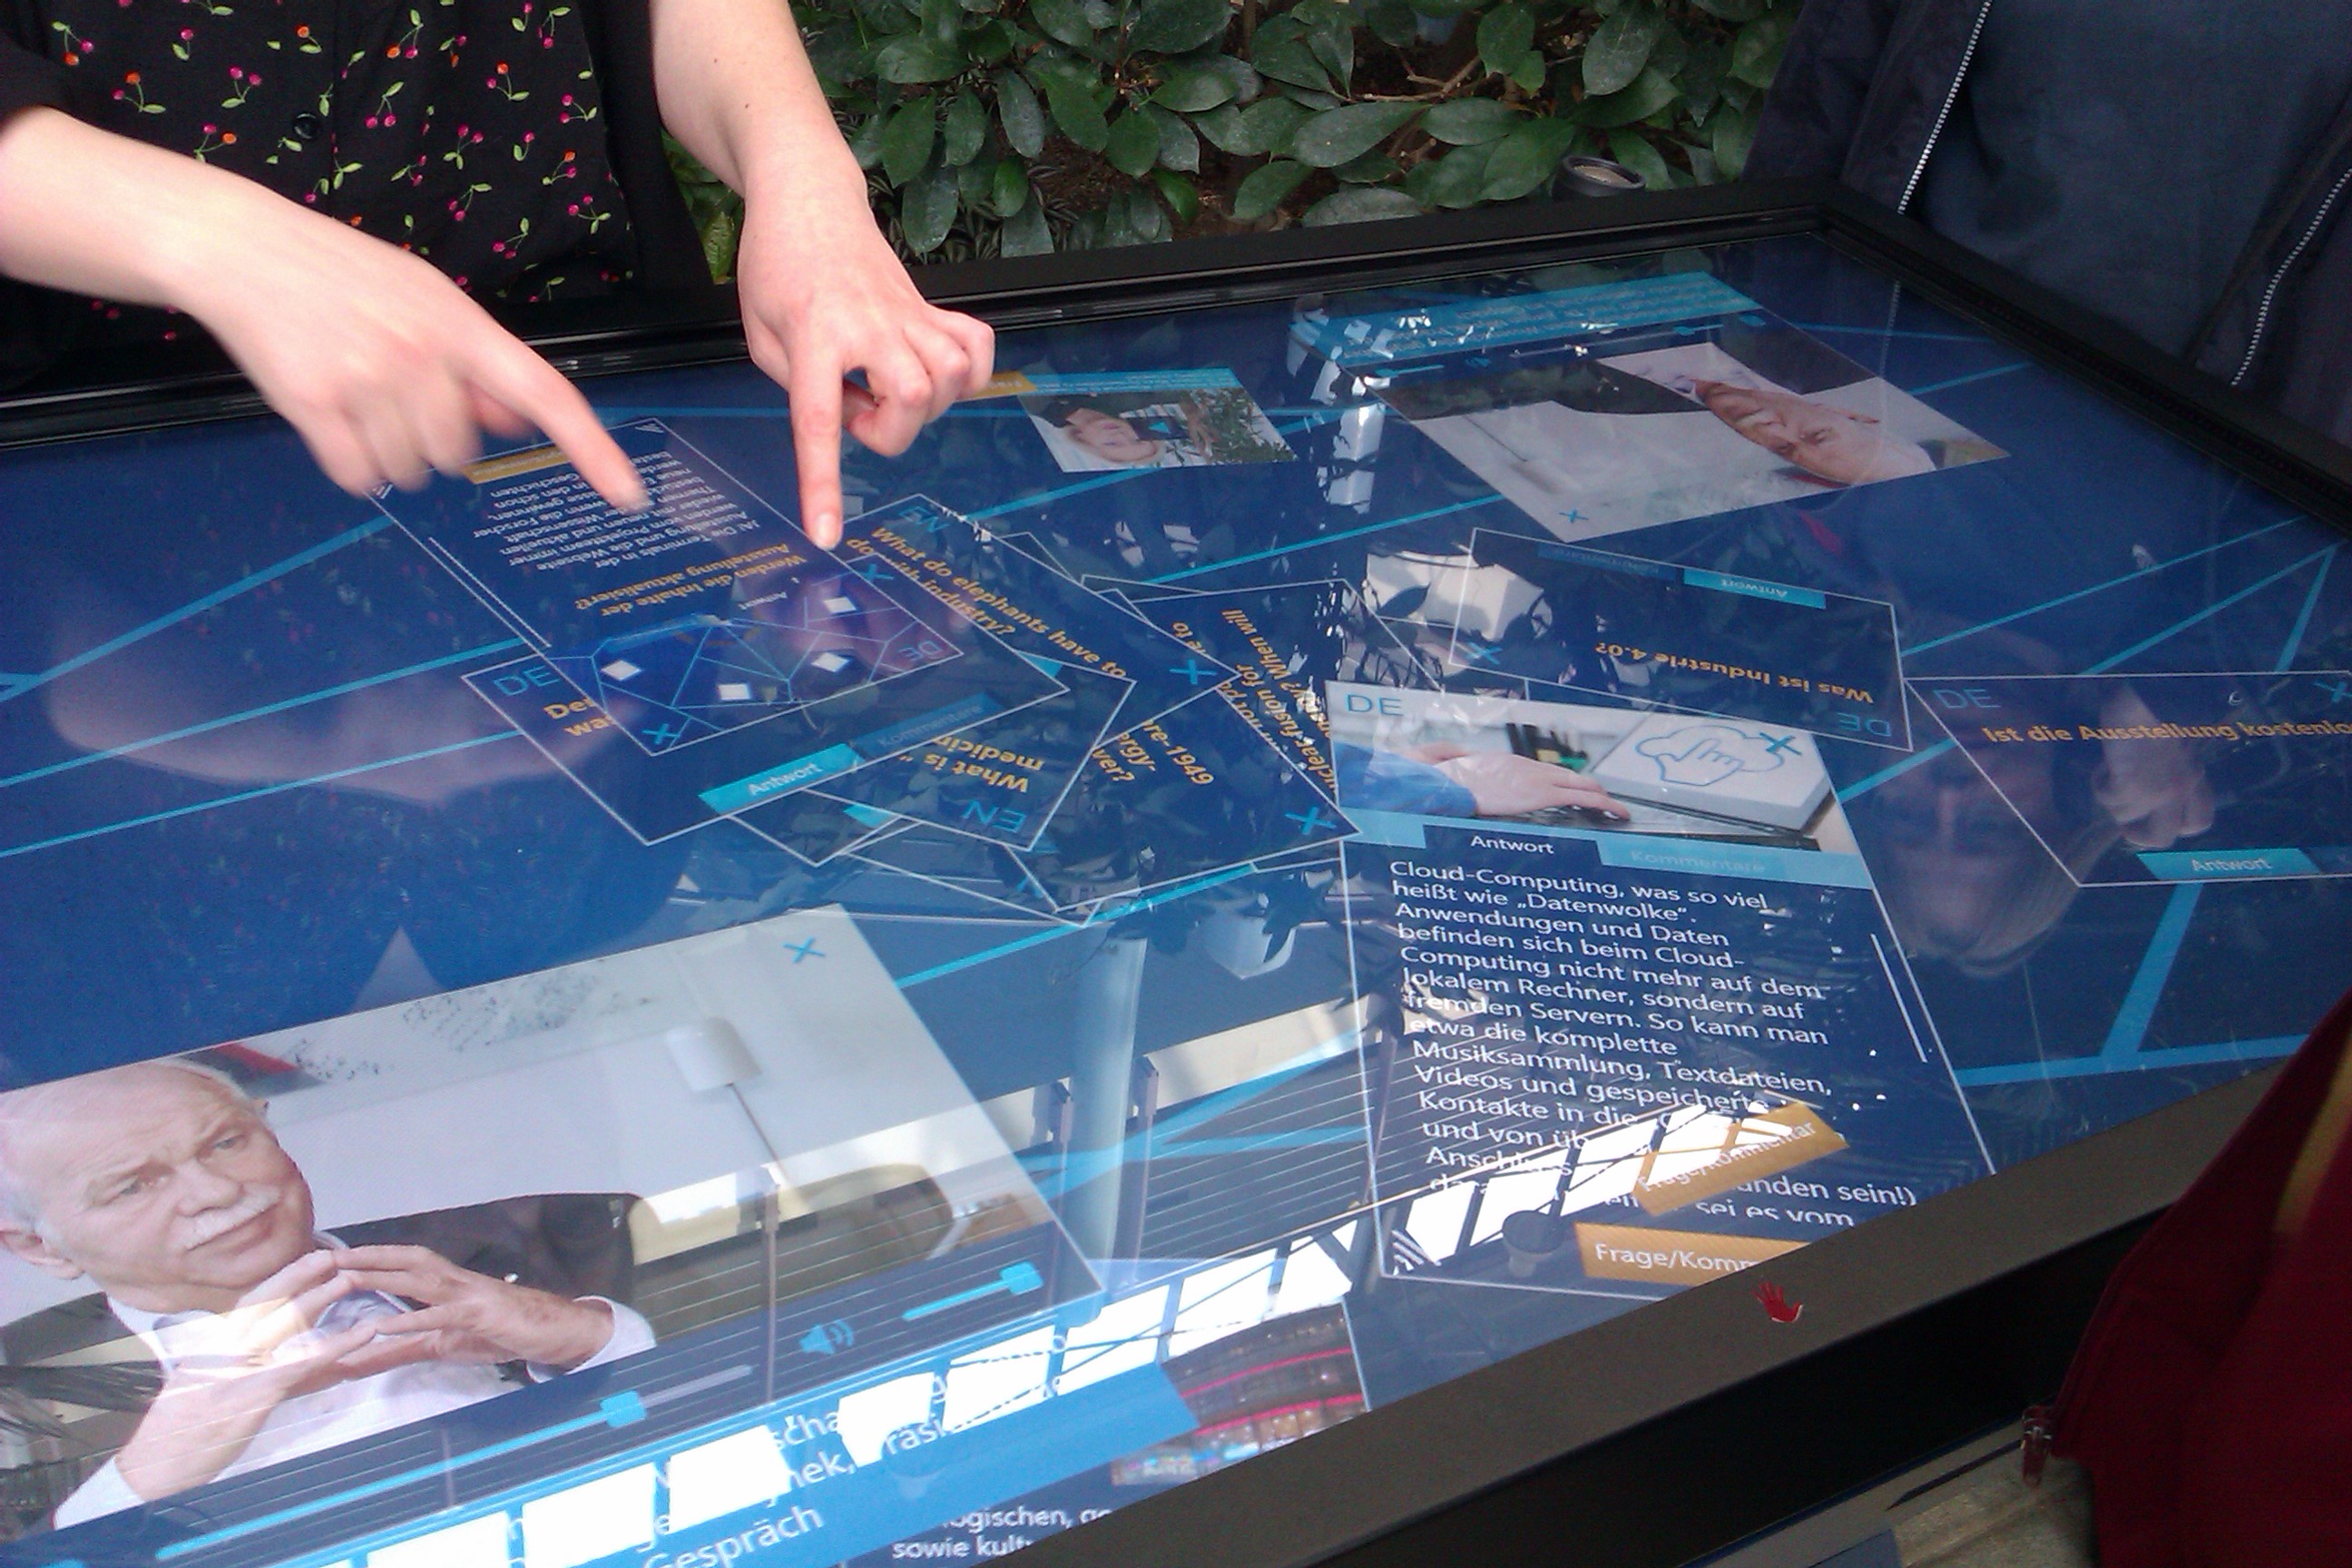
The TOSCA is capable of running on a variety of devices ranging from tablet-sized mobile devices and desktop PCs to large touchscreens. This chapter focuses on the installation of a touchscreen device, similar to the one illustrated in Fig. 1.
For the best user experience, install the table indoors and protect it from extreme temperature and humidity conditions. Place it in such a way that no direct sunlight is cast on the screen; ideally keep any natural light out of the room.
Attach the screen and PC to a power source according to the devices’ specifications. Make sure the power source is free of interruptions and the cords are out of the way of users standing anywhere around the table.
Connect the computer to the local network, preferably using a wired connection. Internet access is required for background maps and, depending on the server configuration, it may also be required to access the tool itself and the geodata it works on.
Administrators of the TOSCA server(s) are required to have a basic understanding of:
- Linux server and command-line tools
The recommended way of installing TOSCA is via Docker on a Linux host system. For guidance on how to install Docker, please refer to the official guide here.
If Docker is not used, a Linux system is required as well as several additional dependencies – in this case please refer to the "Without Docker" section of the README file.
If only Windows is available as a host system, you need to create a Linux environment using virtualization software (e.g., Virtualbox or VMWare). Then you can install the TOSCA with Docker within that Linux environment.
Virtualbox: https://www.virtualbox.org/
VMWare: https://www.vmware.com/
Multi-user support - Since the user system is not yet available in TOSCA, it is recommended that the system be used by one user at a time. Possible issues when used simultaneously by multiple users are:
(i) Selection/Resolution/Base map inconsistency - all users share the same set of these basic settings at any given point of time. When one user resets the settings, the change will affect all users accessing the app from different clients.
(ii) Performance issue - since GIS calculations are conducted on one single instance of GRASS installed on one server, the system will be slowed down if multiple calculation tasks are running at the same time.
The TOSCA is a web application, i.e. it can run either on the user’s computer or on a remote server. In any case, the machine the tool is installed on is referred to as the server.

Choosing the right server for the TOSCA will depend on a variety of factors, which are evaluated in this section.
On the one hand, there are certain hardware requirements that have to be met, depending on the usage profile (dataset size, number of users, desired speed etc.). On the other hand, there will be limits to the amount of money and time that can be spent on the hosting. Last but not least, there may be individual requirements regarding stability, security, or compliance.
TOSCA has the following folder structure
| Folder | Description |
|---|---|
| 📂 data_from_browser | destination for files sent from the client to the server |
| 📂 geoserver_data_dir | GeoServer data directory containing data and configuration (mounted volume) |
| ├ 📂 data | directory containing geodata sources: Geopackage, GeoJSON, TIFF, etc. (make sure this directory exists and is writable!) |
| ├ 📂 styles | style definitions (more styles can be found in workspaces) |
| └ 📂 workspaces | GeoServer workspaces (default: “raster” and “vector”). Each workspace directory contains multiple subdirectories, one for each data store. |
| 📂 grass | GRASS “database directory” (mounted volume) |
| ├ 📂 global | GRASS “location” containing datasets used by modules (make sure this directory exists and is writable!) |
| ├ 📂 metadata | directory for metadata files |
| ├ 📂 skel | template for module mapsets |
| ├ 📂 skel_permanent | template for the PERMANENT mapset |
| └ 📂 variables | intermediate values used in computations |
| 📂 output | PDF results (mounted volume; make sure this directory exists and is writable!) |
| 📂 webapp | Node.js app root directory |
| ├ 📂 node_modules | external dependencies (installed during build) |
| ├ 📂 public | static files |
| ├ 📂 scripts | processing scripts, modules |
| └ 📂 views | client-side templates, scripts, and styles |
The easiest way to get the tool running is to install it on the user’s machine. This could be an average PC or laptop, or the touchscreen’s integrated computer. The disadvantage of this approach will most likely be the limited processing power, memory, and storage capacity of the machine. Therefore this kind of setup is recommended only for testing purposes, not for production.
Technical parameters:
- TOSCA backend and GeoServer running on “localhost”
- Geodata stored on “localhost”
Pros:
- Easy installation
- No security or privacy concerns (only physical access to the machine needs to be regulated)
- Low cost
Cons:
- Hard limits for CPU units, memory and storage
- Not available to remote users
- Maintenance and backup require manual intervention
- Additional efforts will be needed if the computer does not run a Linux operating system
Installing the TOSCA on a remote server allows for better availability and scalability. However, it requires knowledge of server-side tools such as secure shell, web server, firewall etc. There is a wide range of service providers offering remote servers for a monthly fee, often with additional services such as 24/7 support.
Technical parameters:
- TOSCA backend and GeoServer running on remote server
- GeoServer running on the same server
Pros:
- Flexibility regarding the hardware configuration
- Remote access for both administrators and users
- Easy backup solutions are available
Cons:
- Some knowledge in Linux server administration is required
- Market research is required
- Security concerns need to be addressed
- More or less expensive
Installing TOSCA in the cloud basically means the same as installing it on a remote server, except that the service is provided by one of the leading cloud service providers, who offer highly configurable virtual machines, storage, and network services.
Technical parameters:
- TOSCA backend and GeoServer running in a dedicated instance or container
- Geodata stored in dedicated storage
Pros:
- Remote access for both administrators and users
- Maximum flexibility and scalability
- All-in-one solution for virtual machines, containers, storage, and DNS
- Automatic backup
- High availability setup is possible
Cons:
- Great deal of knowledge both in Linux server administration and cloud configuration is required
- Very expensive
The TOSCA source files can be obtained from the Github repository. Choose the right branch depending on the deployment location:
- For Bhubaneswar, India, use the “bhubaneshwar” branch.
- For Latacunga, Ecuador, use the “latacunga” branch.
- For all other locations, use the “master” branch (it is a generic version not tailored to a specific deployment location)
Please refer to the “README” file for detailed installation instructions. A video tutorial explaining the installation process is available, too. (Tutorial 2, Deployment)
Administrators of TOSCA datasets are required to have a basic understanding of:
- Geopackage, GeoJSON, OSM XML, GeoTIFF
- WMS, WFS
- GeoServer
- at least one desktop GIS (e.g. QGIS, GrassGIS, ESRI ArcMap)
TOSCA requires a base dataset, or base map, to be imported before any further analysis operations can be carried out (not to be confused with the background map, which is always available). This is achieved by selecting “Set basemap” in settings and uploading a downloaded extract of OpenStreetMap (OSM) data that covers the region users are interested in. The download can be obtained from OSM in several ways:
-
Using the OpenStreetMap Export page. It allows you to download the OSM data of the map shown in the browser, or from a custom bounding box. However, this works only for small regions. If it does not work, try the “Overpass API” link on the same page.
-
Using Geofabrik downloads. It provides ready-to-use OSM extracts covering whole countries or smaller administrative areas.
-
For more download options, please refer to the OpenStreetMap documentation.
After you have downloaded an OSM extract, use the “Set basemap” function in TOSCA to import it.
For a detailed description of this function please refer to the TOSCA user manual or the corresponding video tutorial describing the general overview, user interface and settings.
The quality of the analyses depends heavily on the quality of the OpenStreetMap data extract used as basemap. It is part of OSM's nature as a crowdsourcing project driven by volunteers that the quality of its spatial data may vary strongly, depending on the location. While some areas are mapped with great detail, in others you may find only a rudimentary road network and sparse infrastructure data.
E .g., in terms of the time map module, which calculate isochrone layers based on a routing graph, the analysis relies on the topological correctness of the road network provided by OSM. If, for example, roads that are connected in reality aren't properly connected in the dataset, the routing across such links will fail, resulting in an incorrect time map result. In order to fix such issues, you are encouraged to edit the OSM data directly. In this case other users of the data will benefit from the improvements as well.
An overview of help resources regarding OSM editing can be found on this page: https://www.openstreetmap.org/help
After you have successfully updated the OSM data to be used with TOSCA, you need to reimport the data using the "Set basemap" function.
While some relevant map layers such as roads, waterways, and buildings are generated automatically, it is often necessary to import custom thematic maps and datasets into TOSCA as well. Depending on the type of geodata and the intended use, there are different ways to import them.
- If you want to add a new layer to the map, proceed to the section “Managing maps in GeoServer”.
- If you want to use a dataset for querying, proceed to the section “Managing maps in TOSCA”.
GeoServer is not only a geodata warehouse, but also a provider of map services. It is capable of handling a wide variety of geographic datasets in both raster and vector format. In order to add a map to TOSCA through GeoServer, follow the steps below.
See also: video tutorial to create thematic maps.
The data source (in GeoServer terminology it is called store) has to be prepared to meet the requirements of TOSCA. For this, it is best to use a desktop GIS of choice. Process the dataset so that it conforms to the following expectations:
-
EPSG 4326 projection is expected, to avoid long projection transformation processing time during the layer import into TOSCA.
-
UTF-8 character encoding is expected, to avoid incorrectly displayed characters.
-
Ambiguities and misspellings in the data shall be avoided.
-
Data topology shall be checked in order to avoid polygon overlaps or dangling nodes within the geometry. See QGIS Topology.
-
Detailed metadata are required:
-
When abbreviations are used, explain their meaning
-
Define attribute field definitions
-
Indicate units used for numeric attributes
-
Indicate data source
-
Indicate licence
-
Indicate time of creation/last modification
-
When the data source is validated and ready to use, create a GeoServer data store for it.
Then, create a GeoServer layer for the data store you have added by publishing it. The layer configuration allows you to set its projection, boundaries, and other metadata. Additionally, it is suggested to set the layer’s style (with SLD or CSS) and its legend.
In order for the TOSCA to recognize the new layer, it is necessary to adjust its layer configuration. Currently this is only possible through modifying the JavaScript source code; the relevant code for the modification of map layers is found in webapp/views/map/config.js and webapp/i18n/messages.en.json.
- Add a Leaflet layer using the layer name you have used in GeoServer in webapp/views/map/config.js. Example:

- Add the layer to the webapp/i18n/messages.en.json. Example:

- For the changes to take effect, you need to rebuild and restart the TOSCA Docker container.
Besides the rather complicated process of configuring layers in GeoServer, TOSCA offers an easy way to import maps, however, some limitations apply. Only files in GeoPackage, GeoJSON, OSM and GeoTIFF format are supported, and the imported datasets can be used by the “query” and “volcanic threat scenarios” only. They will not be added to the map. In order to upload a map file, use the “Add layer” function from the “Settings” panel in TOSCA. For a detailed description of this function please refer to the TOSCA user manual.
5.1 Changing road speeds for the 'Calculate time map' module.
Toolkit for Open and Sustainable City Planning and Analysis provides a preset of default road speeds for the Calculate time map module, however, there might be situations where the user wants to change the preset speeds in order to have them align to the local road conditions.
To do so, the administrator should:
-
Change the content of these three files located under the
./grass/variables/defaults/folder:roads_speed_automobile_defaultsroads_speed_bicycle_defaultsroads_speed_walking_defaults -
Delete the following files in the
./grass/variablesfolder, because they will be generated from the "default" files when theCalculate time mapre-runs:roads_speed_automobileroads_speed_bicycleroads_speed_walking -
If the system is currently running, re-run 'Calculate time map' module to see the effects. If the system is not running, the change will take effect when the system runs next time.
`