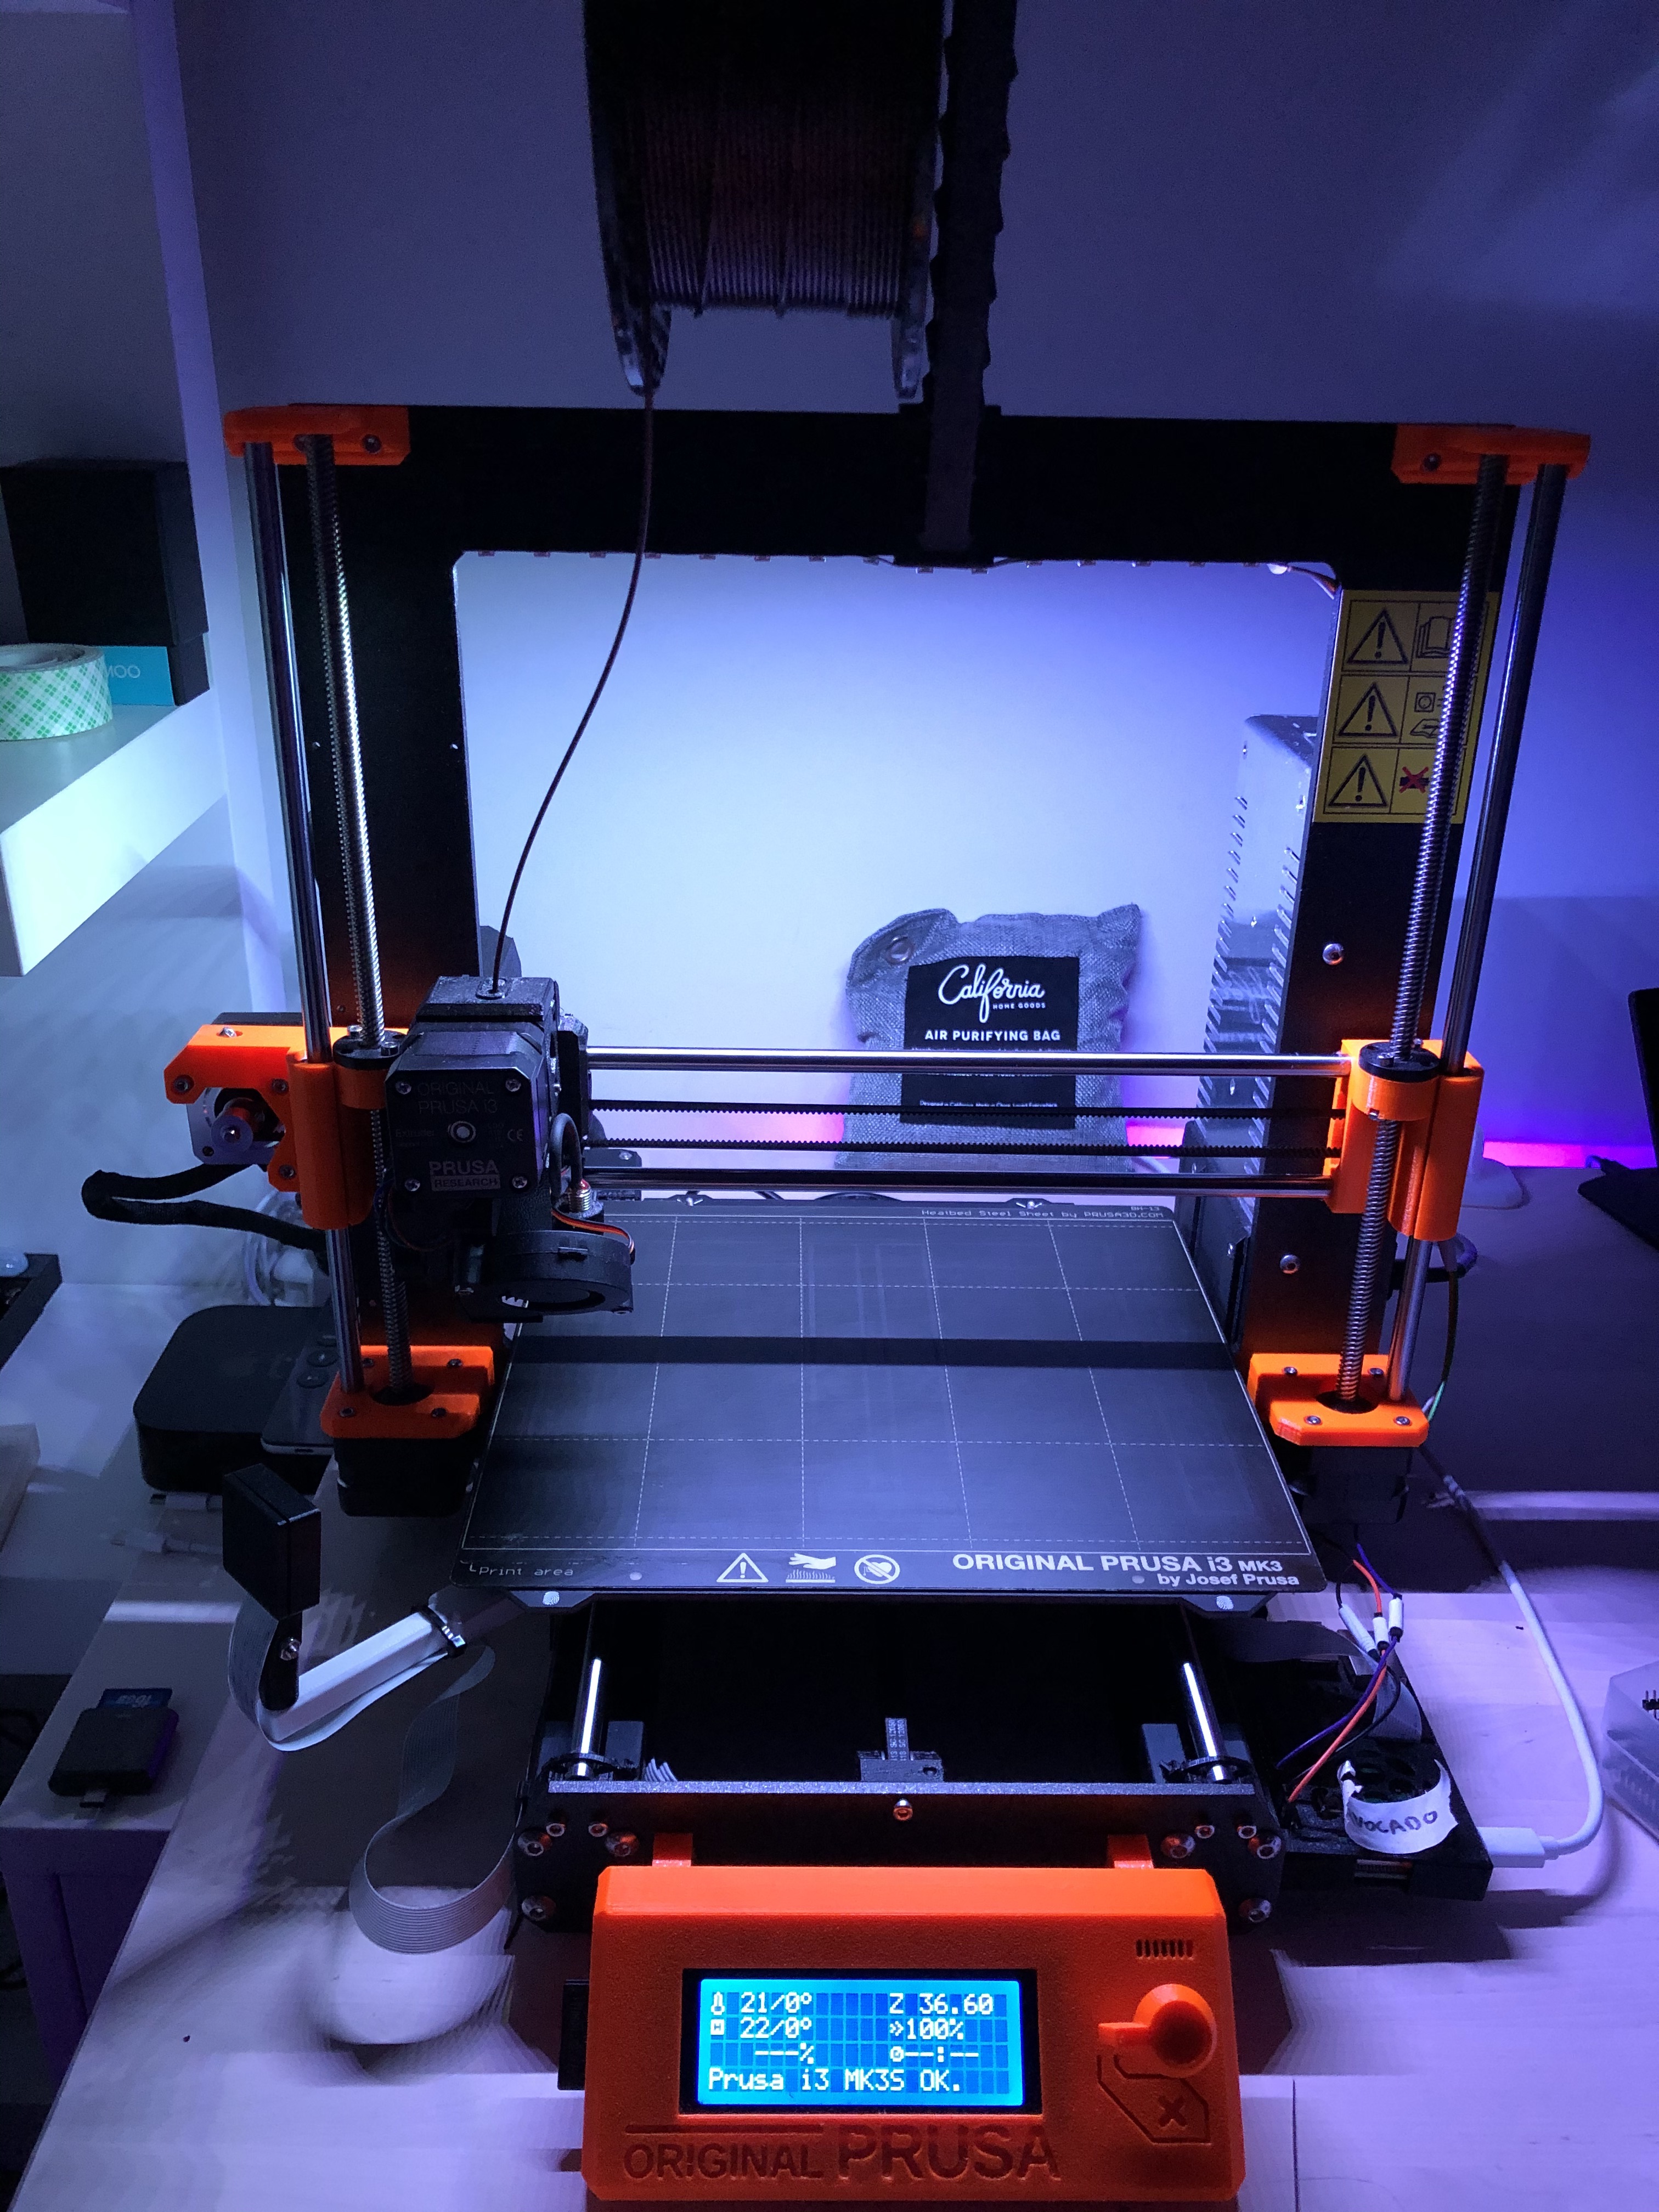
Prusa recommends using a Raspberry Pi Zero W to run OctoPrint for your printer. While this is very clean and easy, it is underpowered and you can't get a camera. You also risk the print failing if you are checking its status too often via the UI or app. Here's my setup for attaching a Raspberry Pi 3B+, camera, and lights to a Prusa MK3S printer for a reliable OctoPrint server with a camera. The total cost is about $100.
- Raspberry Pi 3B+
- 16GB microSD Card
- Raspberry Pi Camera v2
- 1 meter ribbon cable for camera
- WS2812 LED light strip
https://www.thingiverse.com/thing:2843889
Resolution: 0.15
Infill: 20% (optional)
http://www.thingiverse.com/thing:559858
Resolution: 0.1
Infill: 20%
https://www.prusaprinters.org/prints/7064-customizable-raspberry-pi-camera-bed-mount-prusa-m/
Customizable via included OpenSCAD, but the gcode files committed here should work great with an MK3S. This mount does require using a couple of the spare M4 screws included with your Prusa.
Material: PLA should be safe, but PETG is better given its proximity to heat bed
Resolution: 0.2
Infill: 20%
http://www.thingiverse.com/thing:3189351
Print 4 of these!
Resolution: 0.2
Infill: 10%
- Flash Raspberry Pi SD card with OctoPi image
- Set wifi password in
octopi-wpa-supplicant.txt - Boot up raspberry pi and
ssh [email protected] passwdto change root password- Edit
/etc/hostnameto give this octopi a unique name - Visit
http://octopi.localin browser - Configure Prusa MK3S printer profile
- Install octoslack and octopod plugins
- Restart Raspberry Pi
- Configure plugins as needed
- Happy printing!
This repo also includes a script that can control a WS2812 LED light strip attached to the raspberry pi. It will dynamically change lights based on the status of the printer. I use these ones but Adafruit's NeoPixels will work well too.
- Connect lights to raspberry pi
Trim led strip to 15 pixels so that they fit on the top frame of the MK3S. Solder 3 wires (65cm length each) to connect led strip to 5V, GND, and GPIO pin 18. I also use a Texas Instruments SN74AHCT125N buffer to ensure correct logic voltage, but this is optional. My Raspberry Pi 3B+ was able to drive the LED strip with 3.3v logic.
Mount the led strip to the bottom of the frame with double sided tape and use 4 zip ties to hold in place, since the heat from the lights + extruder will weaken the tape very quickly.
- Clone this repo
git clone https://github.com/neilgupta/prusa-octoprint-setup.git
cd prusa-octoprint-setup- Install dependencies
sudo apt-get update
sudo apt-get install -y python3-pip
sudo pip3 install -r requirements.txt-
Install MQTT plugin in Octoprint, configure it to talk to
hiome.local. This assumes you have Hiome... if not, get on that first! Set the topic format to_hiome/1/sensor/CLIENT_NAME/whereCLIENT_NAMEis "prusa_" + octopi's hostname (ie "prusa_octopi") -
Install led systemd service
sudo cp octoprint-led.service /etc/systemd/system/octoprint-led.service
sudo systemctl enable octoprint-led.service
sudo systemctl start octoprint-led.service
To run the script as a one-off, it's sudo python3 led.py
- Start a print from octoprint!
