A flat file, Markdown CMS in PHP, inspired by Pico, Redaxo and Craft CMS.
Reboot CMS is a minimal CMS without a database, but with the support of blocks 🚀.
I developed Reboot CMS because I couldn't find a CMS that works with flat markdown files but allows easy use of blocks.
Reboot CMS is very small and the pages are delivered extremely fast. My website shaack.com, built with Reboot CMS, has a PageSpeed Insights performance score of 100.
Download the Reboot CMS repository and install it in your web root.
This should work out of the box.
Then (important), set the Admin password in /local/.htpasswd
Folder: /site/pages
A Page can be a flat Markdown file, can contain Blocks or also can be a PHP file.
Pages are auto-routed on web-requests:
index.mdorindex.phpwill be shown on requesting/NAME.mdorNAME.phpwill be shown on requesting/NAMEFOLDER/index.md(or .php) will be shown on requesting/FOLDERFOLDER/NAME.md(or .php) will be shown on requesting/FOLDER/NAME
Example for a Markdown Page with Blocks:
---
title: Reboot CMS
description: Reboot CMS is a flat file CMS, with the support of blocks.
author: Stefan Haack (shaack.com)
---
<!-- hero -->
# Reboot CMS
A flat file, markdown CMS with blocks
---
The main idea is, to have a **minimal CMS** without needing a database, but with the support of blocks.
---
[Learn more](documentation)
<!-- text-image -->
## The text-image block
The gray block above was a hero block. This one is a text-image block, it contains two parts. Parts are separated by
`---`.
---

<!--
text-image:
image-position: left
-->
## Configure blocks in the block comment
The text-image block can also display the image to the left.
---
>
<!-- three-columns -->
### the
Duis aute irure dolor in reprehenderit in voluptate velit esse cillum dolore eu fugiat nulla pariatur. Excepteur sint
occaecat cupidatat non proident, sunt in culpa qui officia deserunt mollit anim id est.
---
### three-colums
Ut enim ad minim veniam, quis nostrud exercitation ullamco laboris nisi ut aliquid ex ea commodi consequat. Quis aute
iure reprehenderit in voluptate velit esse cillum dolore eu fugiat nulla pariatur.
---
### block
Lorem ipsum dolor sit amet, consectetur adipisicing elit, sed do eiusmod tempor incididunt ut labore et dolore magna
aliqua.
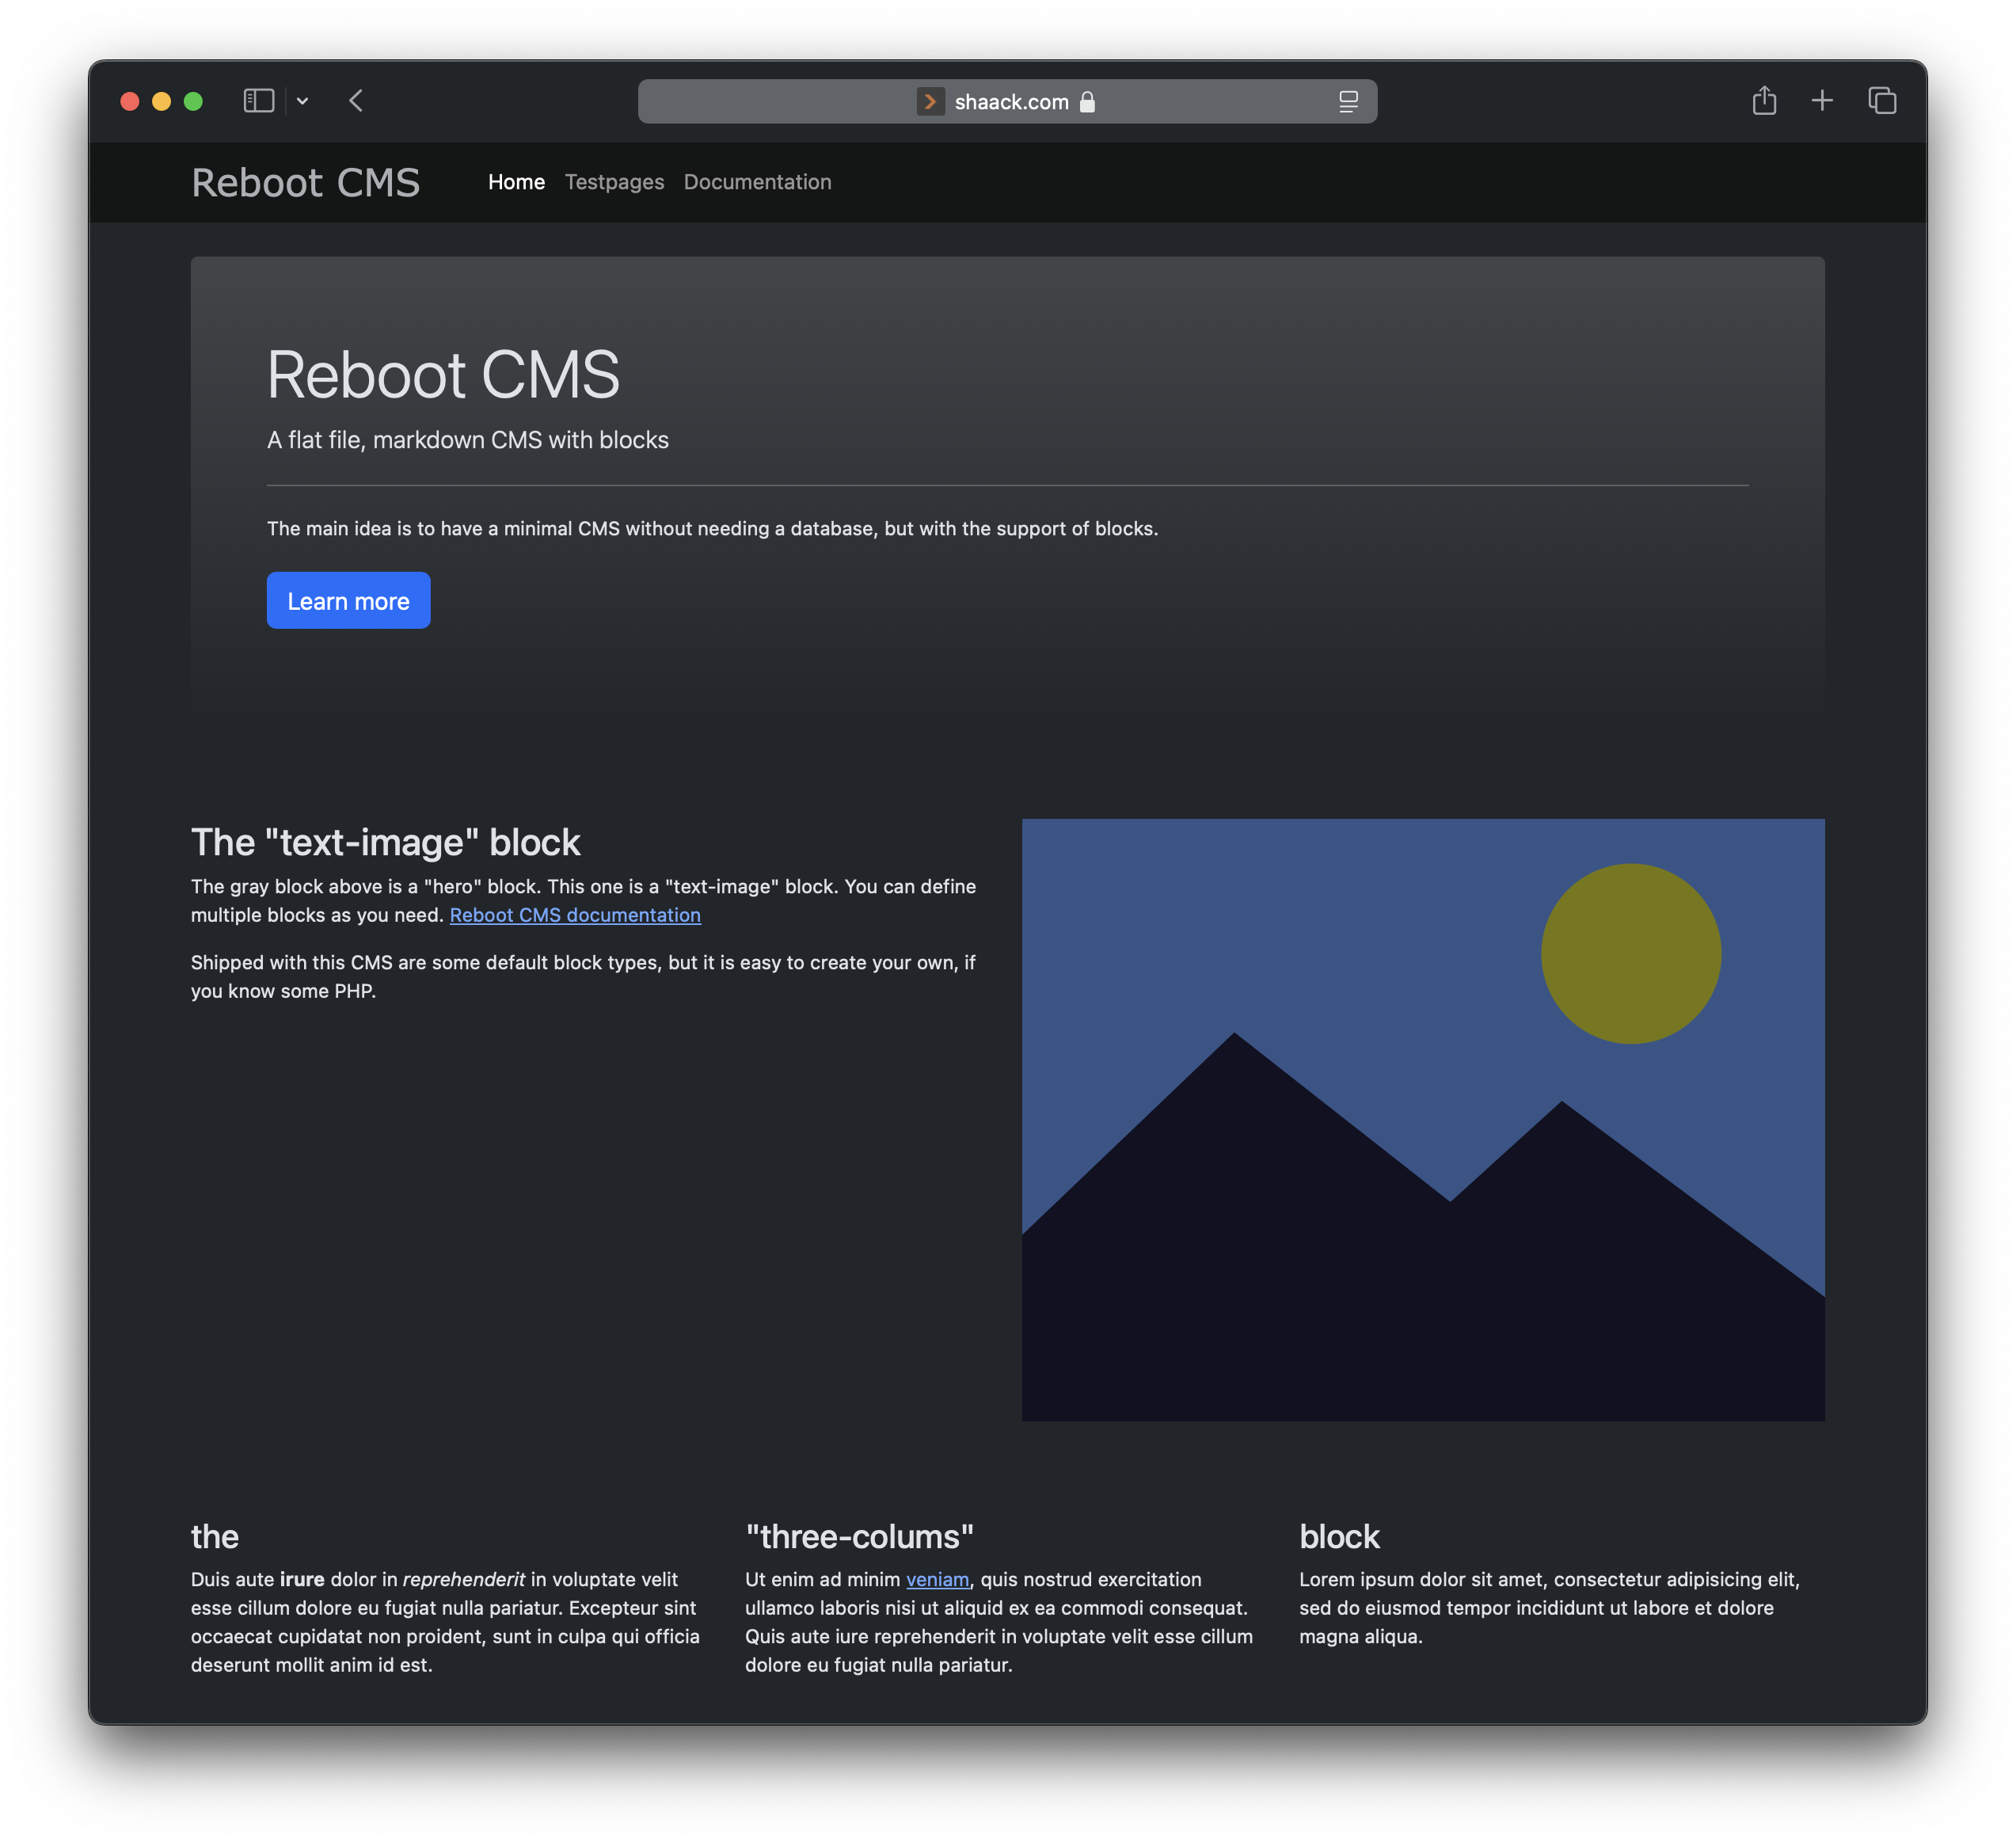
This Page contains 3 Block types, "hero", "text-image" and "three-columns". It will render to this:
Blocks can be configured in the block comment. With this configuration, the text-image
block allows to display the image to the left side in desktop view.
Markdown files without blocks will render to a flat Markdown page like in every other flat file CMS.
You can define metadata for the page on top of the file in YAML Front Matter syntax.
Folder: /site/blocks
A Block describes how a block is rendered. Blocks are written in PHP.
The code for the "text-image" Block which was used in the page above, looks like this:
<?php
// read the configuration
$imagePosition = @$block->getConfig()["image-position"];
?>
<section class="block block-text-image">
    <div class="container">
        <div class="row">
            <div class="col-md-7 <?= $imagePosition === "left" ? "order-md-1" : "" ?>">
                <!-- all text from part 1 (xpath statement) -->
                <?= $block->xpath("/*[part(1)]") ?>
            </div>
            <div class="col-md-5">
                <!-- using attributes of the image in part 2 -->
                <img class="img-fluid" src="/media/<?= $block->xpath("//img[part(2)]/@src") ?>"
                     alt="<?= $block->xpath("//img[part(2)]/@alt") ?>"
                     title="<?= $block->xpath("//img[part(2)]/@title") ?>"/>
            </div>
        </div>
    </div>
</section>
Elements in the markdown are queried and used as values for the block. The query syntax
is Xpath with the addition of the part(n) function.
Another example, the "hero" Block:
<?php /* hero */ ?>
<section class="block block-hero">
    <div class="container-fluid">
        <div class="card border-0 bg-gradient">
            <div class="card-body">
                <div class="p-xl-5 p-md-4 p-3">
                    <!-- use the text of the <h1> in part 1 for the display-4 -->
                    <h1 class="display-4"><?= $block->nodeHtml($block->xpath("/h1[part(1)]/text()")) ?></h1>
                    <!-- the lead will be the text of the <p> in part 1 -->
                    <p class="lead"><?= $block->nodeHtml($block->xpath("/p[part(1)]/text()")) ?></p>
                    <hr class="my-4">
                    <!-- print everything from part 2 -->
                    <div class="mb-4">
                        <?= $block->nodeHtml($block->xpath("/*[part(2)]")) ?>
                    </div>
                    <p>
                        <!-- the link in part 3 will be used as the primary button -->
                        <a class="btn btn-primary btn-lg"
                           href="<?= $block->nodeHtml($block->xpath("//a[part(3)]/@href")) ?>"
                           role="button"><?= $block->nodeHtml($block->xpath("//a[part(3)]/text()")) ?></a>
                    </p>
                </div>
            </div>
        </div>
    </div>
</section>You find the admin interface unter /admin. The default login is
- user: admin
- pwd: change_me
You can and should change the admin password in local/.htpasswd with
cd local
htpasswd .htpasswd admin
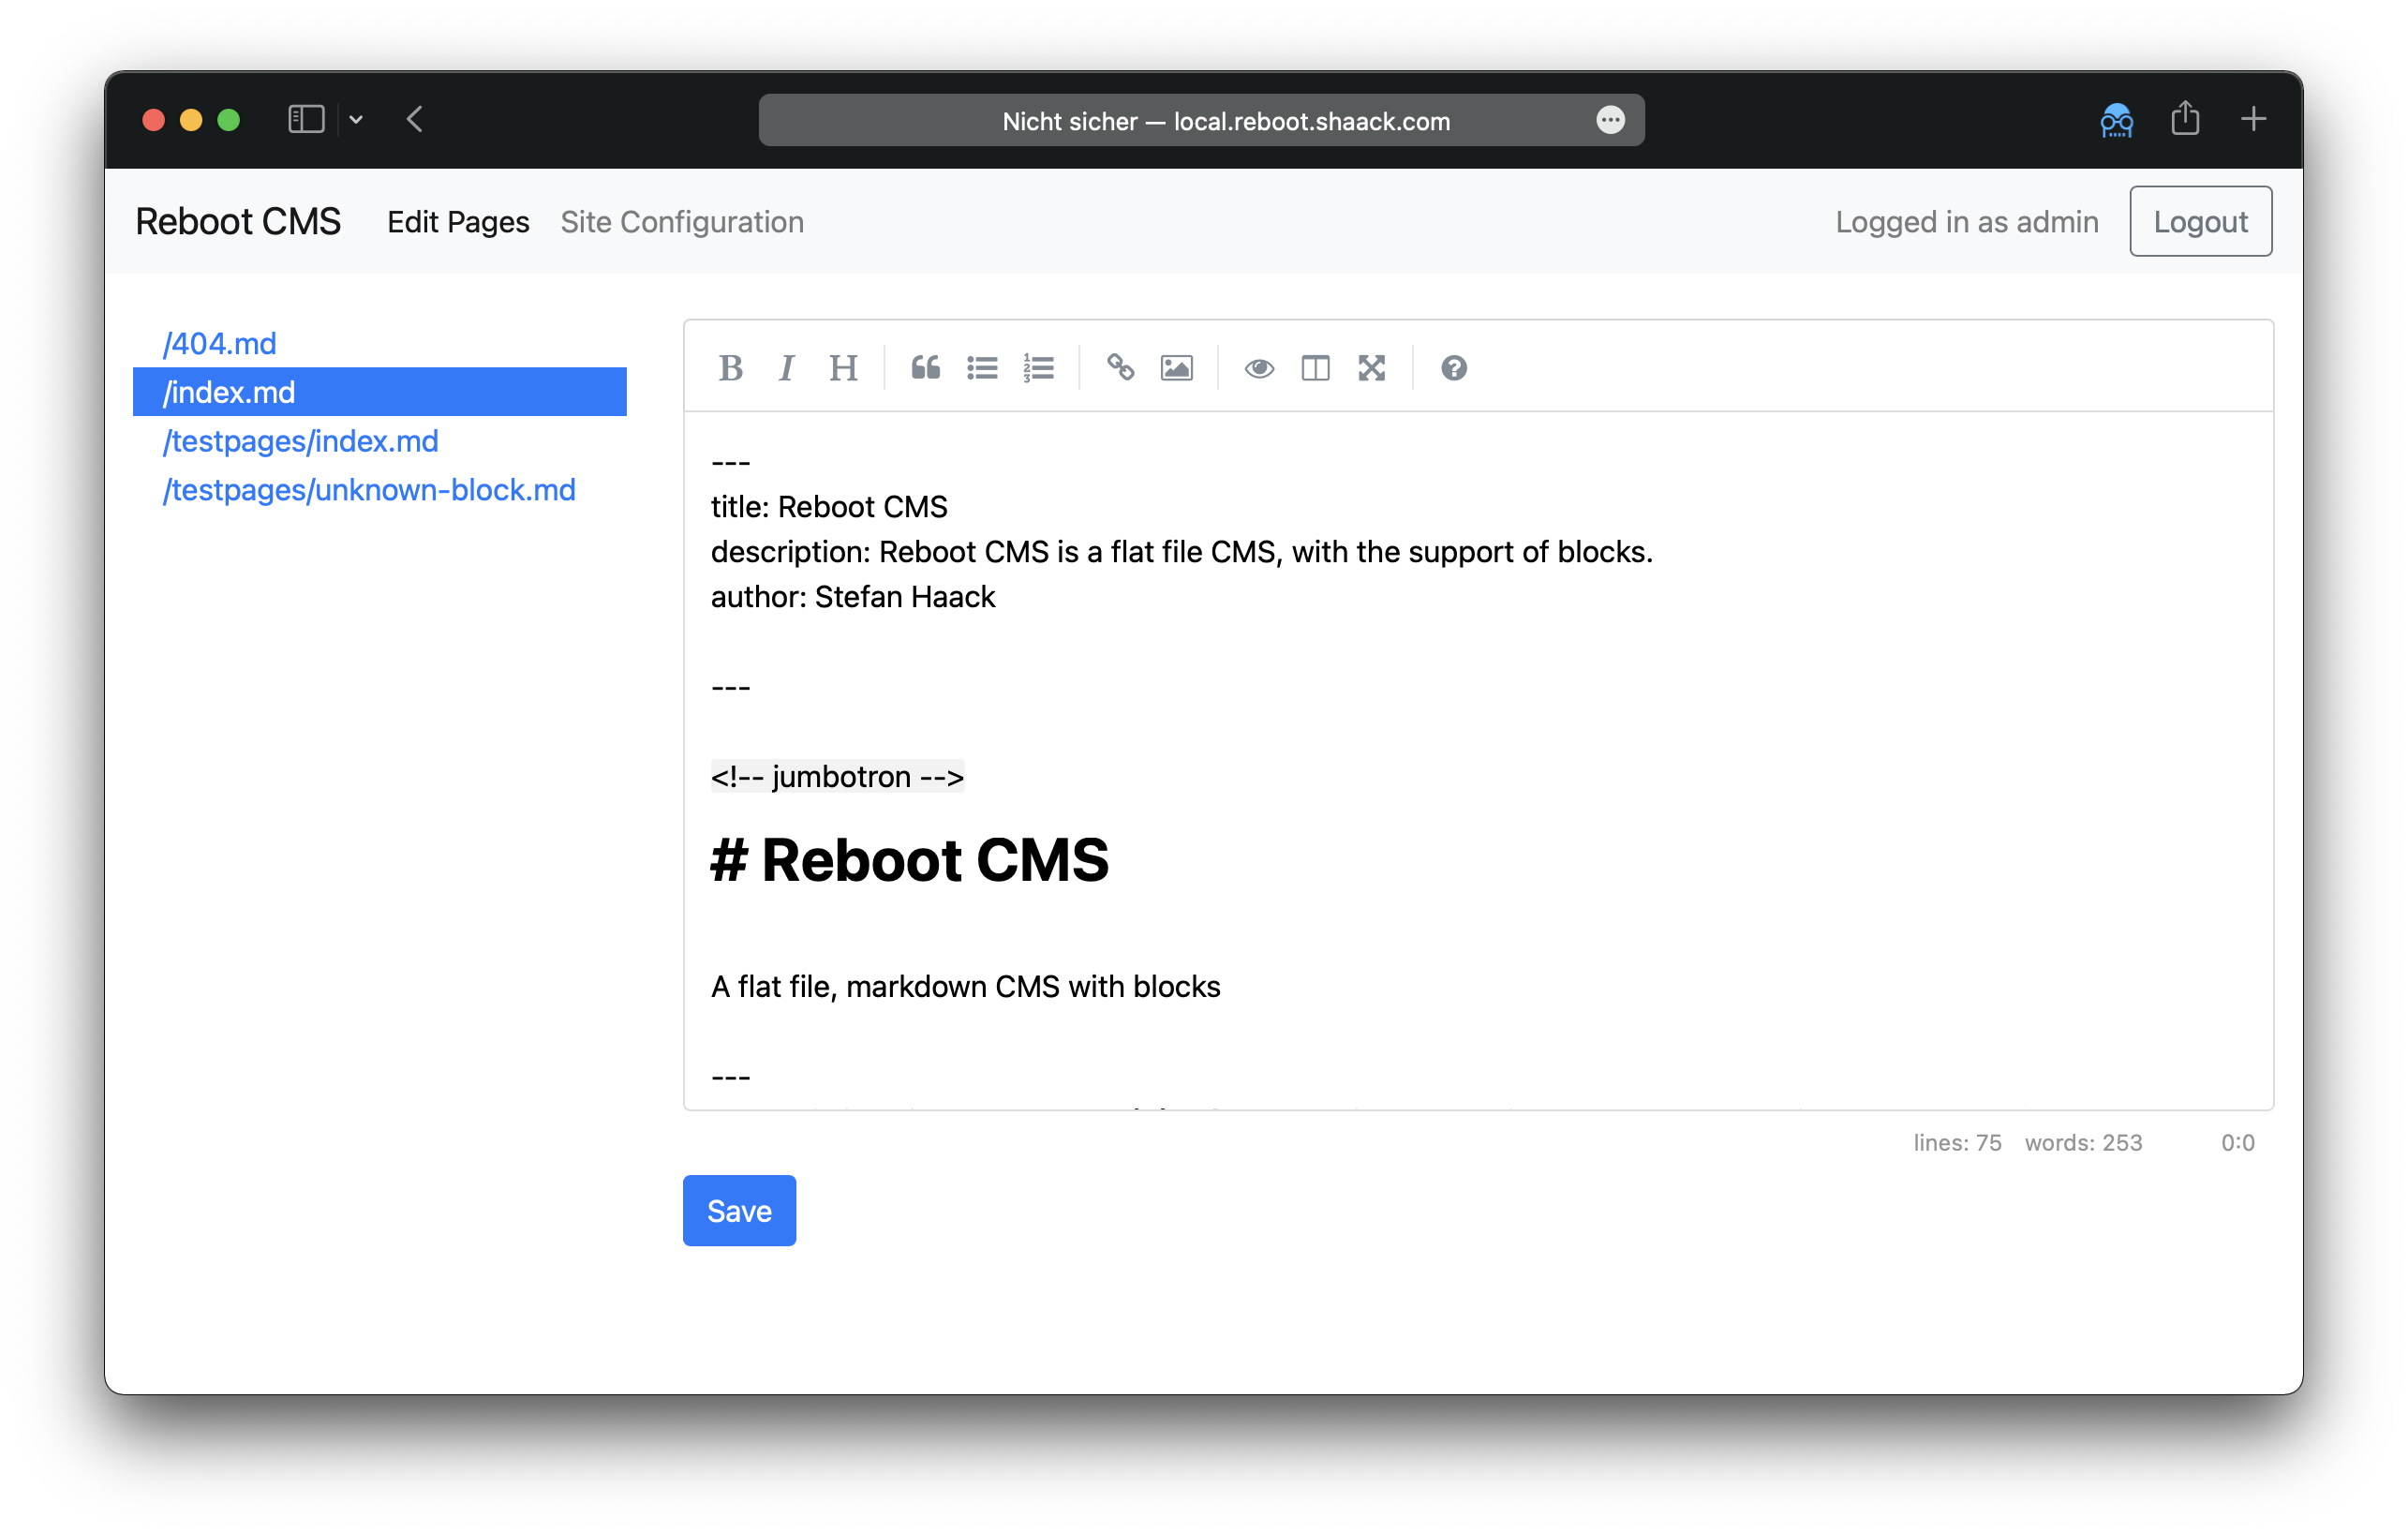
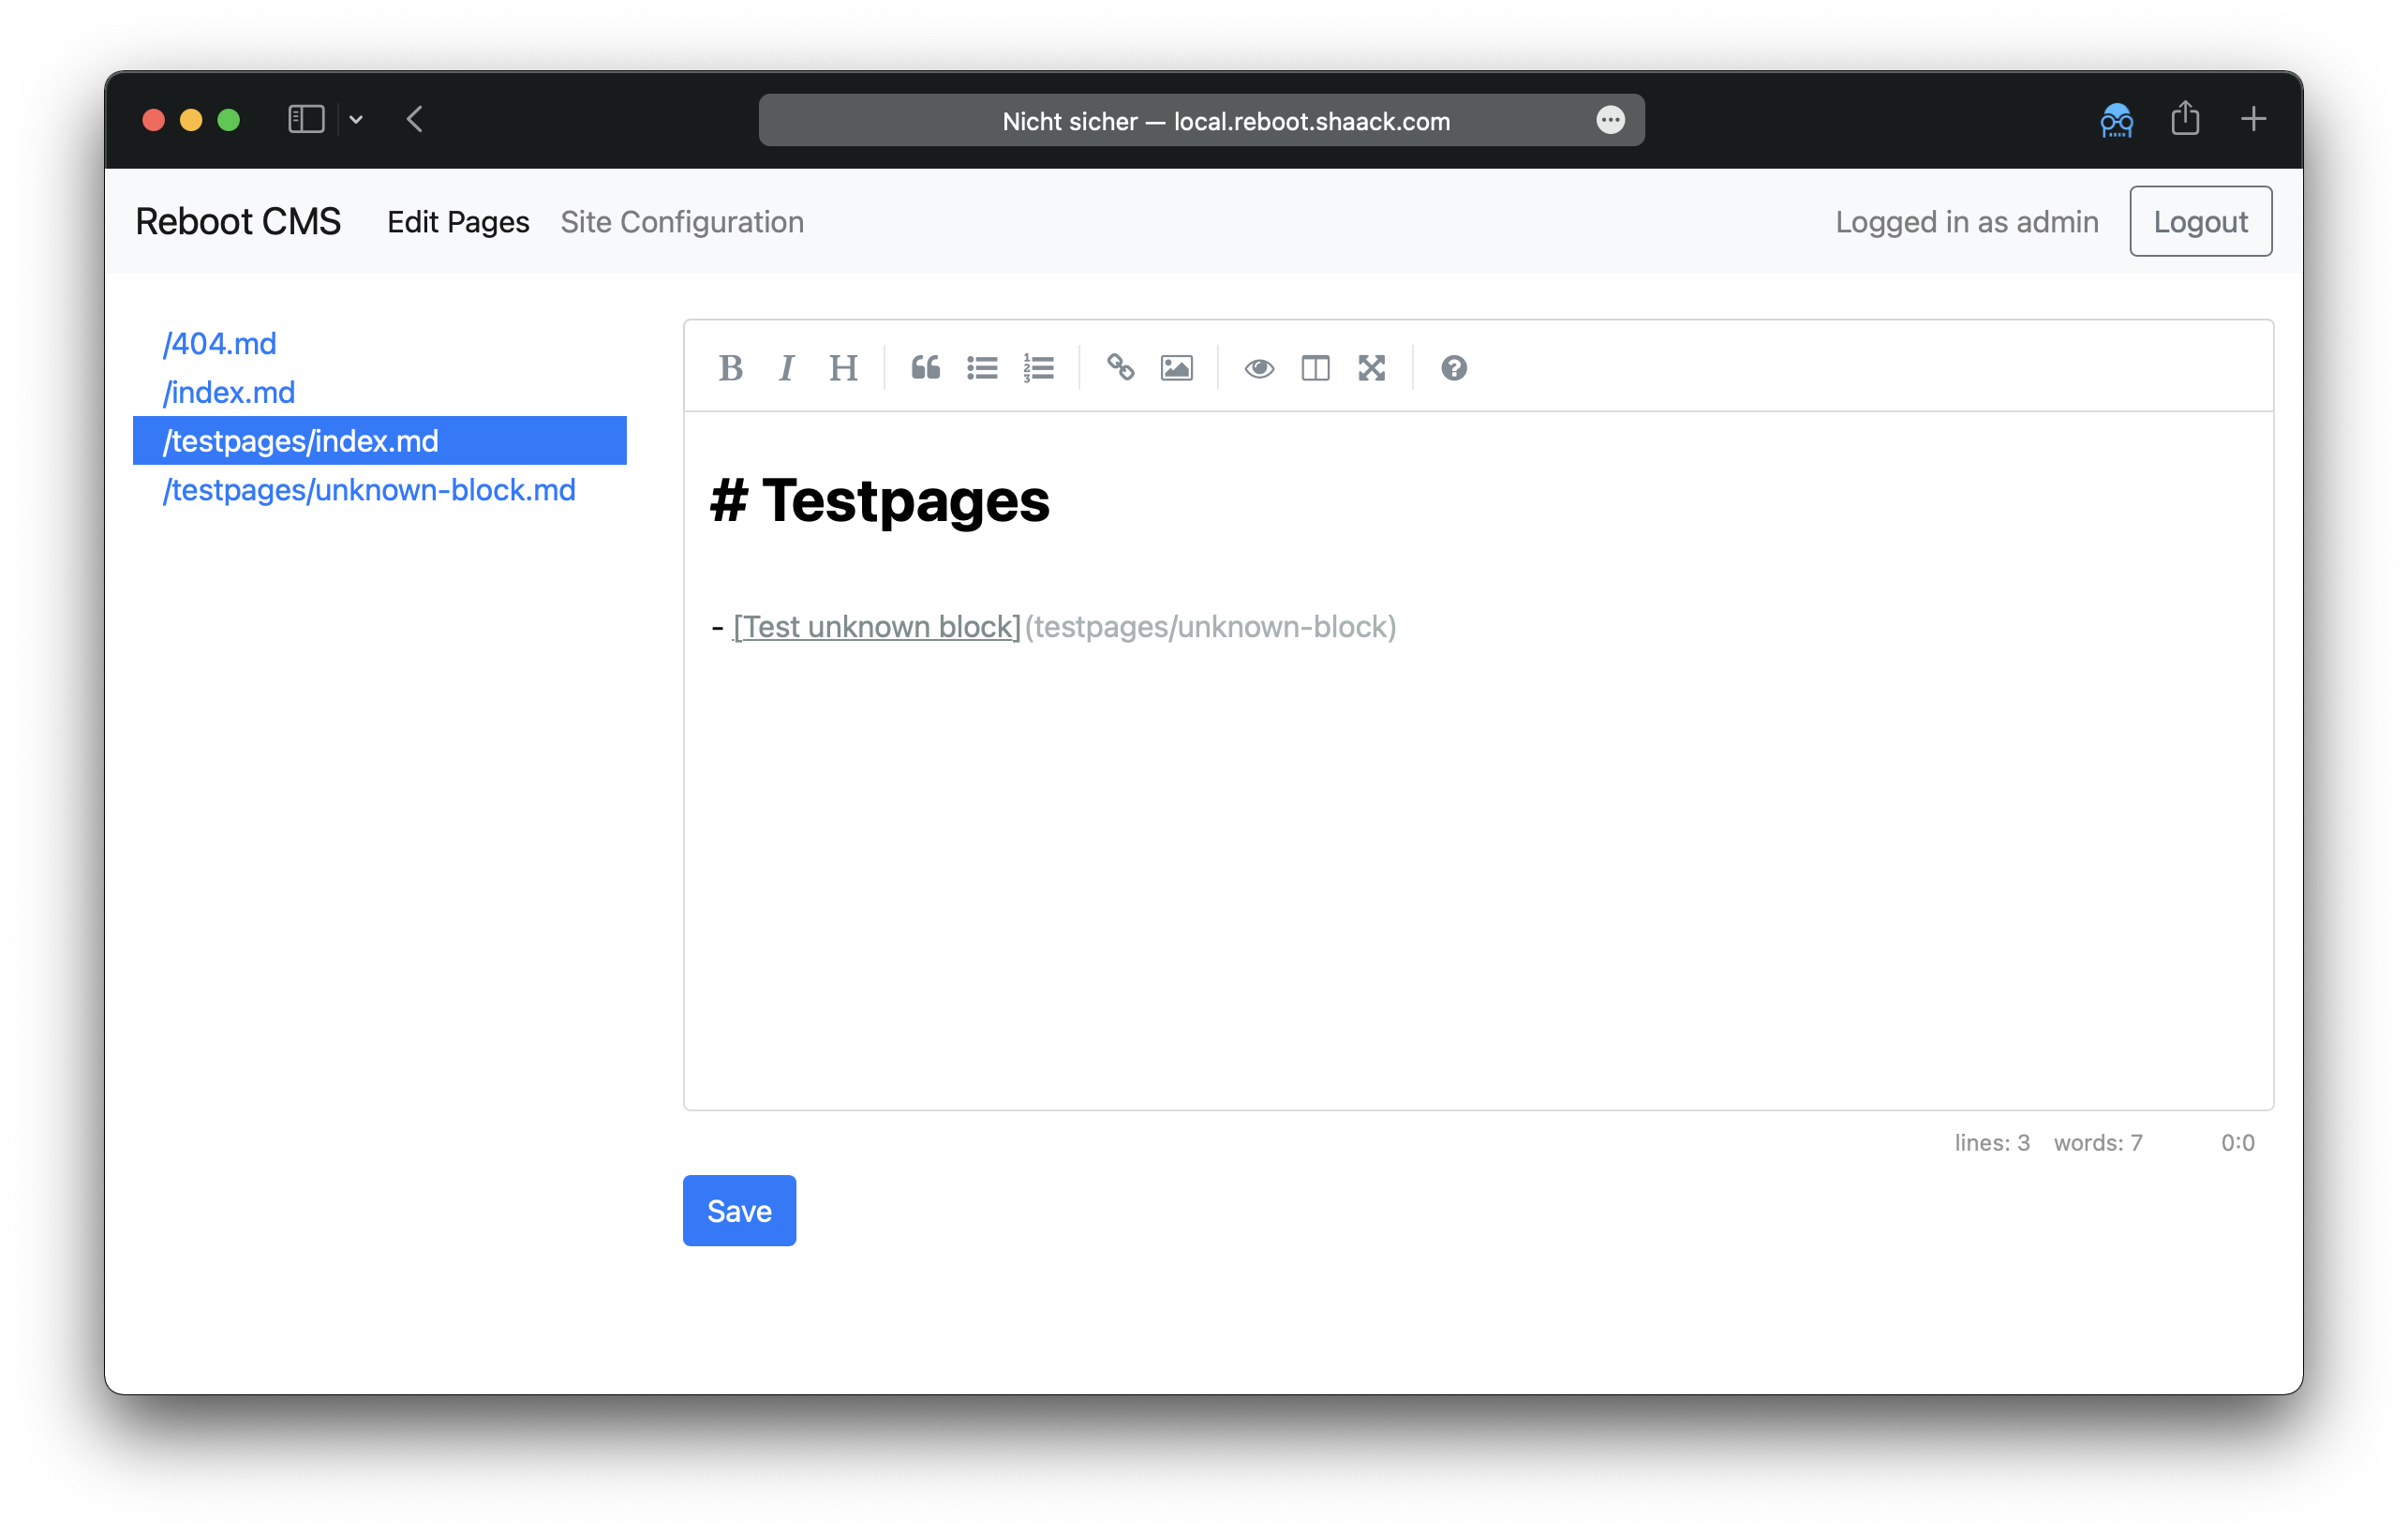
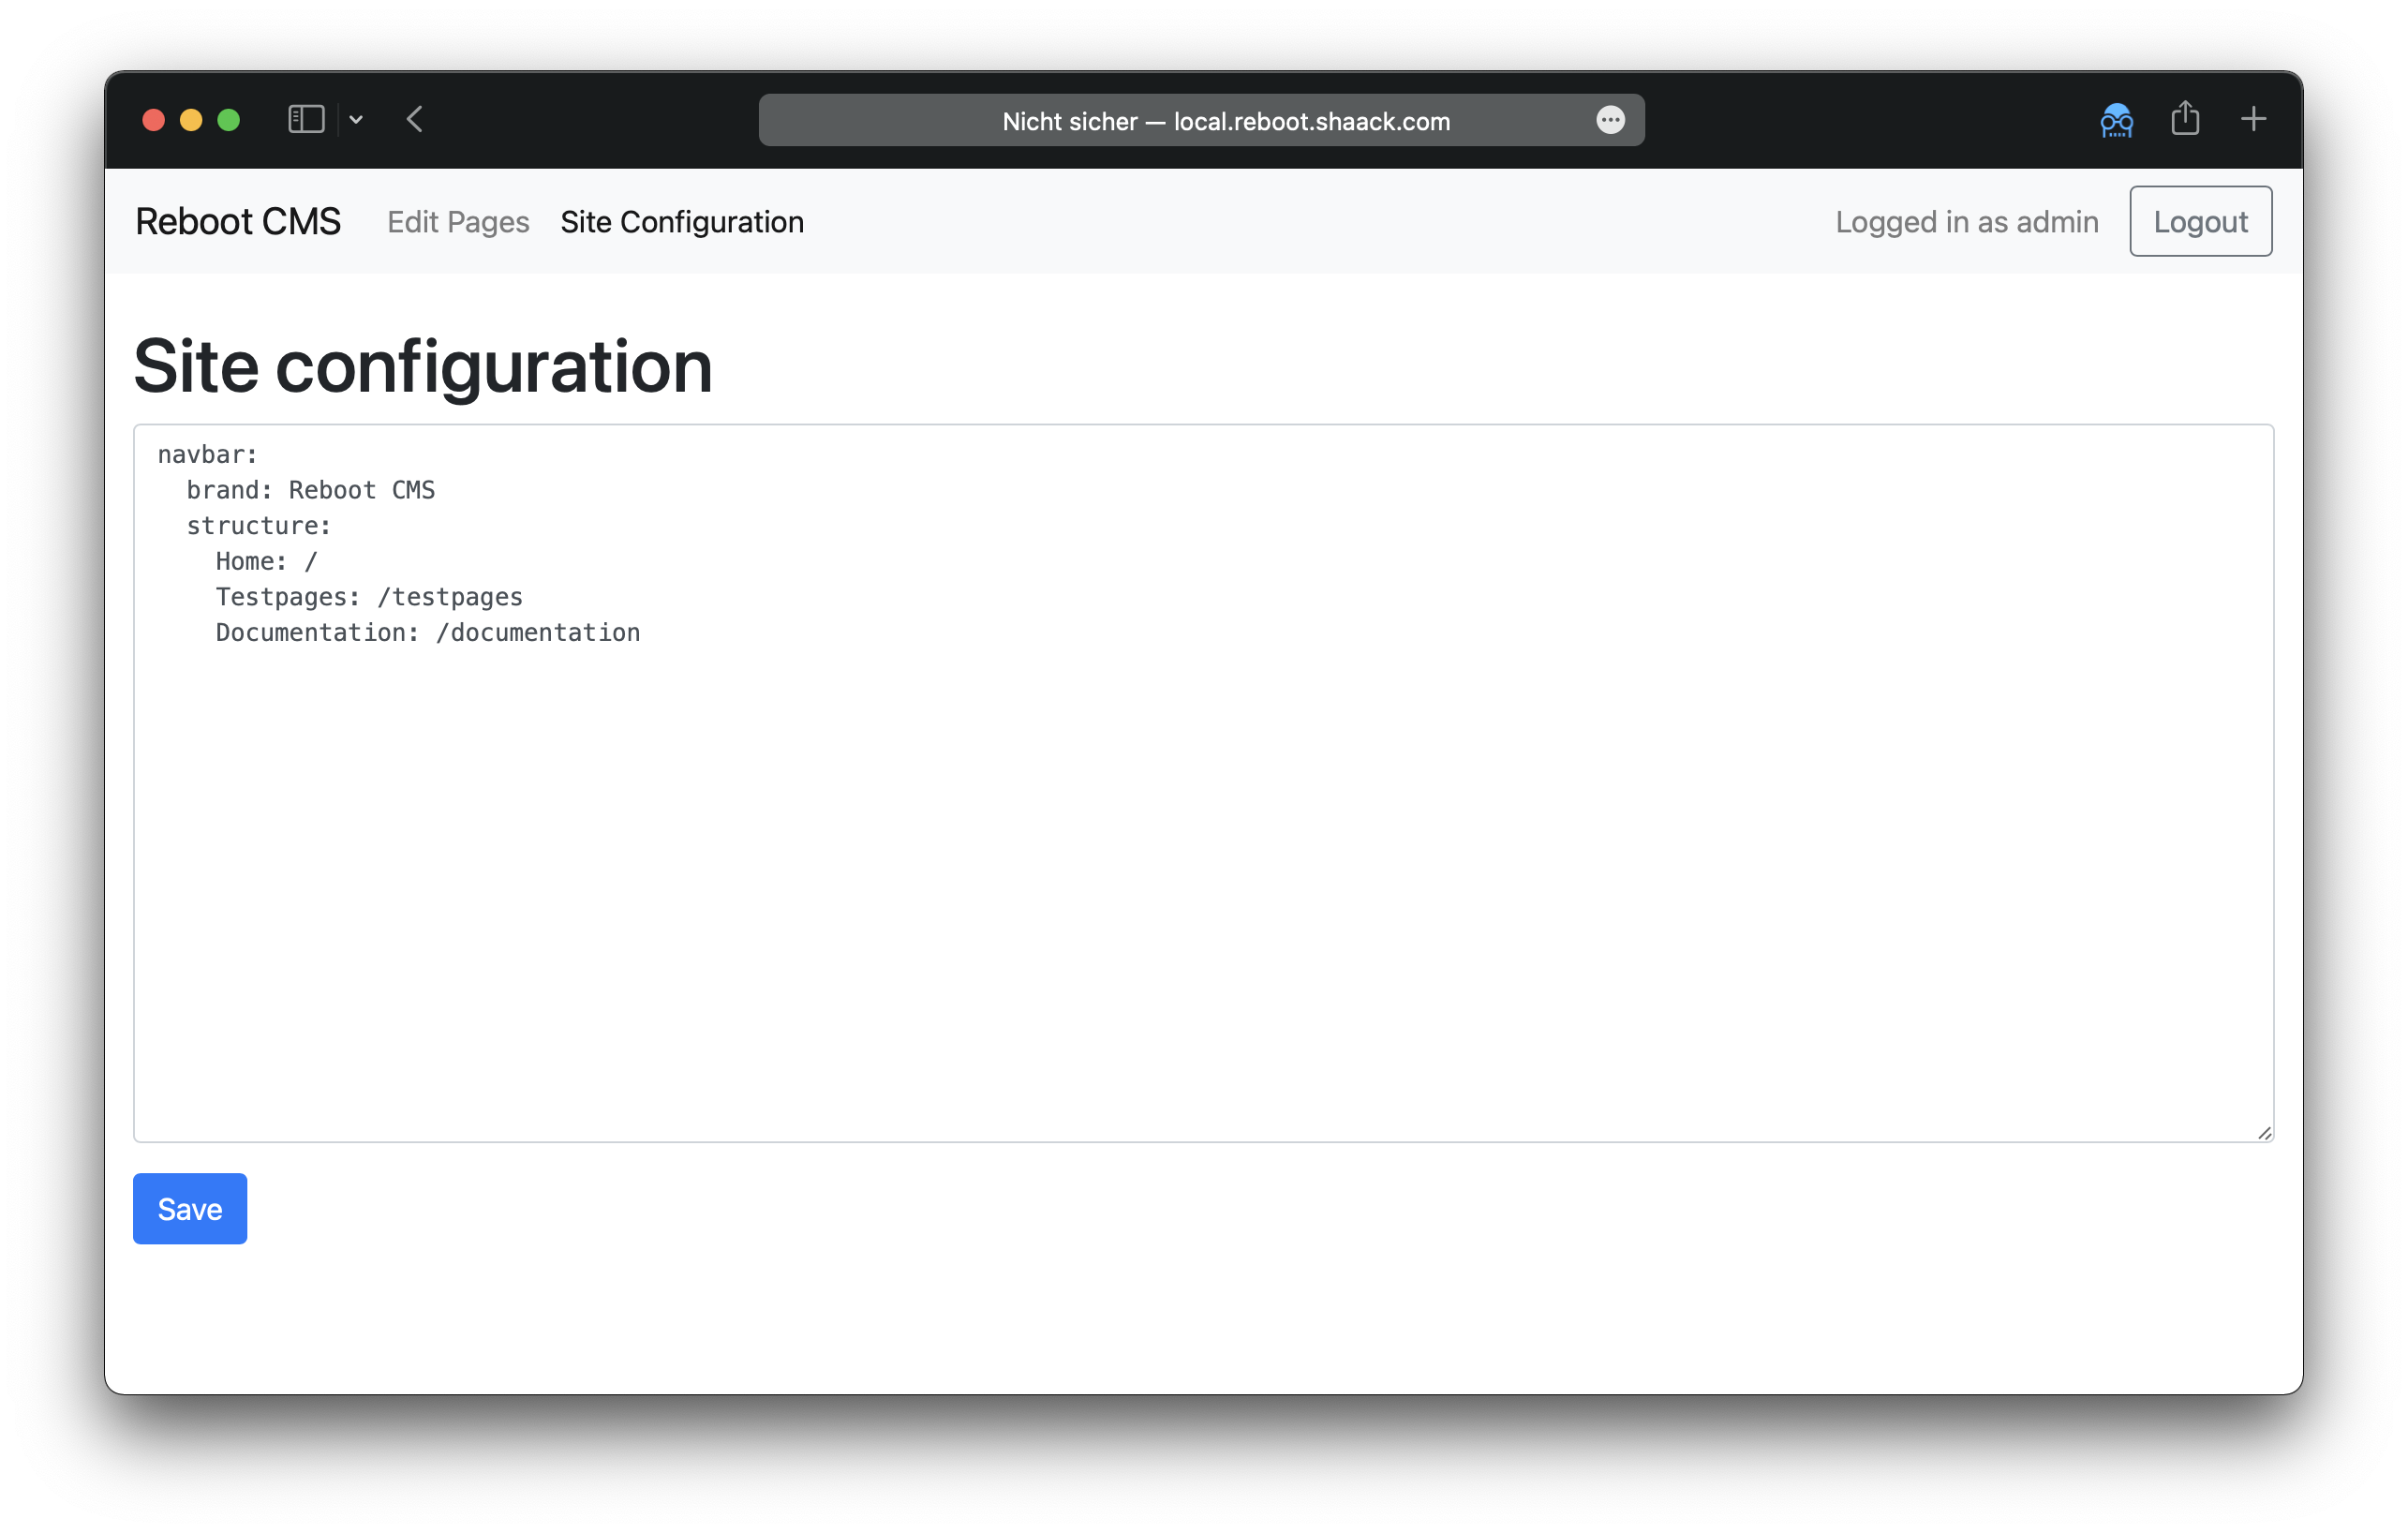
In the admin interface you can edit markdown pages and set the site configuration in which the navigation structure is defined.
In the site configuration, you can store global values of the site, like the navigation structure or the content of header elements. The site configuration is written in YAML.
In Reboot CMS you can extend the functionality of your site with AddOns.
AddOns are classes which extend the class AddOn.
Add AddOns to your site in the site/config.yml:
addons: [ ExampleAddOn, AnotherAddOn ]See also the ExampleAddOn.php which is part of the test site.
The admin, which is itself a Reboot CMS site, uses an AddOn for Authentication to handle the login session.
In your AddOn you can overwrite the functions init(), preRender(Request $request) or/and
postRender(Request $request, string $content) to modify the behaviour or content of pages.
Called after construction of the AddOn. Use this to initialize data and read configurations.
Called on every request before rendering the page. Return true, if you want to render the page or false if you do a
redirect or deny access.
Called after the page is rendered before displaying it. Use it to modify content after rendering. Returns the modified content of the page.


