Actions Quick Start
您可以理解Actions是针对这个仓库的自动化运行流程;
以下示例向您展示了如何自动触发作业、它们运行的位置以及它们如何与存储库中的代码进行交互。
1.创建.github/workflows目录
2. 在 .github/workflows 目录下,创建一个名为 github-actions-demo.yml 的文件,更多参阅"Creating new files"
3. 将以下 YAML 内容复制到 github-actions-demo.yml 文件中:
name: GitHub Actions Demo
{%- ifversion actions-run-name %}
run-name: {% raw %}${{ github.actor }}{% endraw %} is testing out GitHub Actions 🚀
{%- endif %}
on: [push]
jobs:
  Explore-GitHub-Actions:
    runs-on: ubuntu-latest
    steps:
      - run: echo "🎉 The job was automatically triggered by a {% raw %}${{ github.event_name }}{% endraw %} event."
      - run: echo "🐧 This job is now running on a {% raw %}${{ runner.os }}{% endraw %} server hosted by GitHub!"
      - run: echo "🔎 The name of your branch is {% raw %}${{ github.ref }}{% endraw %} and your repository is {% raw %}${{ github.repository }}{% endraw %}."
      - name: Check out repository code
        uses: {% data reusables.actions.action-checkout %}
      - run: echo "💡 The {% raw %}${{ github.repository }}{% endraw %} repository has been cloned to the runner."
      - run: echo "🖥️ The workflow is now ready to test your code on the runner."
      - name: List files in the repository
        run: |
          ls {% raw %}${{ github.workspace }}{% endraw %}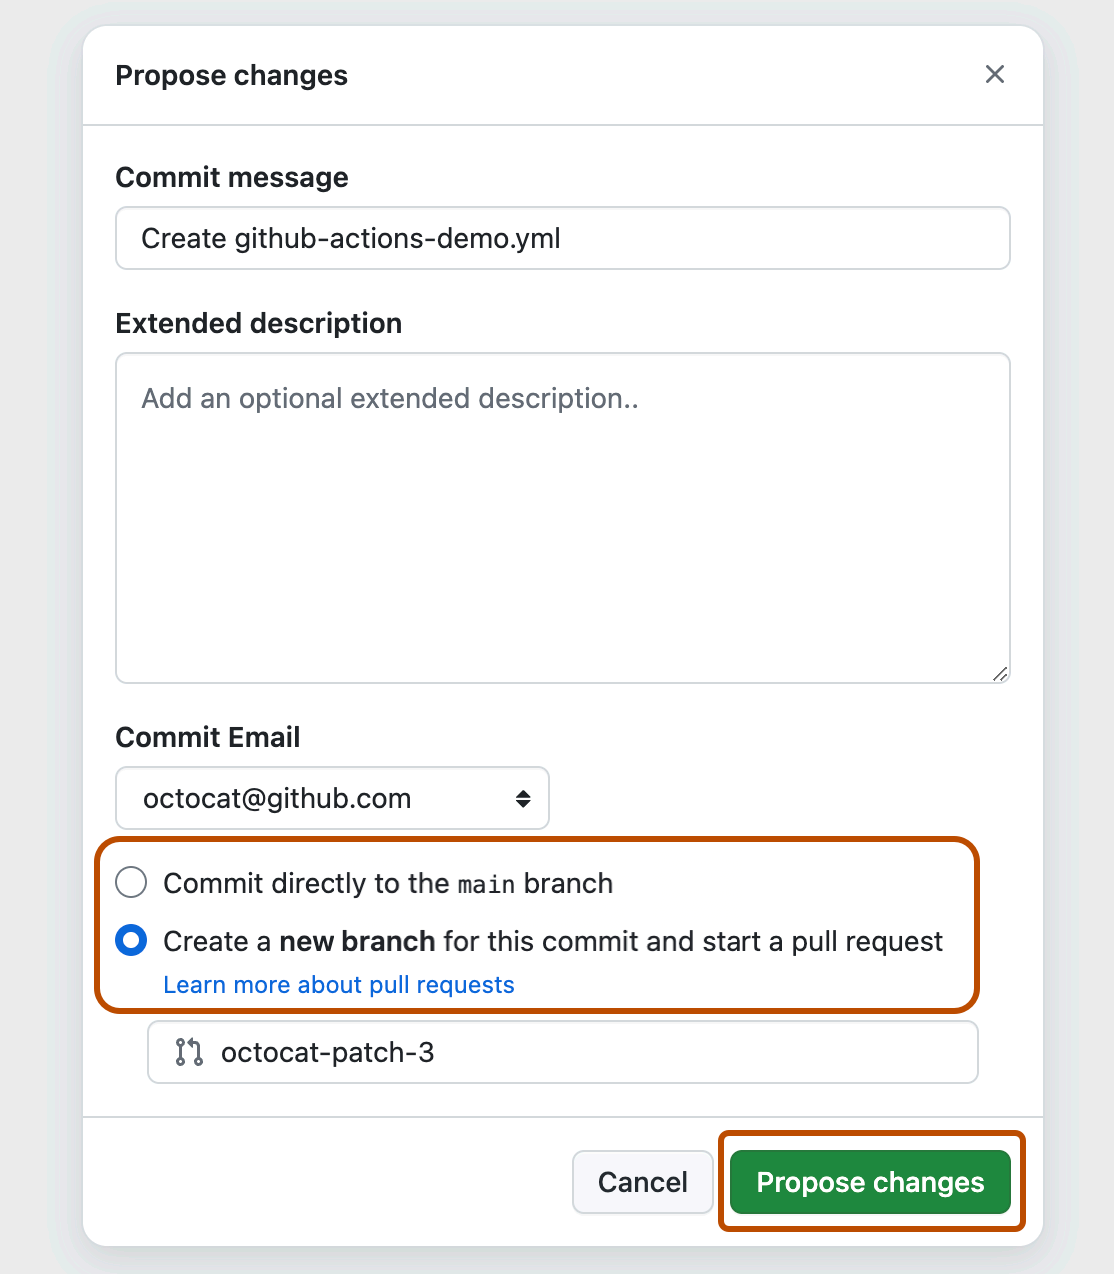
- run: echo "🍏 This job's status is {% raw %}${{ job.status }}{% endraw %}."- 滚动到页面底部并选择为此提交创建新分支并启动拉取请求。 然后,要创建拉取请求,请单击 Propose new file。
工作流文件提交到存储库后,文件中定义的内容是的on: [push]所以会只要仓库有推送时间就会触发 push 事件并运行您的工作流。
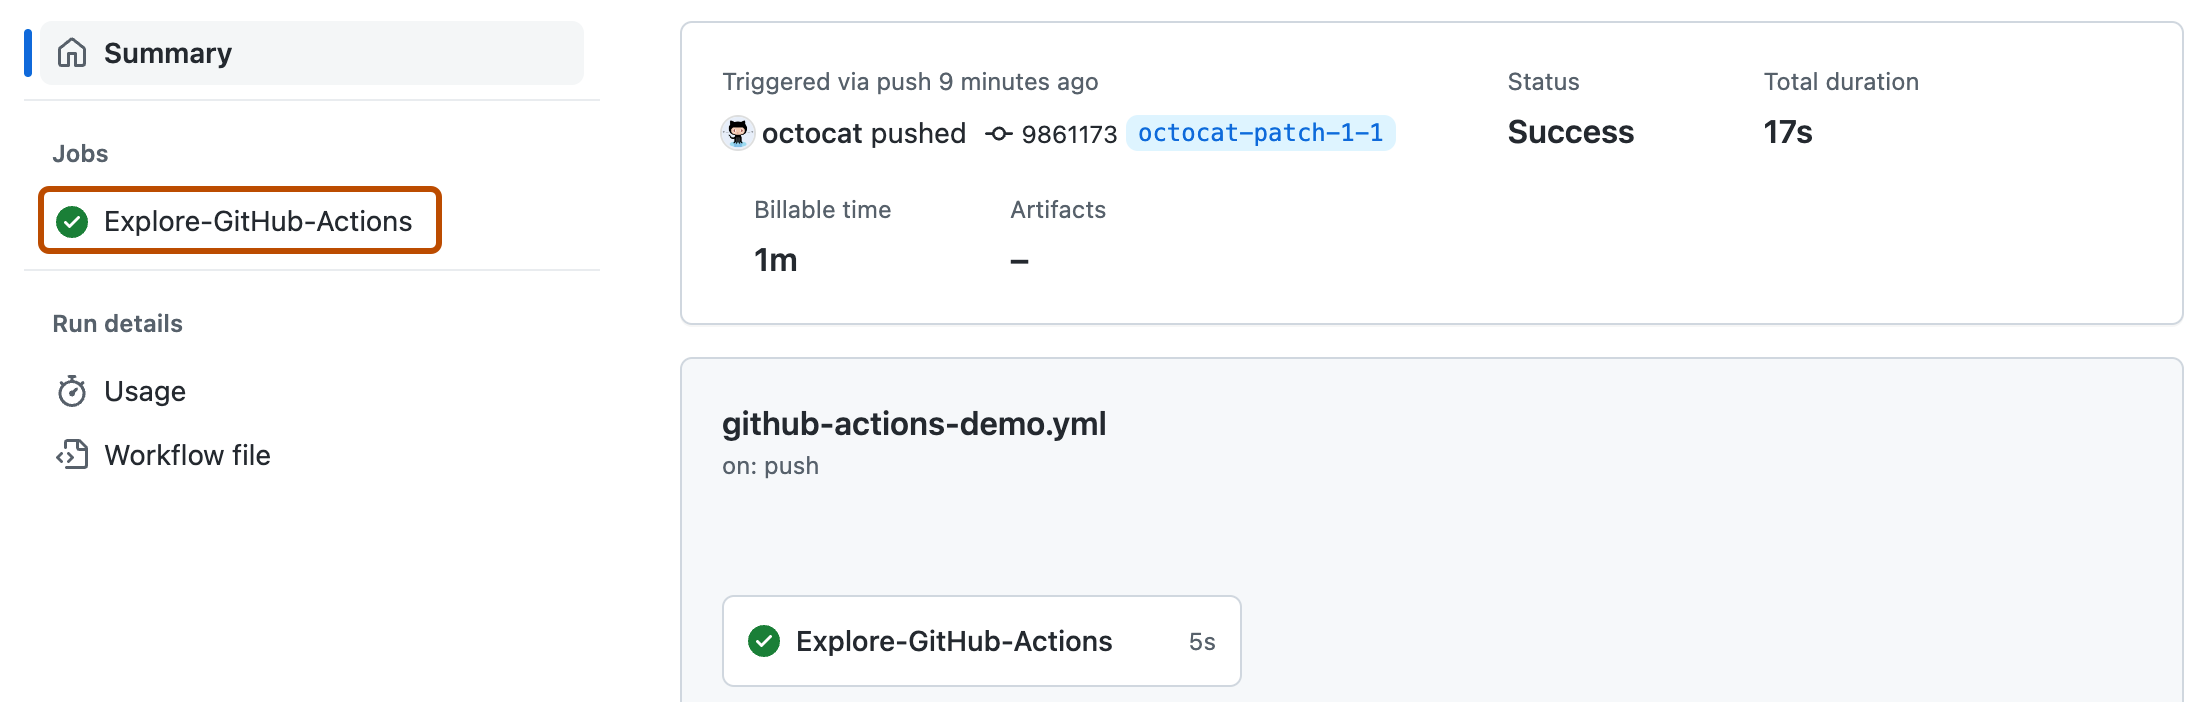
- 在左侧边栏中,单击您要查看的工作流程。

- 从工作流运行列表中,单击您要查看的运行的名称。

- 在 Jobs 下,单击 Explore-GitHub-Actions 作业。

- 日志显示每个步骤的处理方式。 展开任何步骤以查看其详细信息。
- 例如,您可以查看存储库中的文件列表:
- 日志显示每个步骤的处理方式。 展开任何步骤以查看其详细信息。

wiki 贡献者
Bin4xin •
feifei1606 •
codecat