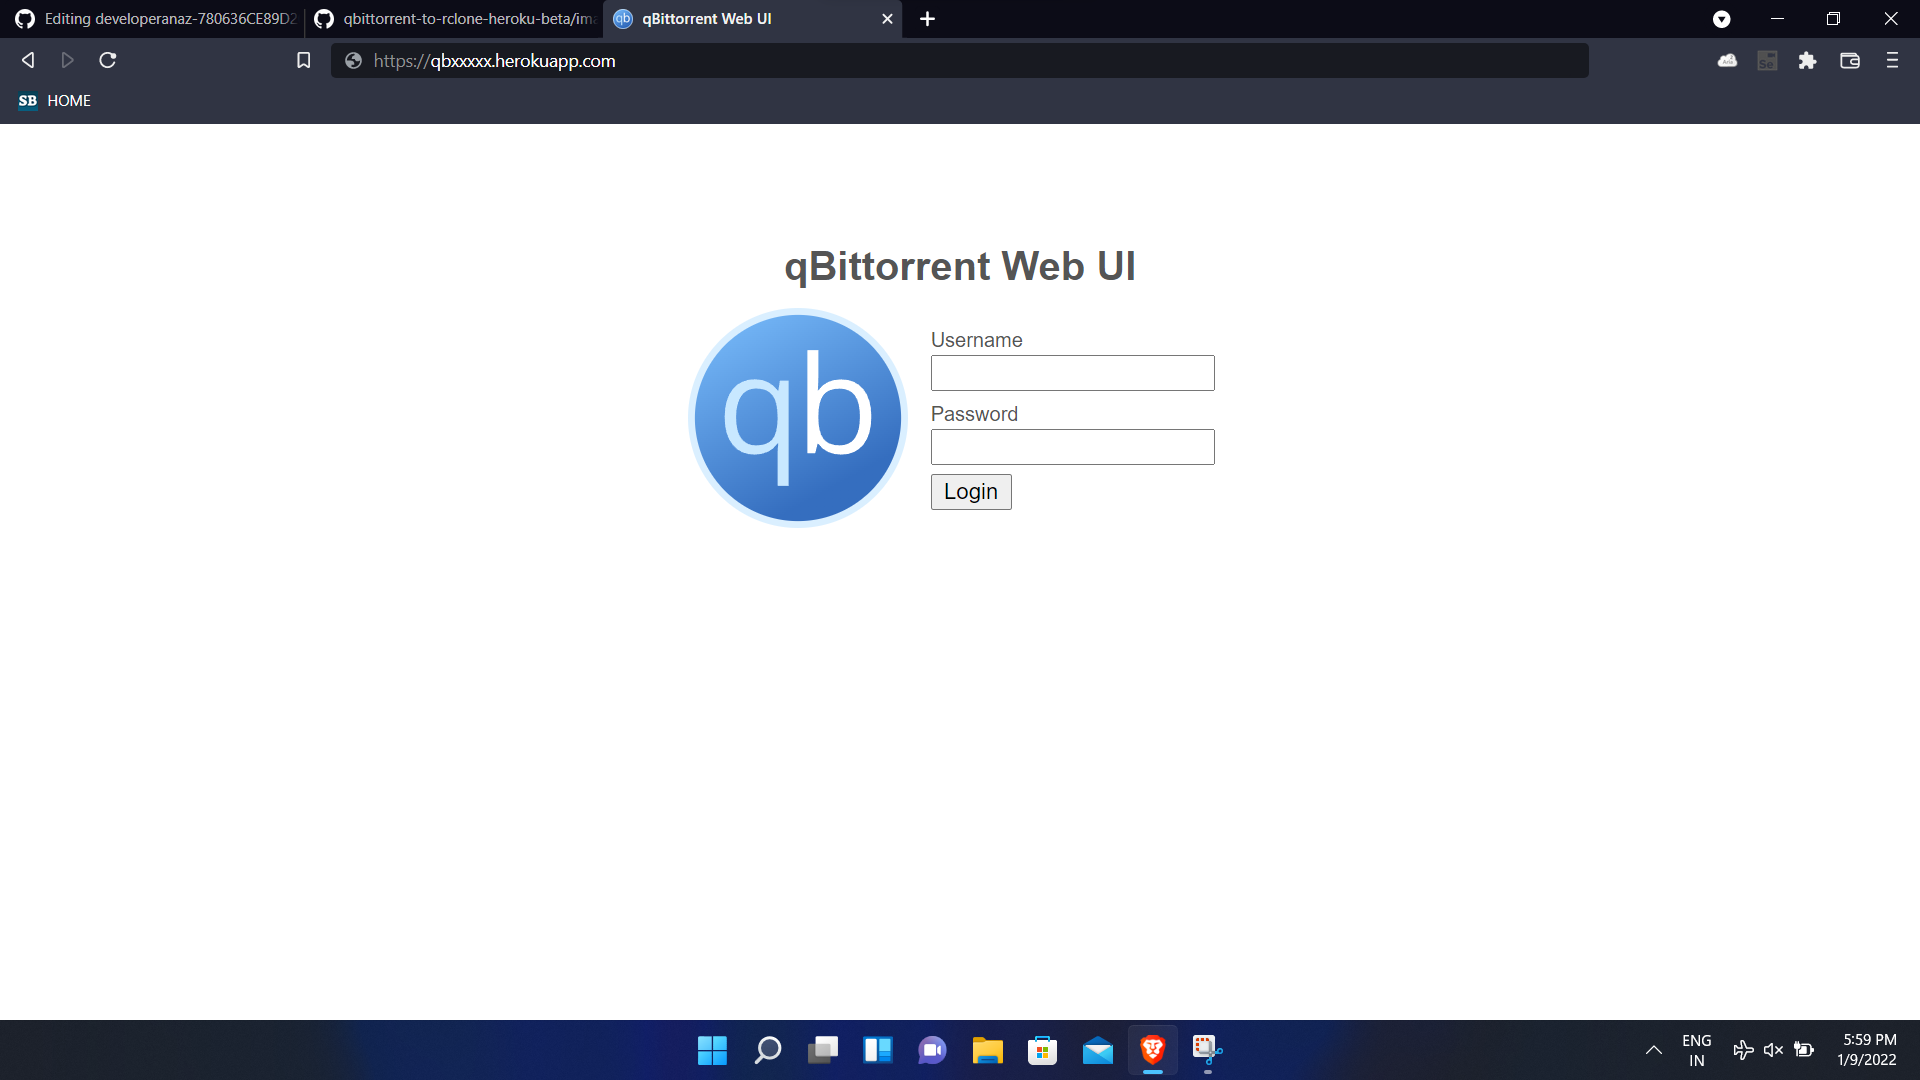
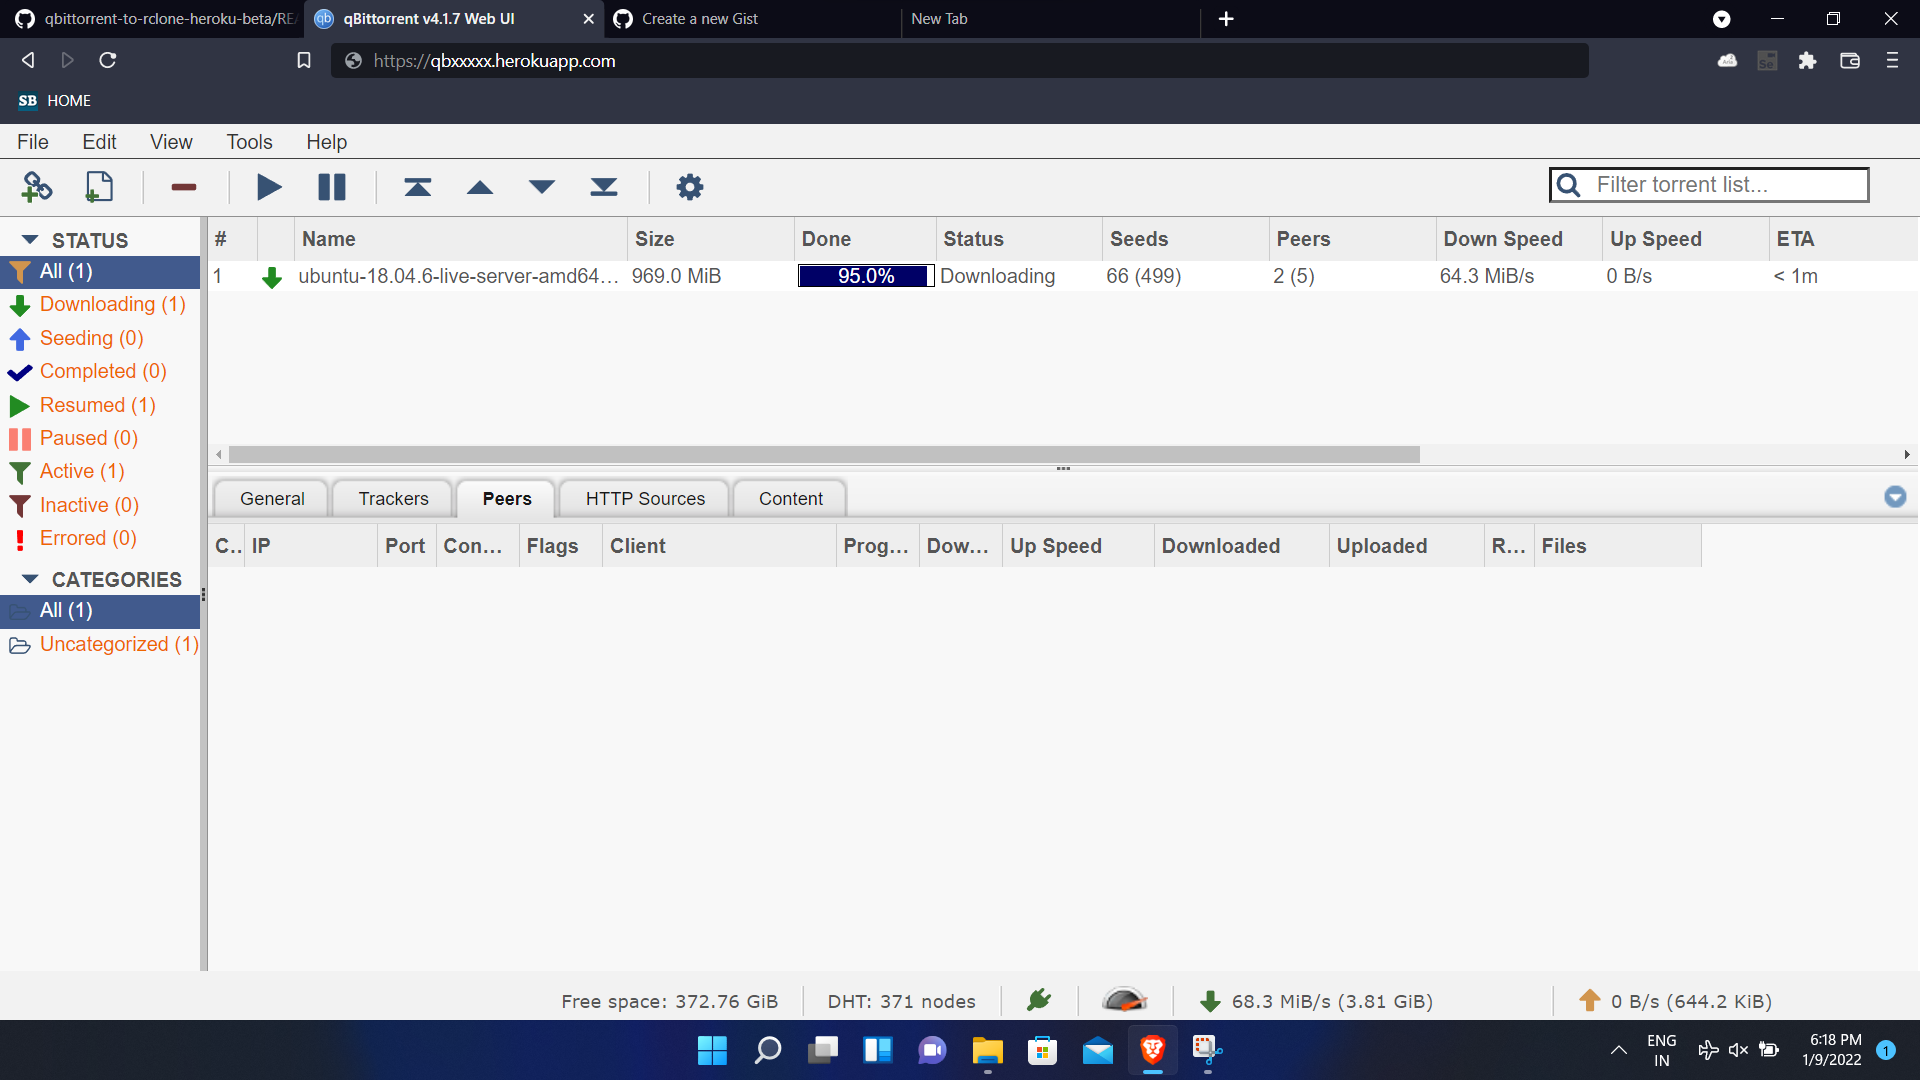
This web application downloads your torrent-files or magnet links or torrent http links and uploads directly to your any rclone drive instantly. Here qBittorrent-nox (Linux) is used as web UI And Rclone is used as Uploader with the help of Docker.
Special thanks to rclone and qbittorrent-nox
- Star my repository
- Create a Heroku Free account
- Log in to Heroku in any browser
- Click on the Rapid deployment button
and deploy app
- Go to deployed application in heroku
- Switch to application settings.
- Scroll down to see
config vars> clickReveal Config Vars.
- Generate rclone.conf file from any terminal or cmd or termux or by using RCX android.
- Make sure you have a valid config and the
remote nameshouldn't have spaces in it. eg-[devanaz] - You can't use Multiple cloud drive accounts in single rclone.conf file, if you done that your first config is only taken for upload.
- We need any text/code hosting website, Use gist-github github account needed.
- Open rclone.config file using any text editors and copy all text inside rclone.conf and paste it in gist
- Choose any file name and save it by clicking
Create secret gist. - Then Click RAW button and copy the url (RAW is important)
- Paste your config Url in the heroku 'RCLONE_CONFIG_IN_RAW_URL' Section
- note : Don't share this url to anyone
- Type Your new Username in
WEBUSERsection
- Type Your New Password in
WEBPASSWORDsection
iv) SELFPING (hidden config var)
This config var is hidden and can be activated by
- Go to deployed application in heroku
- Switch to application settings.
- Scroll down to see
config vars> clickReveal Config Vars. - use key as
selfpingand corresponding value asyour-deployed-app-name - example image here
- If
This page isn’t workingIf the problem continues, contact the site owner. HTTP ERROR 401is shown in browser change your browser url fromhttps://myapp.herokuapp.comtohttp://myapp.herokuapp.com/. ie., change https to http


