-
Notifications
You must be signed in to change notification settings - Fork 48
Creating Steps
Steps, in NgFlowchart, are composed of two parts:
- The palette view as it exists on the palette before anything has been dragged onto the canvas.
- The actual canvas content you see on the canvas after dropping from the palette.
To identify a potential draggable step on the palette, you simply need to add the ngFlowchartStep directive to the element.
items = [
    {
      name: 'Logger',
      type: 'log',
      data: {
        name: 'Log',
        icon: { name: 'log-icon', color: 'blue' },
        config: {
          message: null,
          severity: null
        }
      }
    }
  ]
<div class="palette">
    <div *ngFor="let item of items" [ngFlowchartStep]="{
      template: stepContent,  //templateRef or Type<NgFlowchartStepComponent>
      type: item.type,  //any unique string. used to classify the step in json
      data: item.data  //optional config data
    }">
        <span>{{item.name}}</span>
    </div>
</div>
The directive input is an object with 3 parameters:
- template - This is an ng-template ref containing the canvas content portion of the step. A component type extending NgFlowchartStepComponent can also be passed.
- type - This is a unique string that identifies this step class. Note that it is not unique to any instance of a step but rather the step type as a whole. For example if we had a "log" step, we may have multiple "log" steps in our canvas but they all share the type "log".
- data - Optional data that can be passed to the step instance or canvas content.
The canvas content is the 2nd part of the step that is created and displayed on the canvas every time you drop a step from the palette.
There are two ways to go about creating step content:
- Passing a templateRef
- Passing a component type Type<NgFlowchartStepComponent>
In the above example we are passing a templateRef of stepContent, though it is absent from the html, lets add that now.
<div class="palette">
    <div *ngFor="let item of items" [ngFlowchartStep]="{
      template: stepContent,
      type: item.type,
      data: item.data
    }">
        <span>{{item.name}}</span>
    </div>
</div>

<ng-template #stepContent let-data>
  <div class="step"
    (click)="onDelete(data.id)"
  >
    <span>{{ data.data.name }}</span>
  </div>
</ng-template>
Now whenever a step is dropped on the canvas, a new stepContent template will be instatiated.
You will notice the template ref also has access to a data variable. This data variable actually wraps the data passed in the ngFlowchartStep directive along with the ID of the step.
{
  /** The id of the newly added step */
  id: string,
  /** The data passed in ngFlowchartStep
  data: any
}
NOTE: The data object passed is mutable and can be updated. For example you may have data that is meant to be updated by the user in a popup, such as a log message.
Regardless of whether your step content uses a template ref or Type<NgFlowchartStepComponent>, all step content is created as an instance of NgFlowchartStepComponent.
For steps that may need more complex logic it is recommended to create a custom component that extends from NgFlowchartStepComponent.
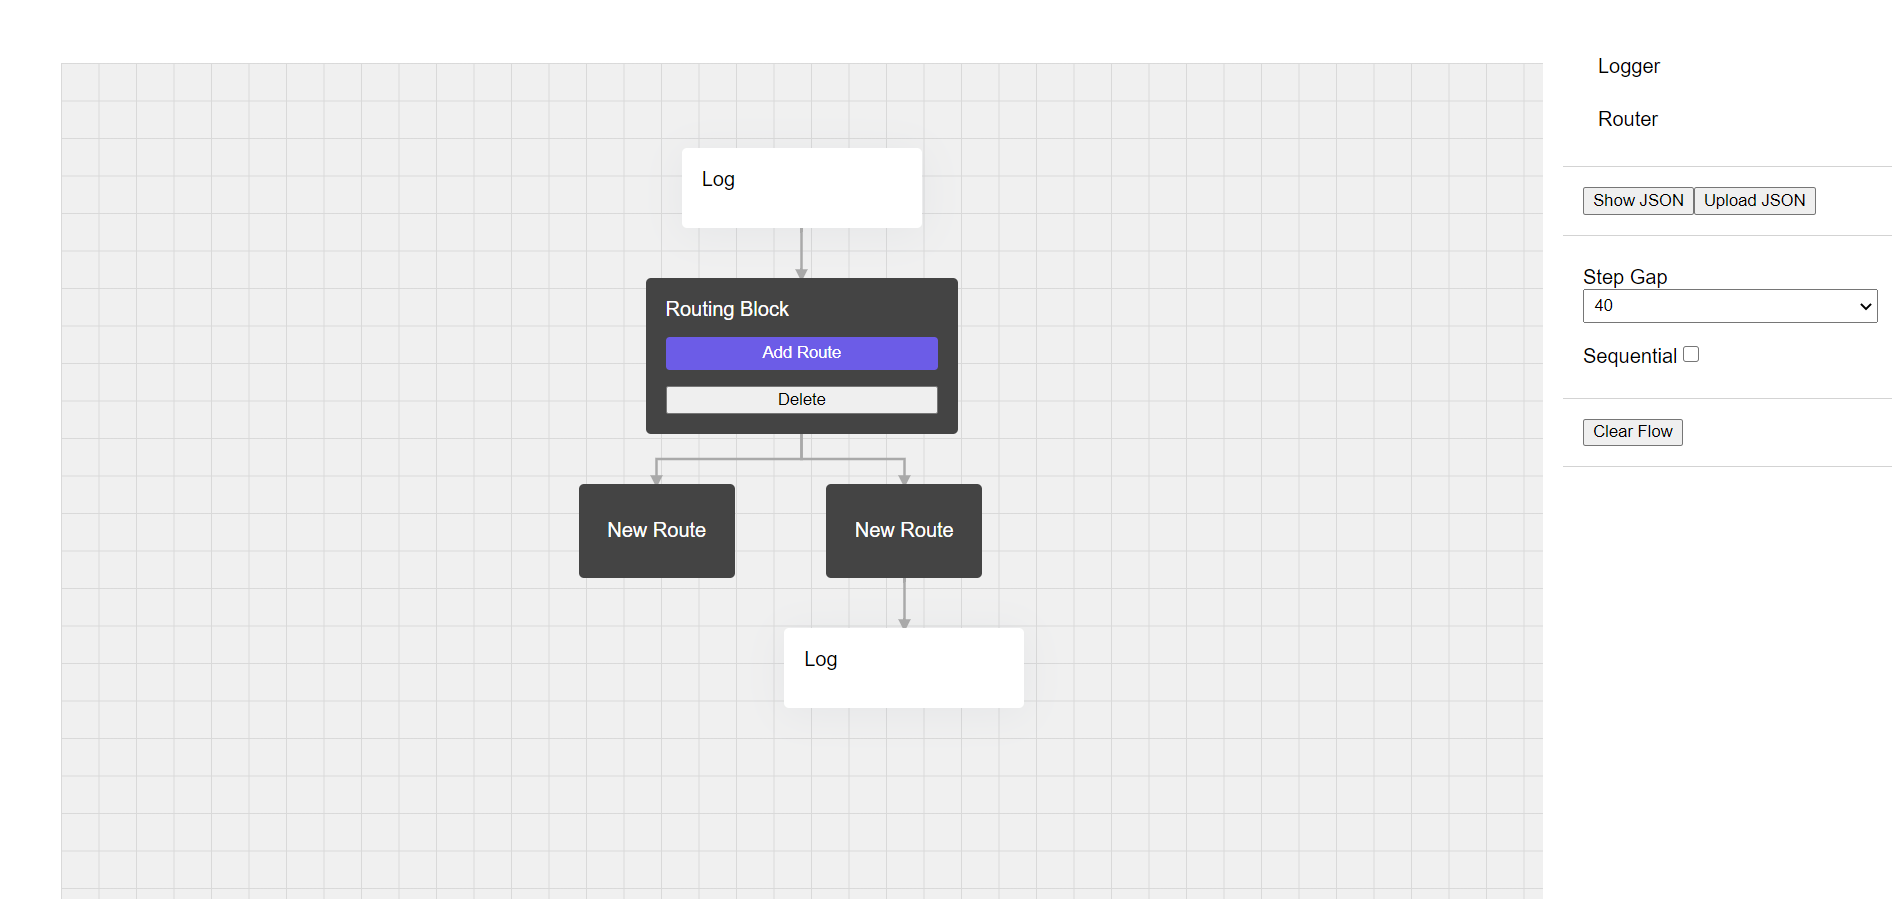
The below example is for a custom router step. The step contains an 'AddRoute' button that will dynamically add a RouteStepComponent as a child when clicked. You can see it overrides getDropPositionsForStep which only allows RouteStepComponents to be dropped "BELOW" (as children).
@Component({
  selector: 'app-custom-router-step',
  template: `
  <div class="router-step" #canvasContent>
    <span>{{ data.name }}</span>
    <button class="btn" (click)="onAddRoute()">Add Route</button>
  </div>
  `,
  styleUrls: ['./custom-router-step.component.scss']
})
export class CustomRouterStepComponent extends NgFlowchartStepComponent {

  getDropPositionsForStep(pendingStep: NgFlowchart.PendingStep): NgFlowchart.DropPosition[] {
    if (pendingStep.template !== RouteStepComponent) {
      return ['ABOVE', 'LEFT', 'RIGHT'];
    }
    else {
      return ['BELOW'];
    }
  }

  onAddRoute() {
    let route = {
      name: 'New Route',
      condition: ''
    }

    this.addChild({
      template: RouteStepComponent, //another custom step
      type: 'route-step',
      data: route
    }, {
      sibling: true
    });
  }
}
