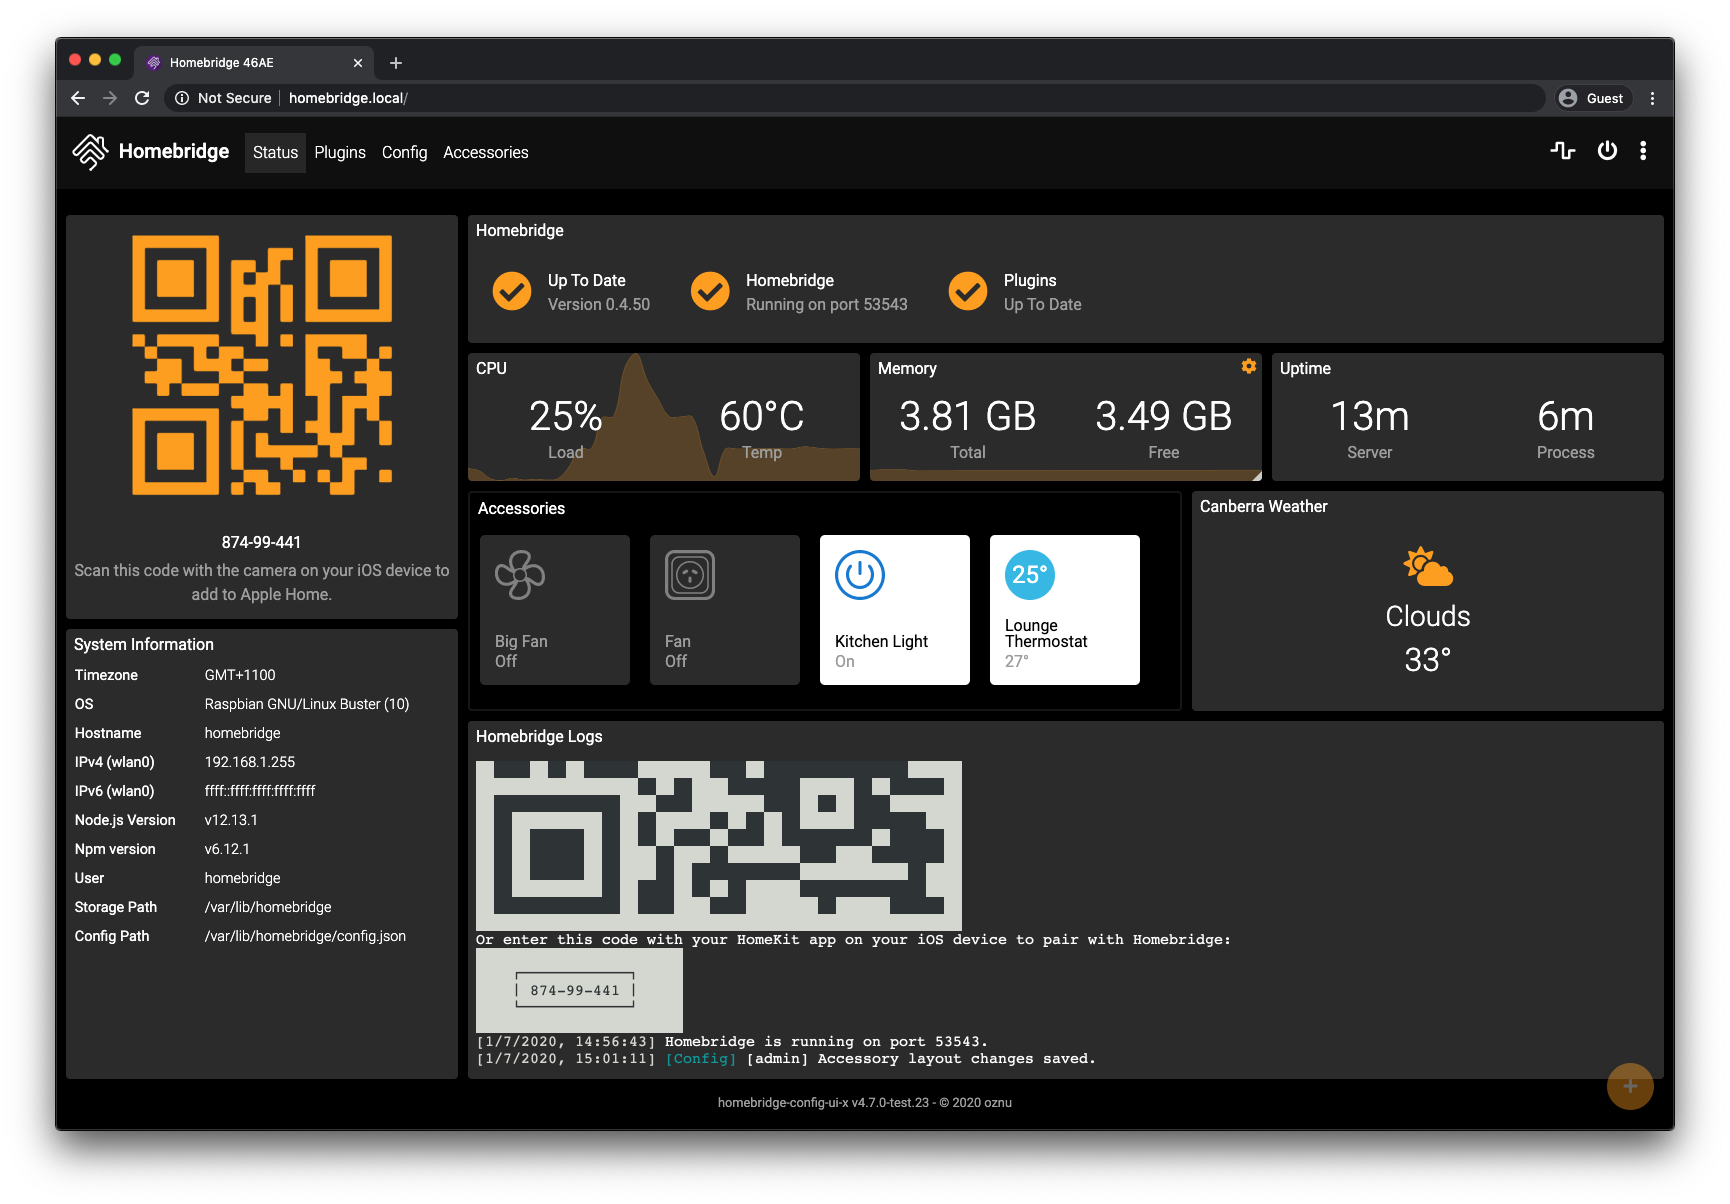
This Alpine/Ubuntu Linux based Docker image allows you to run Nfarina's Homebridge on your home network which emulates the iOS HomeKit API.
This is a multi-arch image and will also run on a Raspberry Pi or other Docker-enabled ARMv6/7/8 devices.
- Guides
- Compatibility
- Usage
- Parameters
- Homebridge Config
- Installing Plugins
- Docker Compose
- Troubleshooting
Homebridge requires full access to your local network to function correctly which can be achieved using the --net=host flag.
Currently this image will not work when using Docker for Mac or Docker for Windows due to this and this.
docker run \
  --net=host \
  --name=homebridge \
  -e PUID=<UID> -e PGID=<GID> \
  -e HOMEBRIDGE_CONFIG_UI=1 \
  -e HOMEBRIDGE_CONFIG_UI_PORT=8080 \
  -v </path/to/config>:/homebridge \
oznu/homebridgeThis docker image has been tested on the following Raspberry Pi models:
- Raspberry Pi 1 Model B
- Raspberry Pi 3 Model B
- Raspberry Pi 4 Model B
- Raspberry Pi Zero W
See the wiki for a guide on getting Homebridge up and running on a Raspberry Pi.
The parameters are split into two halves, separated by a colon, the left hand side representing the host and the right the container side.
--net=host- Shares host networking with container, required-v /homebridge- The Homebridge config and plugin location-e PGID- for GroupID - see below for explanation-e PUID- for UserID - see below for explanation
-e TZ- for timezone information e.g.-e TZ=Europe/London-e PACKAGES- Additional packages to install (comma separated, no spaces) e.g.-e PACKAGES=openssh-e TERMINATE_ON_ERROR=1- IfTERMINATE_ON_ERRORis set to1then the container will exit when the Homebridge process ends, otherwise it will be restarted.-e HOMEBRIDGE_INSECURE=1- Start homebridge in insecure mode using the-Iflag.-e HOMEBRIDGE_DEBUG=1- Enable debug level logging using the-Dflag.
This is the only supported method of running homebridge-config-ui-x on oznu/homebridge.
-e HOMEBRIDGE_CONFIG_UI=1- Enable and configure homebridge-config-ui-x which allows you to manage and configure Homebridge from your web browser.-e HOMEBRIDGE_CONFIG_UI_PORT=8080- The port to run homebridge-config-ui-x on. Defaults to port 8080.
Sometimes when using data volumes (-v flags) permissions issues can arise between the host OS and the container. We avoid this issue by allowing you to specify the user PUID and group PGID. Ensure the data volume directory on the host is owned by the same user you specify and it will "just work".
In this instance PUID=1001 and PGID=1001. To find yours use id user as below:
  $ id <dockeruser>
    uid=1001(dockeruser) gid=1001(dockergroup) groups=1001(dockergroup)
Enabling Homebridge Config UI X is the easiest way to manage all aspects of Homebridge.
The Homebridge config file is located at </path/to/config>/config.json
This file will be created the first time you run the container if it does not already exist.
Plugins should be defined in the </path/to/config>/package.json file in the standard NPM format.
This file will be created the first time you run the container if it does not already exist.
Any plugins added to the package.json will be installed each time the container is restarted.
Plugins can be uninstalled by removing the entry from the package.json and restarting the container.
You can also install plugins using npm which will automatically update the package.json file as you add and remove modules.
You must restart the container after installing or removing plugins for the changes to take effect.
docker exec <container name or id> npm install <module name>
Example:
docker exec homebridge npm install homebridge-dummy
docker exec <container name or id> npm remove <module name>
Example:
docker exec homebridge npm remove homebridge-dummy
The first time you run the container a script named startup.sh will be created in your mounted /homebridge volume. This script is executed everytime the container is started, before Homebridge loads, and can be used to install plugins if you don't want to edit the package.json file manually.
To add plugins using the startup.sh script just use the npm install command:
#!/bin/sh

npm install homebridge-dummy
This container does NOT require you to install plugins globally (using npm install -g) and doing so is NOT recommended or supported.
If you prefer to use Docker Compose:
version: '2'
services:
  homebridge:
    image: oznu/homebridge:latest
    restart: always
    network_mode: host
    environment:
      - PGID=1000
      - PUID=1000
      - HOMEBRIDGE_CONFIG_UI=1
      - HOMEBRIDGE_CONFIG_UI_PORT=8080
    volumes:
- ./volumes/homebridge:/homebridgeMany issues appear because of invalid JSON. A good way to verify your config is to use the jsonlint.com validator.
You may need to provide the server name of your Synology NAS using the DSM_HOSTNAME environment variable to prevent hostname conflict errors. The value of the DSM_HOSTNAME environment should exactly match the server name as shown under Synology DSM Control Panel -> Info Centre -> Server name, it should contain no spaces or special characters.
ffmpeg, with libfdk-aac audio support is included in this image.
Some plugins don't like Alpine Linux so this project also provides a Ubuntu based version of the image.
docker run oznu/homebridge:ubuntu
See the wiki for a list of image variants: https://github.com/oznu/docker-homebridge/wiki
Join the Official Homebridge Discord community and ask in the #docker channel.
Copyright (C) 2017-2020 oznu
This program is free software: you can redistribute it and/or modify it under the terms of the GNU General Public License as published by the Free Software Foundation, either version 3 of the License, or (at your option) any later version.
This program is distributed in the hope that it will be useful, but WITHOUT ANY WARRANTY; without even the implied warranty of MERCHANTABILITY or FITNESS FOR A PARTICULAR PURPOSE. See the GNU General Public License for more details.


