1.For backend please follow the instruction in README.md file in the directory: Server
-
A basic frontend will interact with the realtime backend.
-
Main goal was to run the realtime dirver and food delivery tracking system. Which accomplished with minimal test cover. This system will run in docker container.
Run this command after clone the repositorygit checkout lmw-exercise-sf-logics
- Clone the repository. and CD into repository root directory
- Run this command
git checkout lmw-exercise-sf-logics - Run the command in root Dirtectory to build the frontend nextjs 14 app:
docker-compose up --build - Run frontend:
docker-compose up -d - Frontend will run in: http://localhost:3000
-
Change the directory to server
cd server -
Run the command to build the Larvel based realtime backend:
docker-compose up --build -
Run Realtime backend:
docker-compose up -dor follow the instruction inside the directory server -
Backend will run in: http://lmw.local.com or http://localhost
-
(Project will run smoothly in ubuntu / linux but need little pro knoledge to run in MacOS or Windows)
-
A linux user with dependent package already install can run the Make command in Makefile.
Note: for backend please makesure that you have created the database before you run the project. Database container also running that can be easily access visa CLI or tools like DbEaver / MySQL workbench.
----- Root project was a test for a senior position and the responsibility to ensure a realtime backend system + integrate with frontend ------
Built with create-next-app, this is a NextJS food delivery-related app for real-time streaming.
-
Clone the repo:
git clone {REPO_URL} -
CD into the repo:
cd /path/to/repo -
[Option 1: Docker] Start via docker compose:
docker-compose up(walkthrough video). [Option 2: NPM] Create a.envfile at the root level of the repo with the following contents: "MONGODB_URI=mongodb://localhost:27017/order-tracker". Run MongoDB locally on the default port. Install dependencies:npm install. Start the app vianpm run dev(walkthrough video). -
Once running, visit
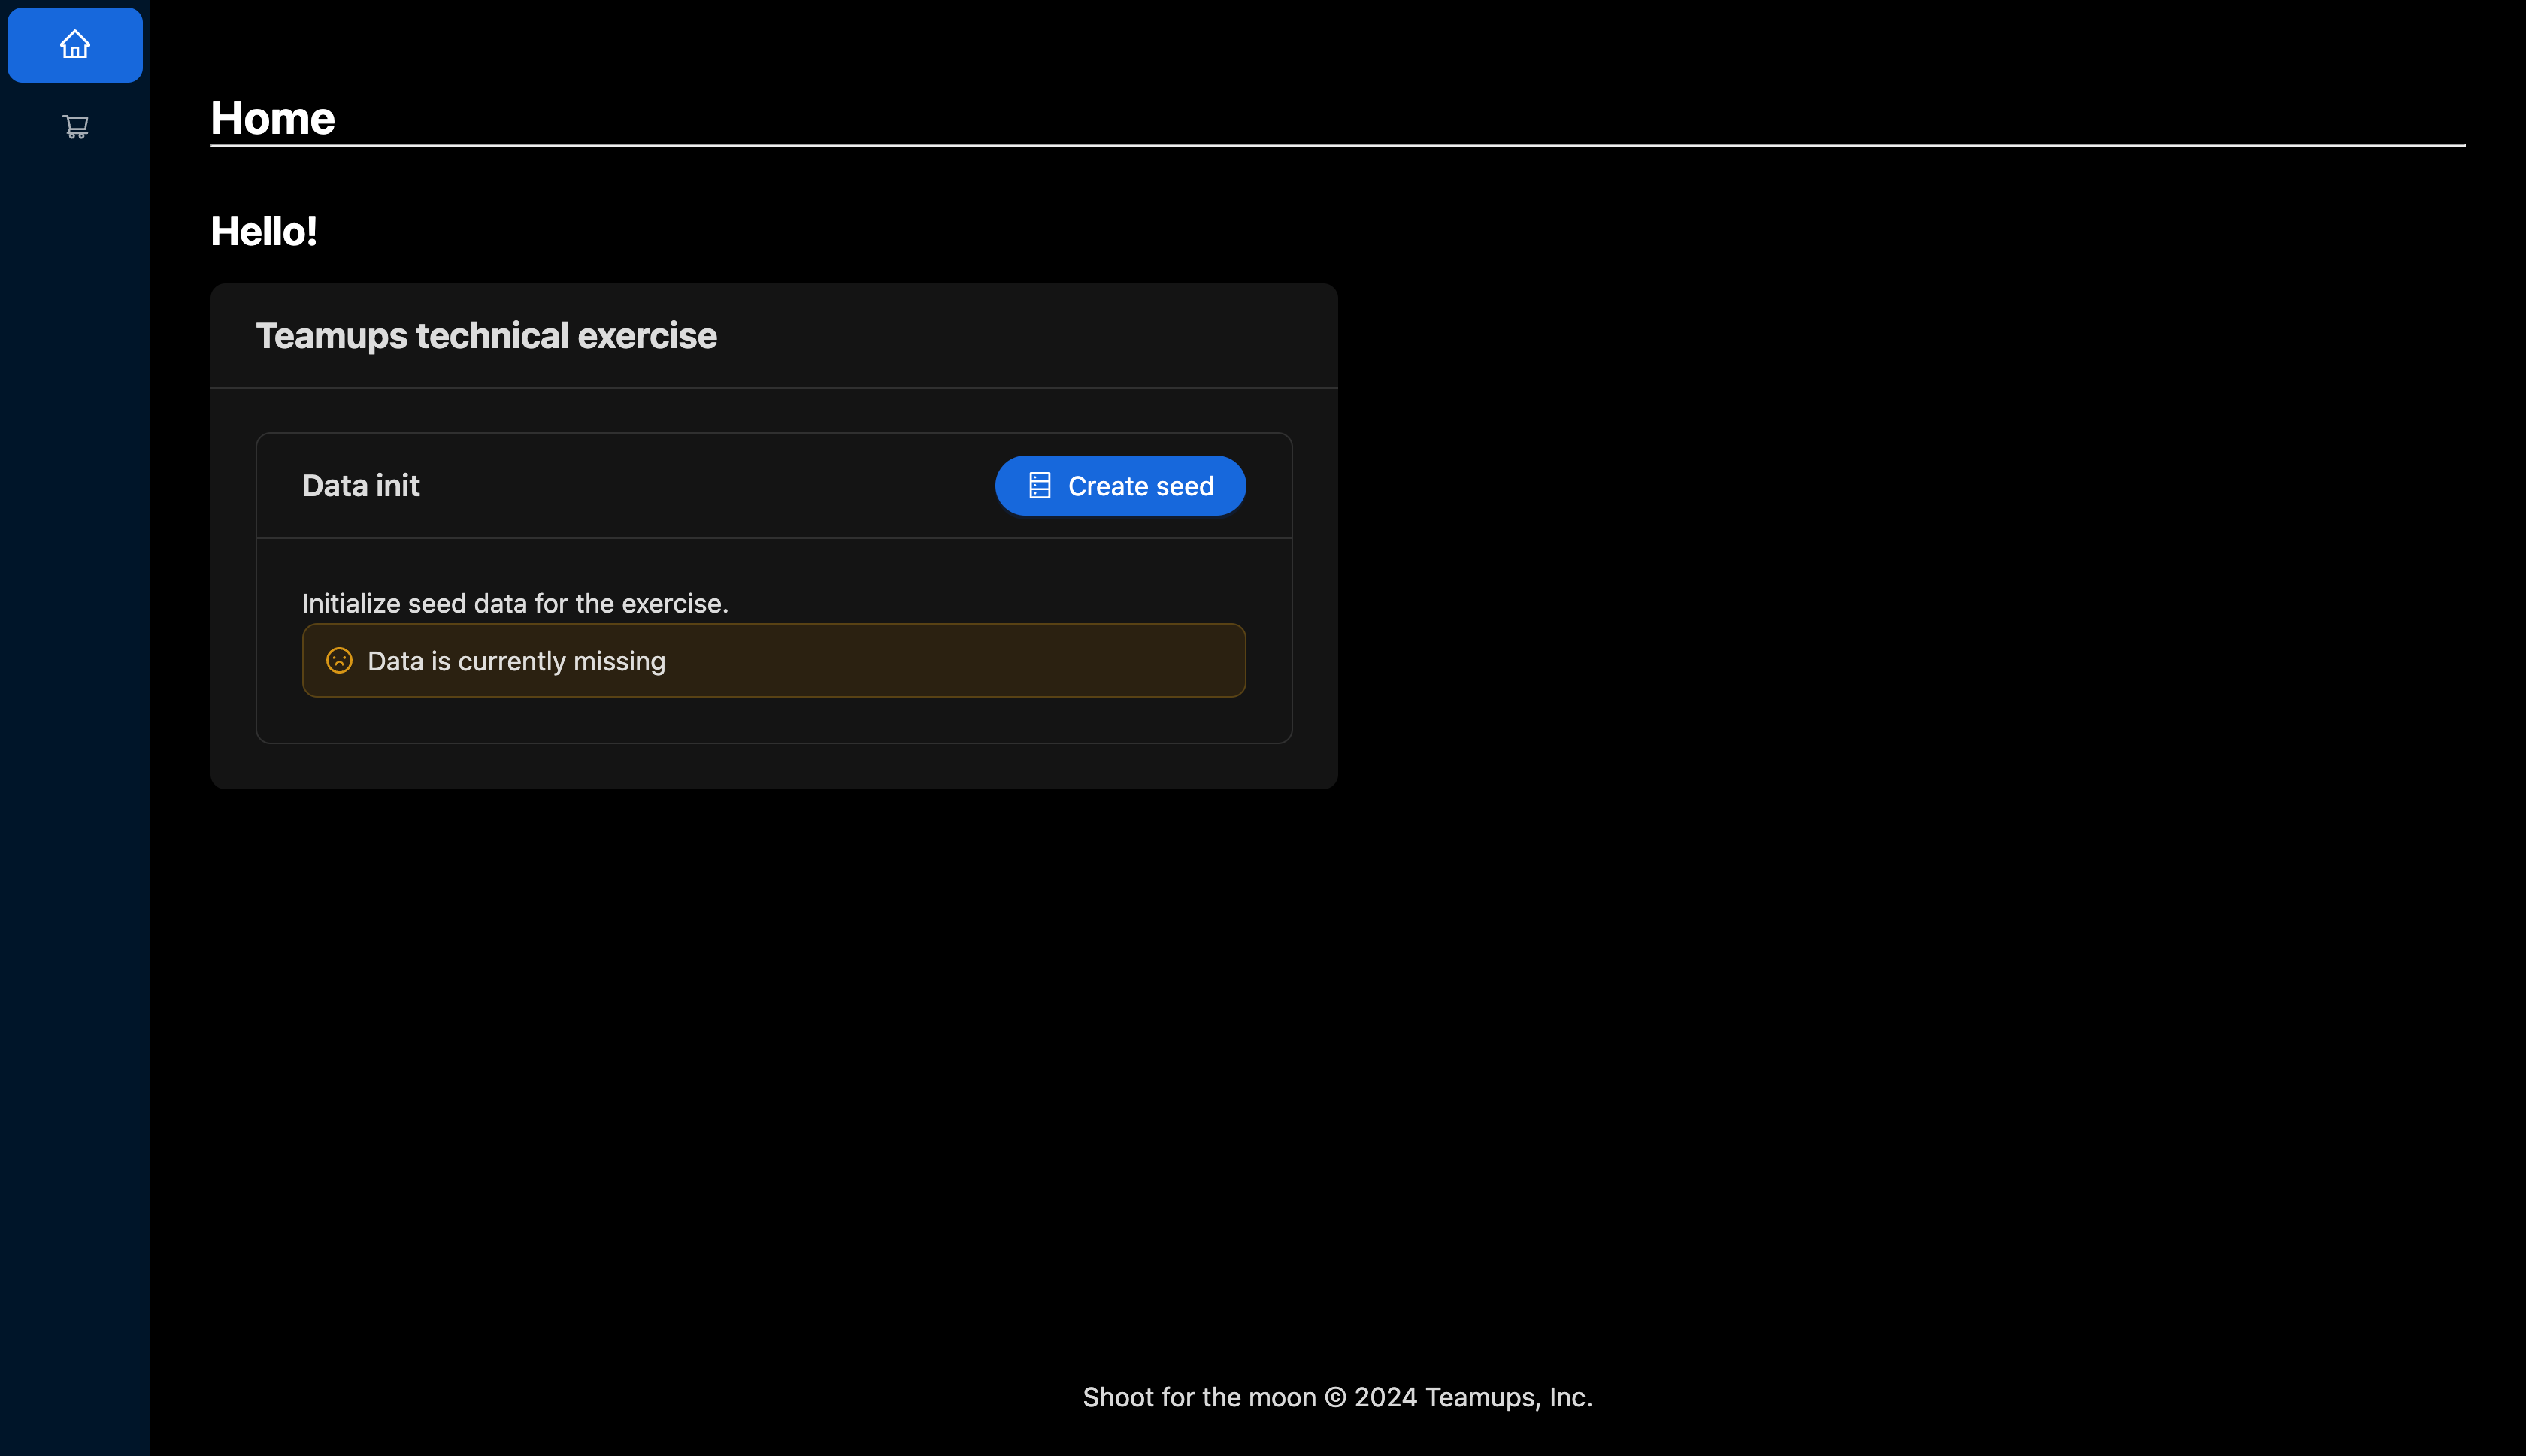
http://localhost:3000/to load the app--the first load might be slow. You should see the following page if everything is successful. -
Click on the "Create seed" button to bootstrap the drivers data once you are ready.
Here is a sample flow for making changes and submitting a PR after completing the exercise:
// check out a new branch for your changes
git checkout -b {BRANCH_NAME}

// make changes and commit them
git add --all
git commit

// push new branch up to GitHub
git push origin {BRANCH_NAME}

// use GitHub to make PR
// (DO NOT MERGE PR)