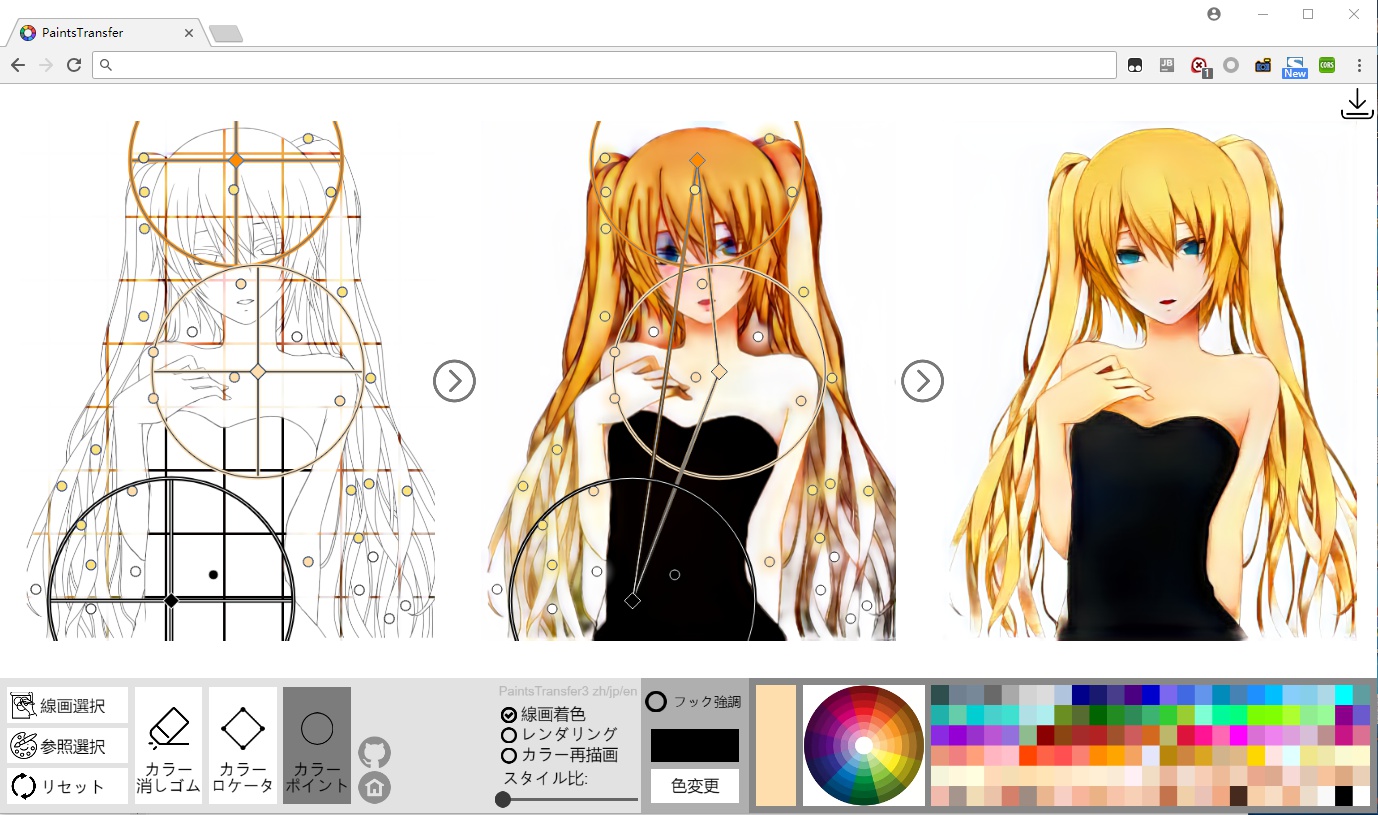
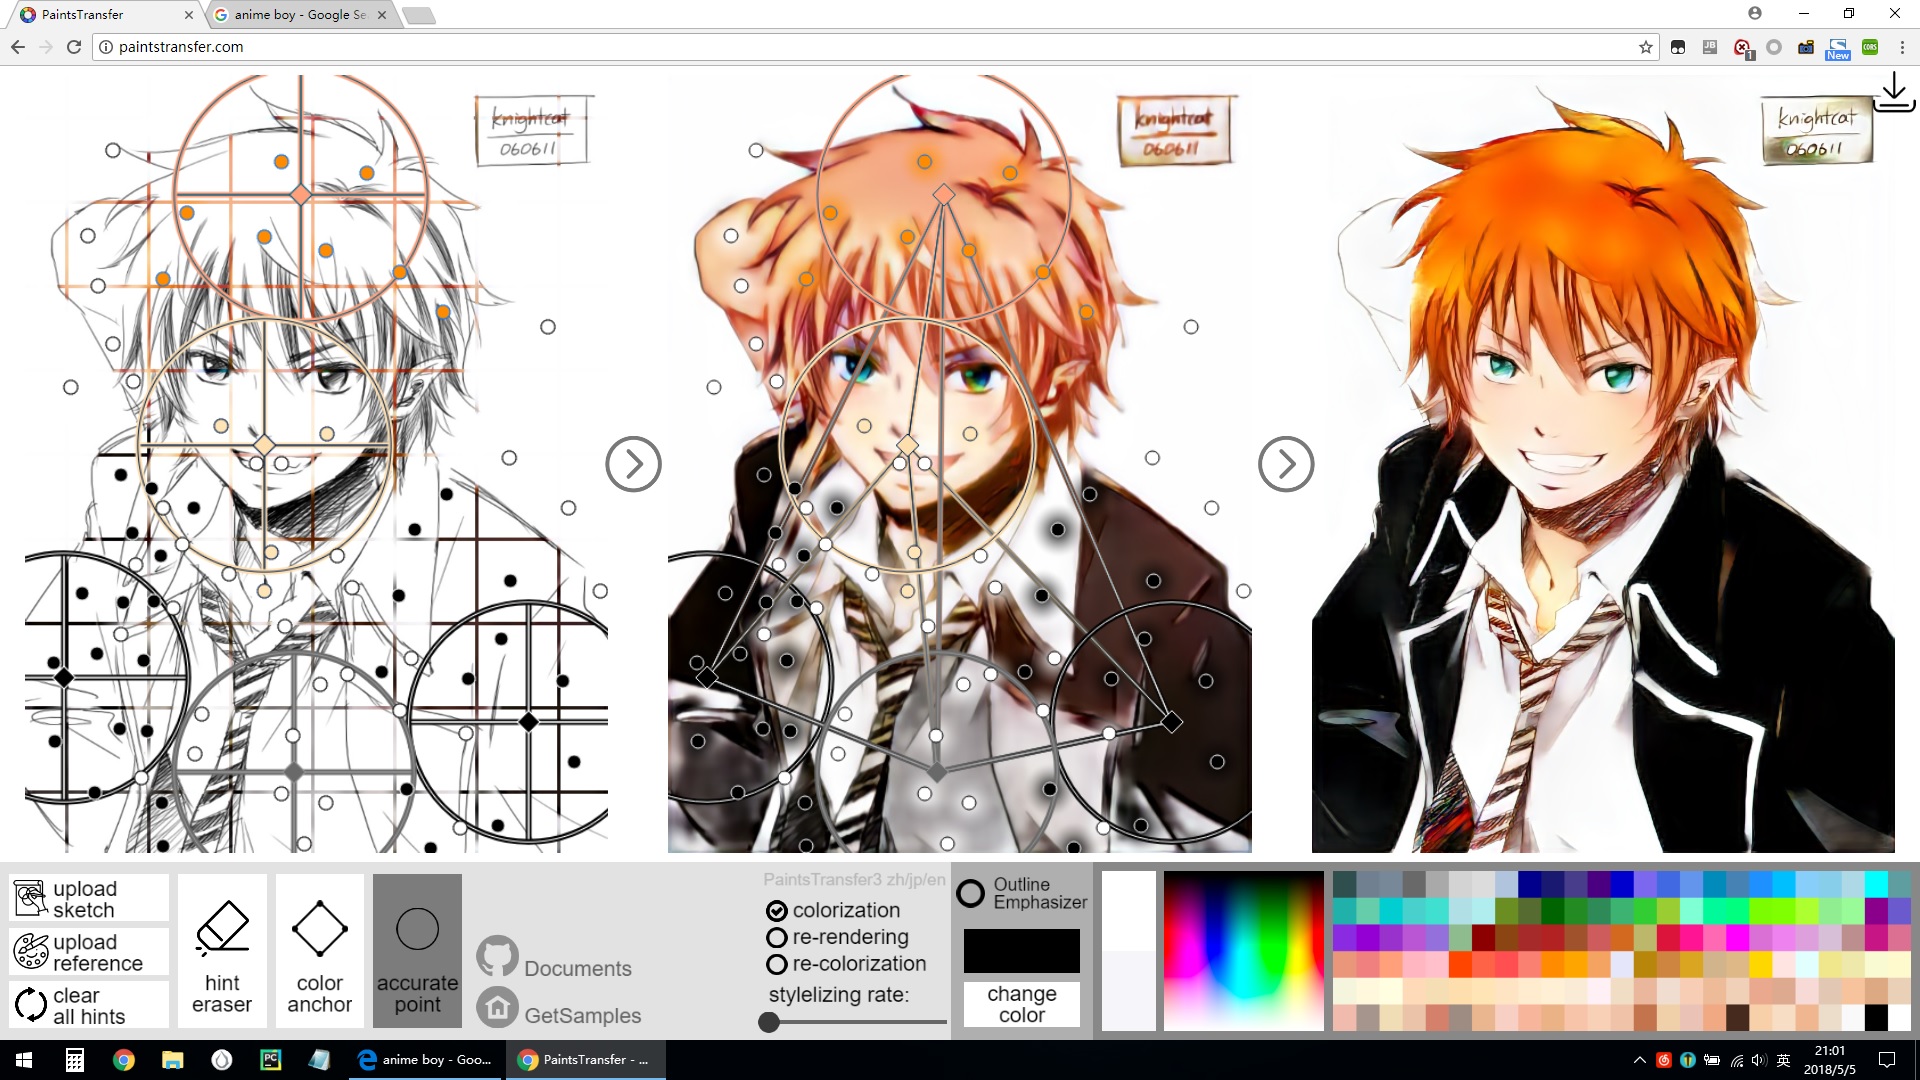
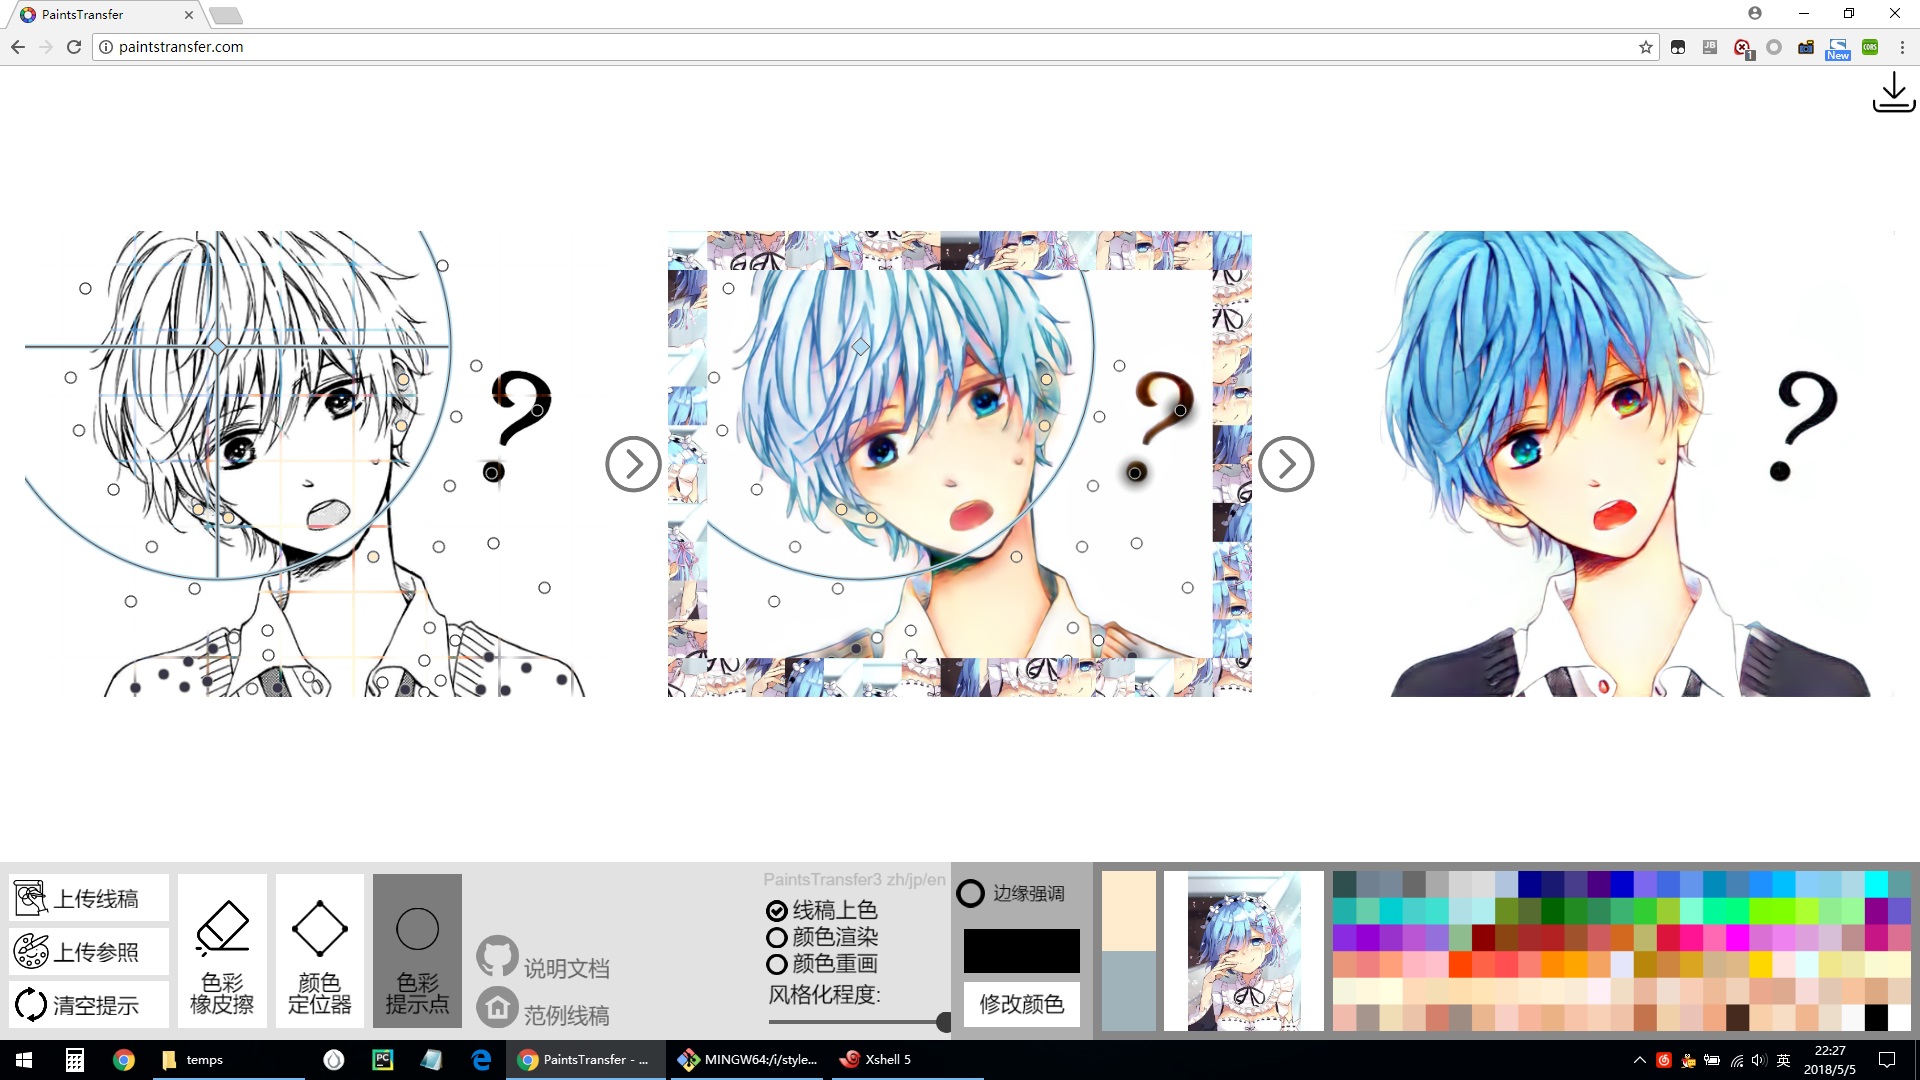
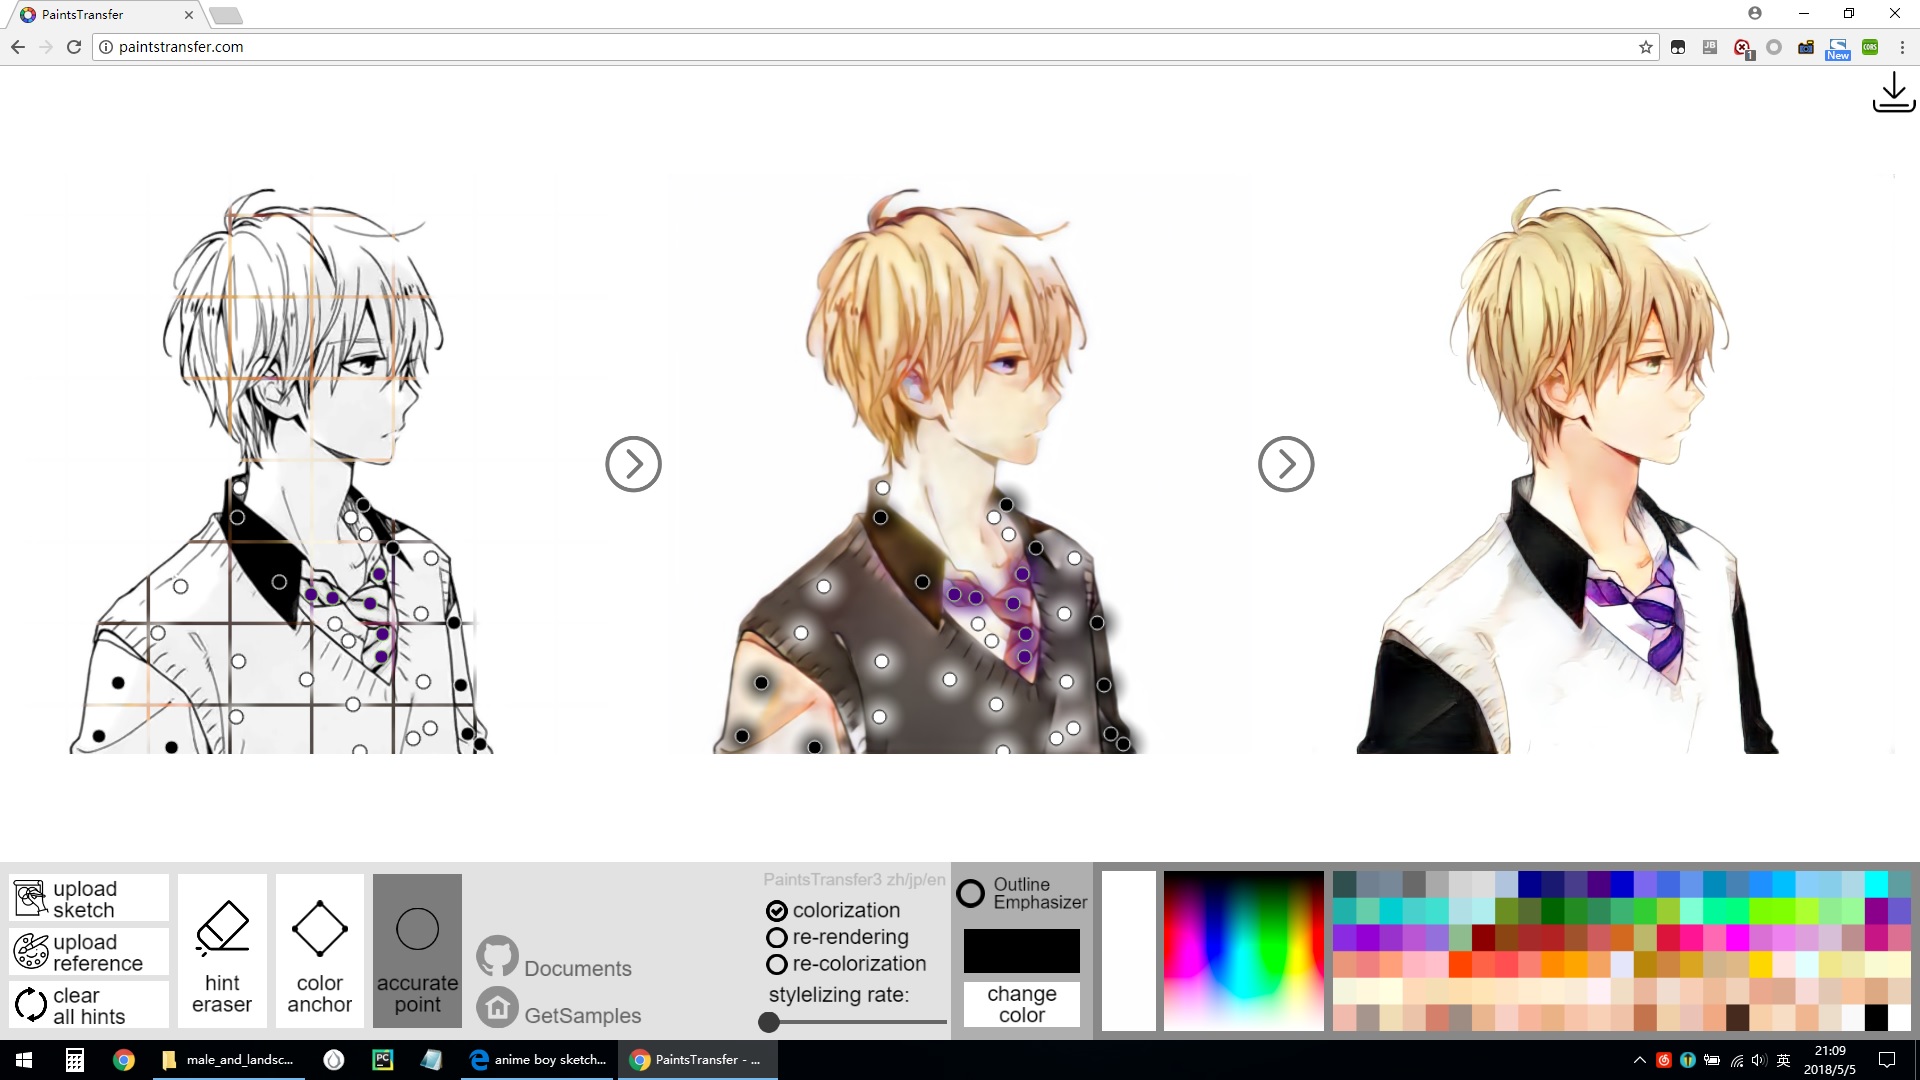
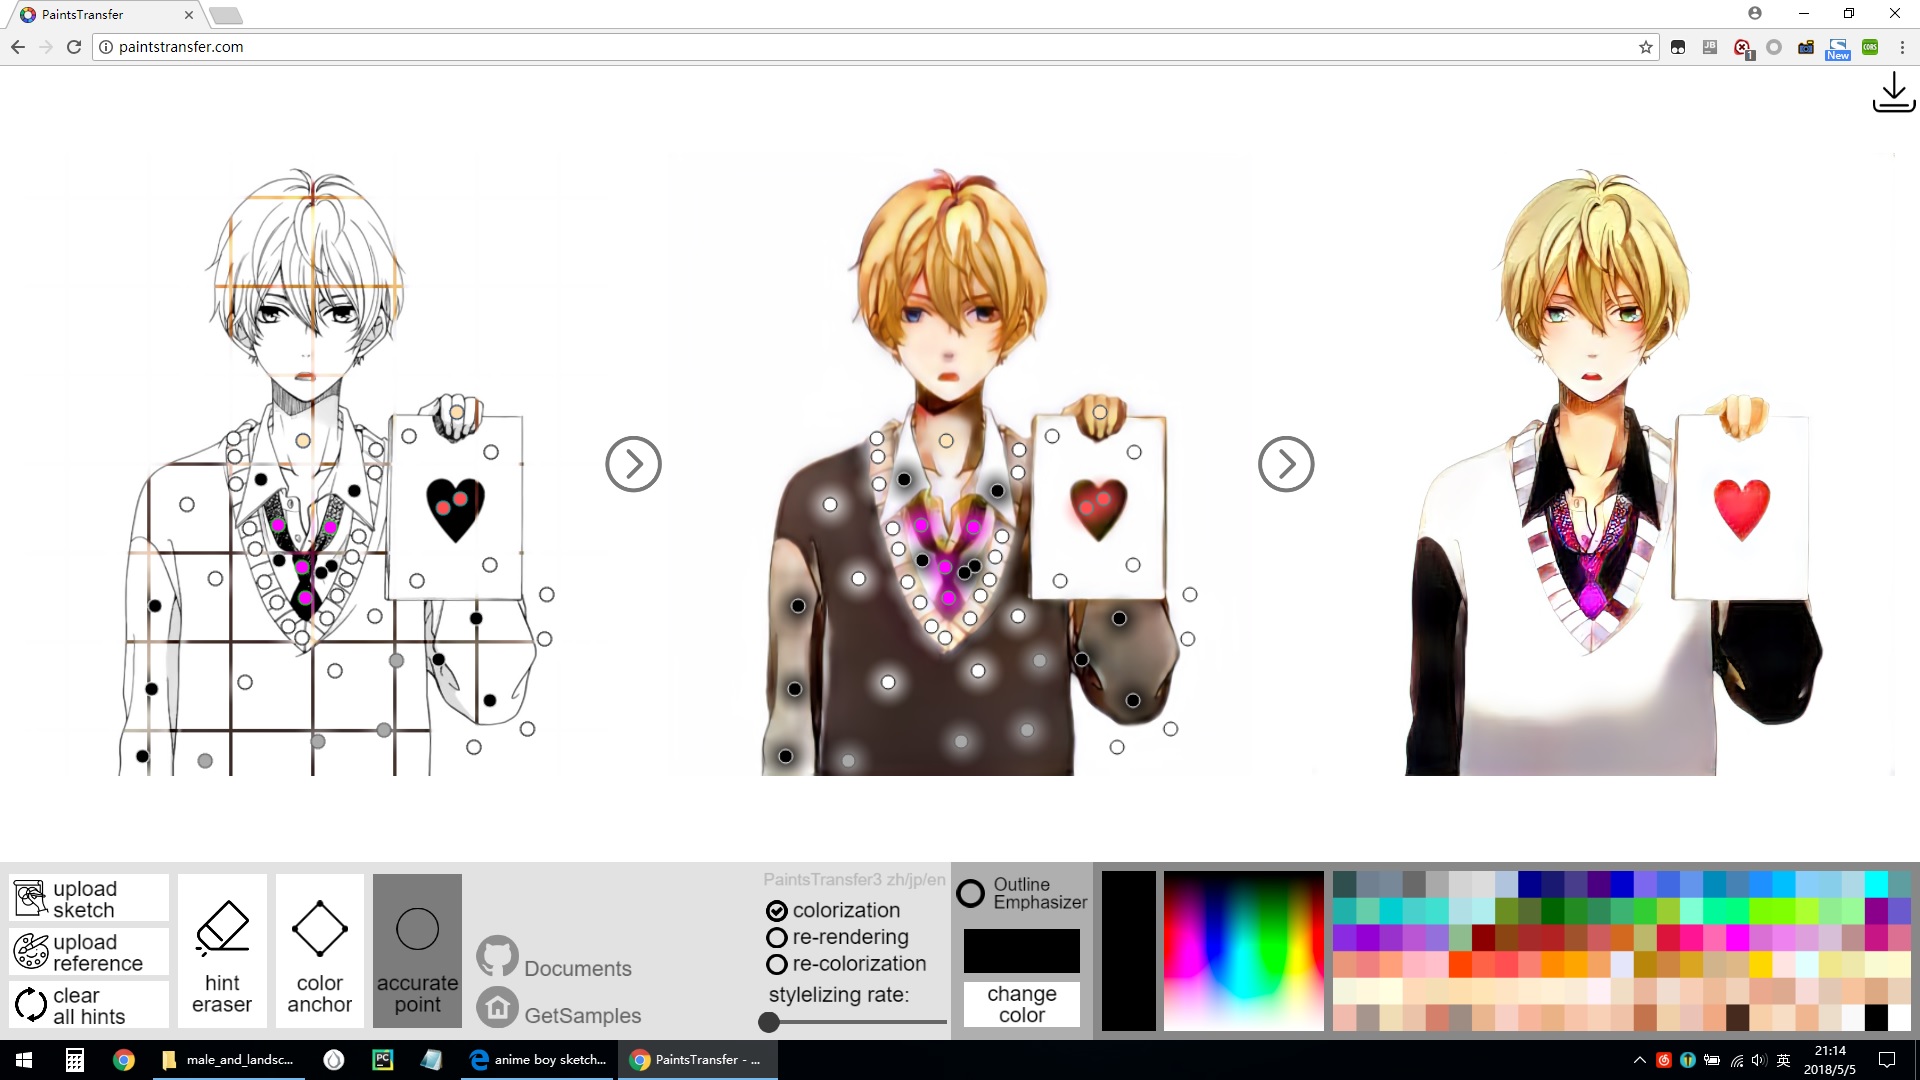
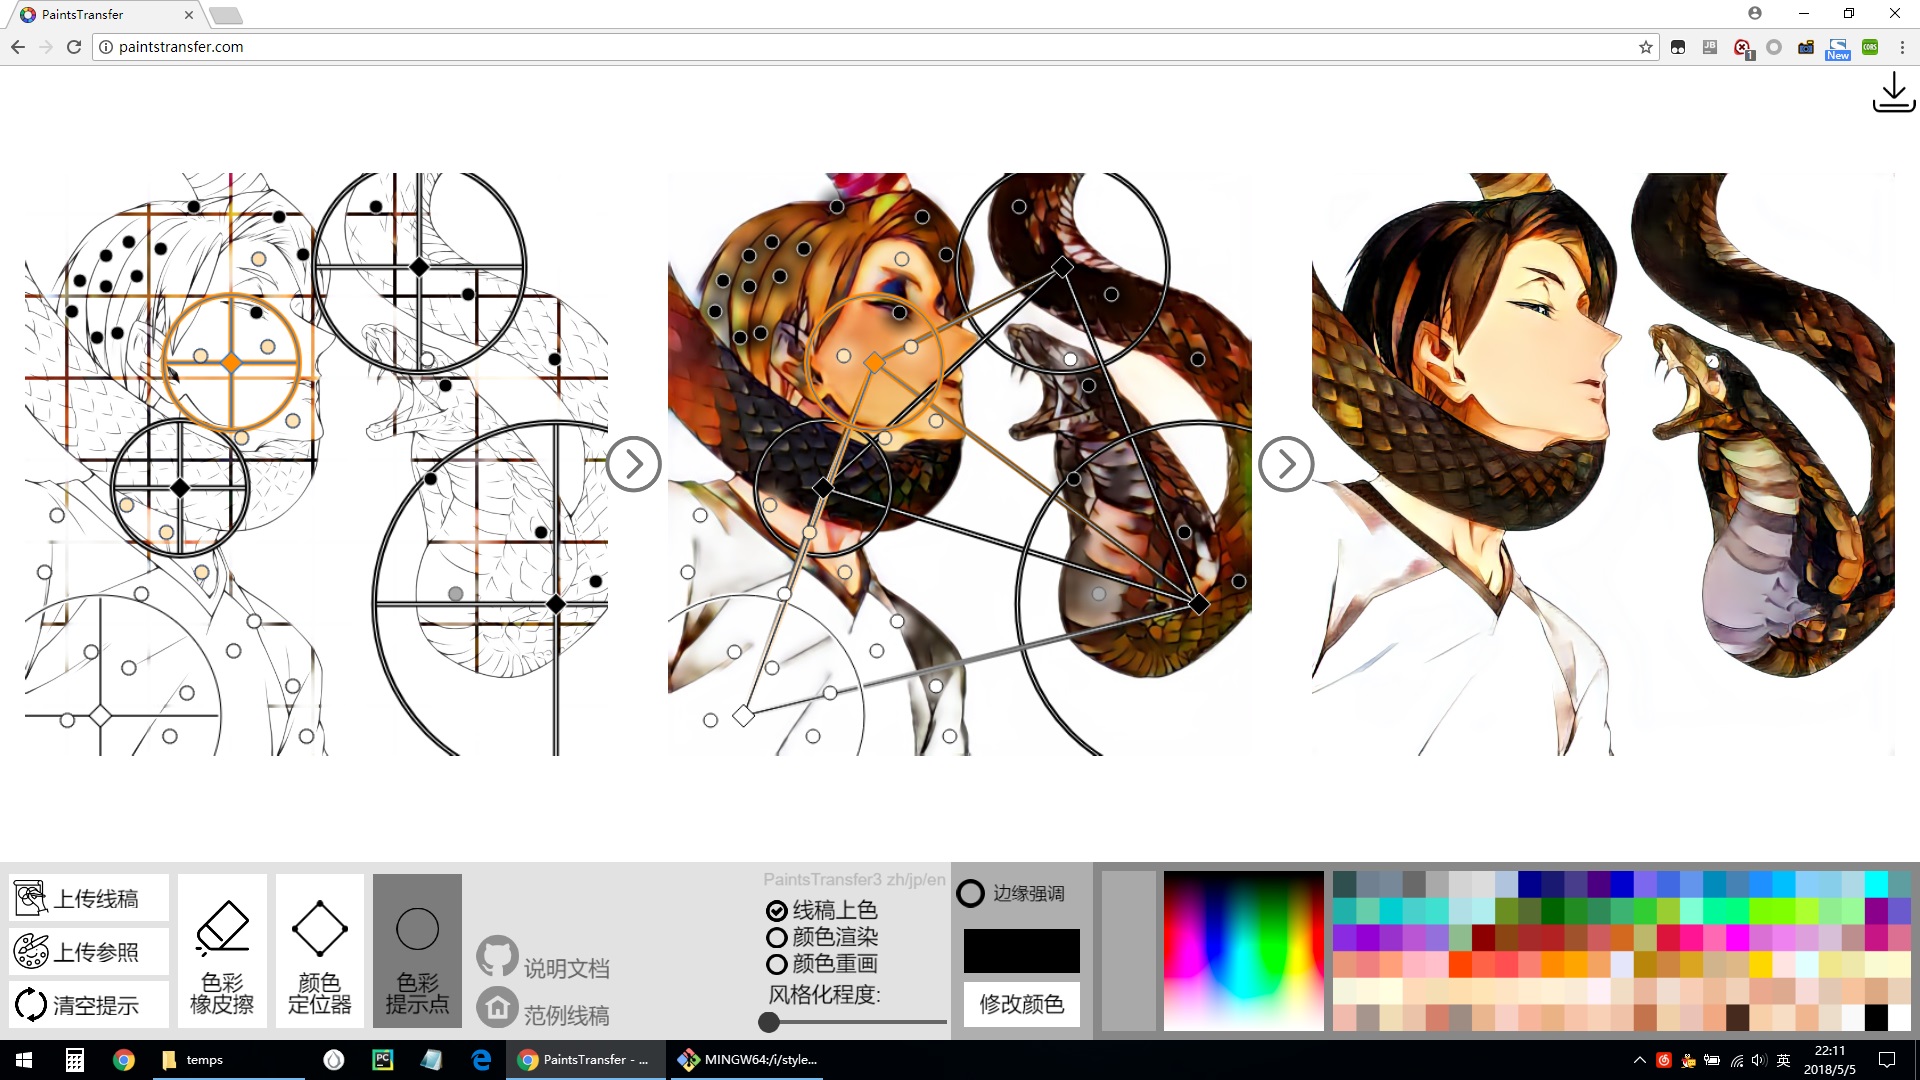
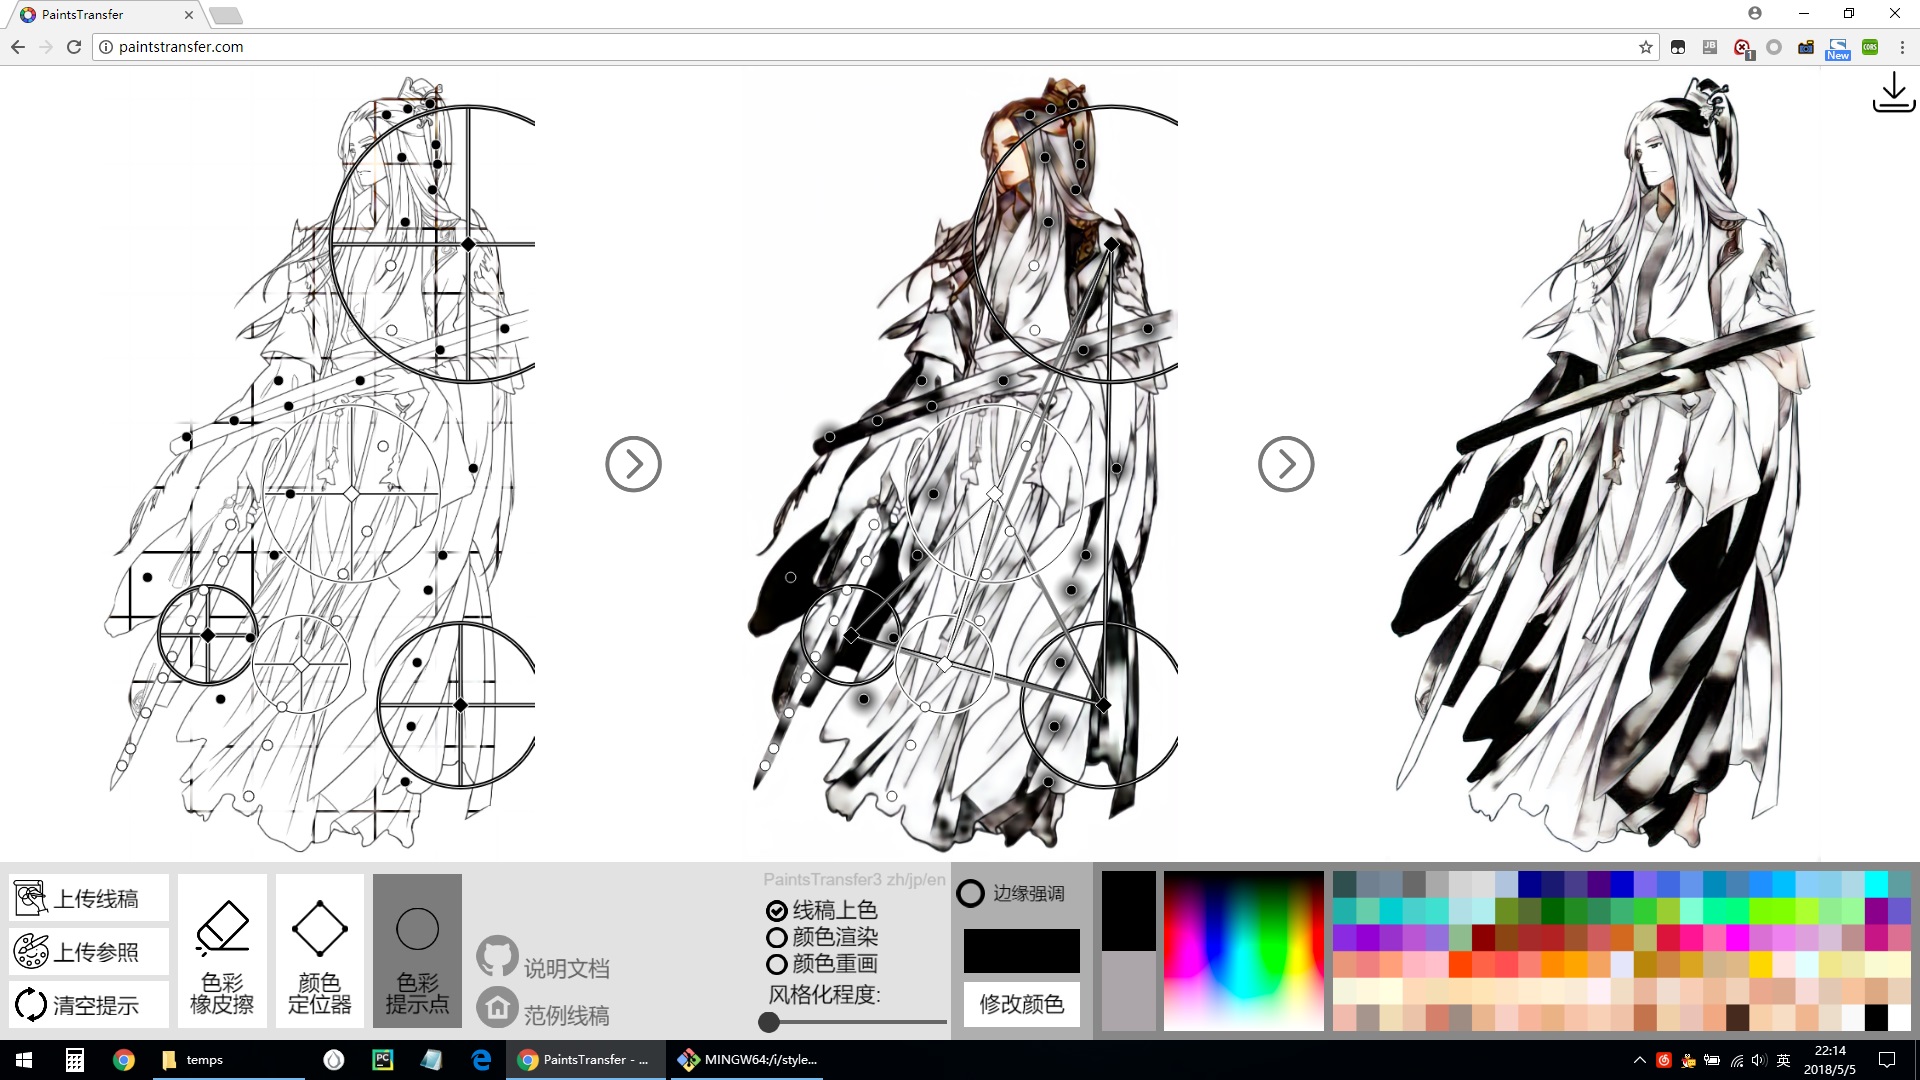
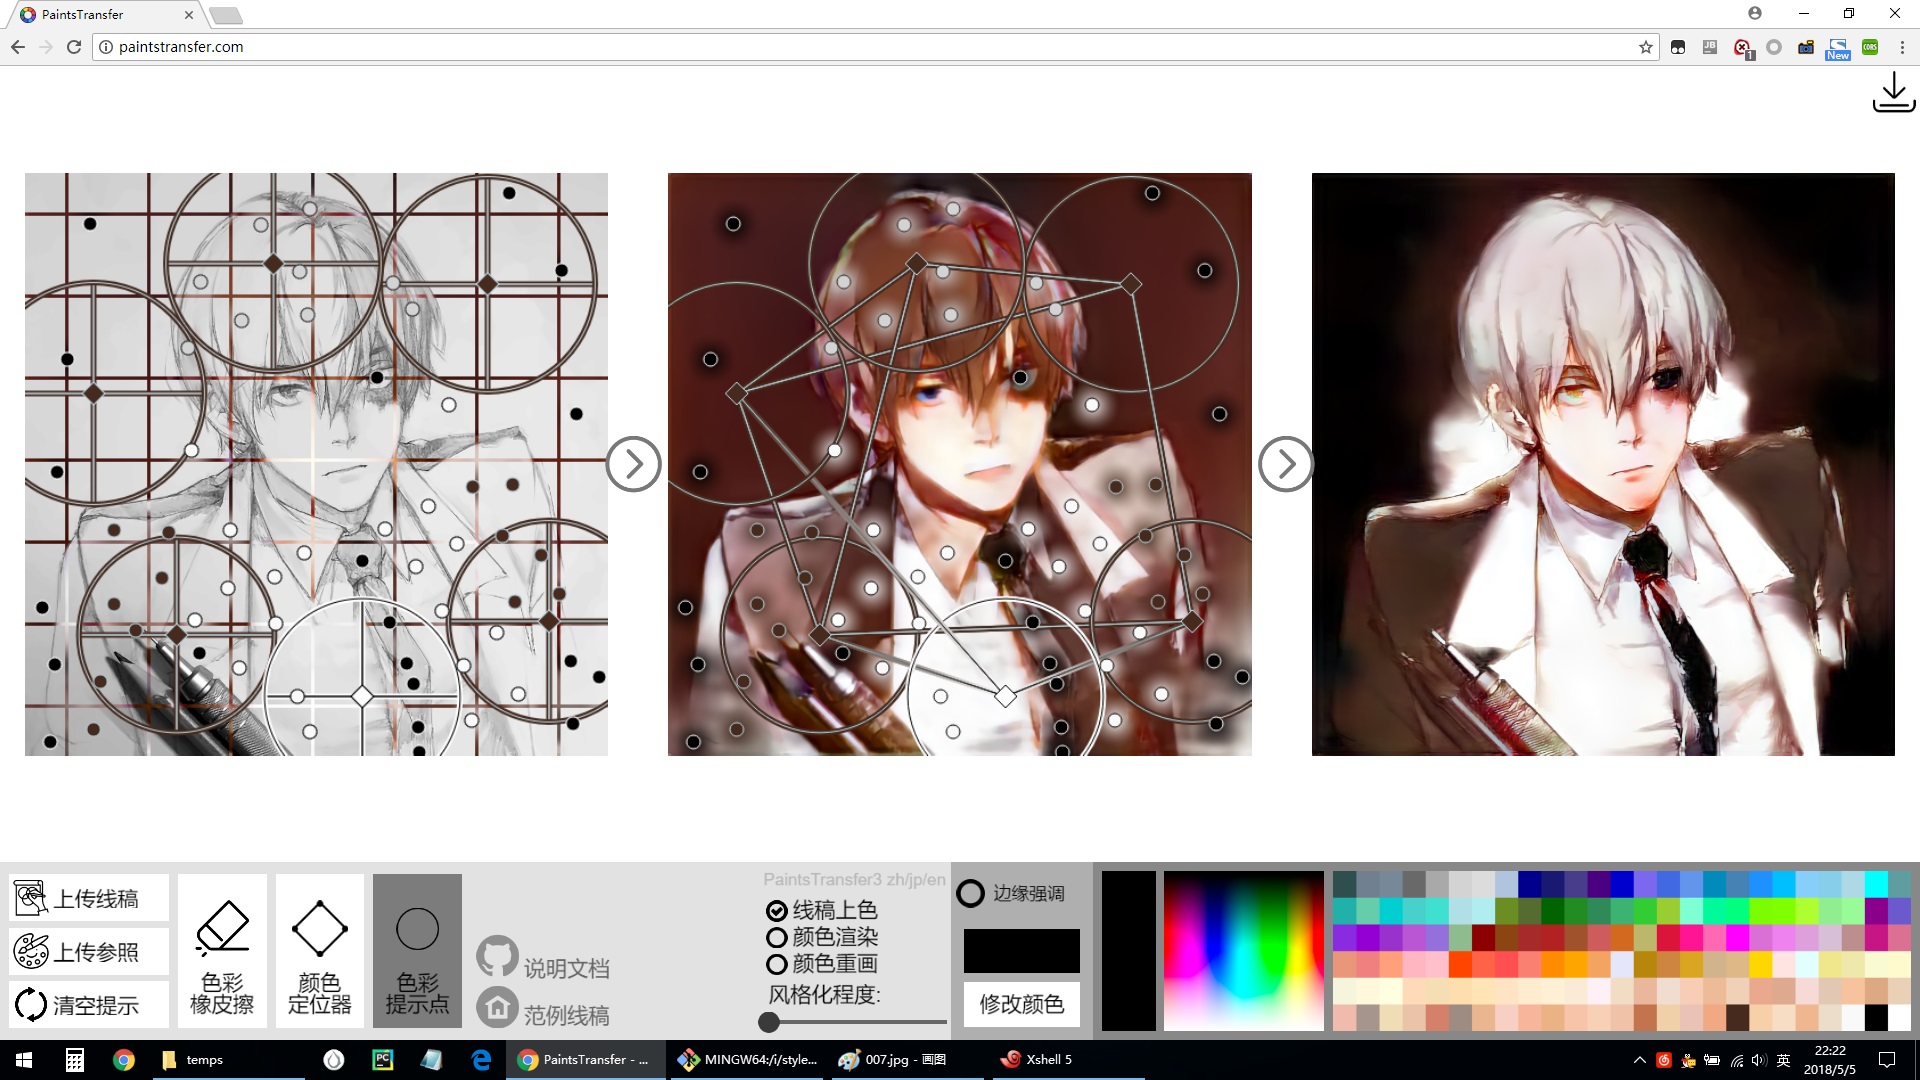
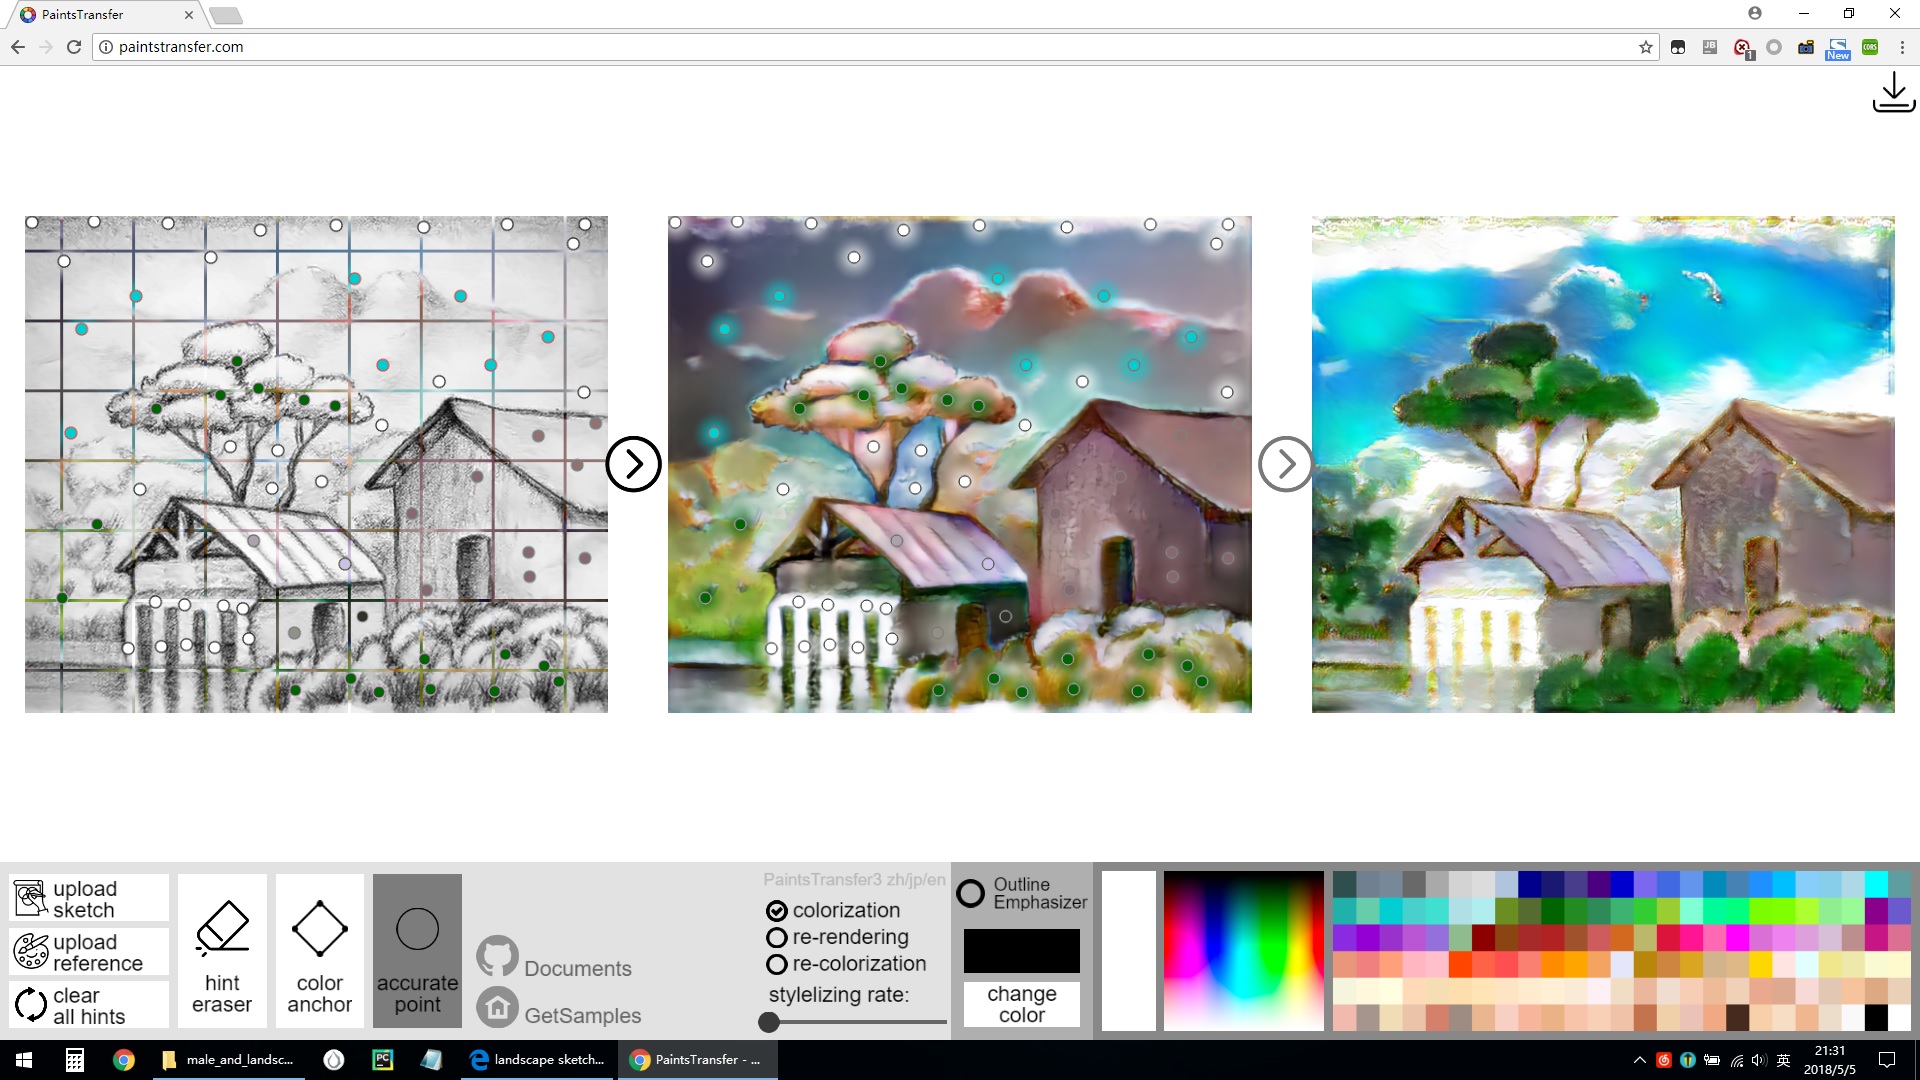
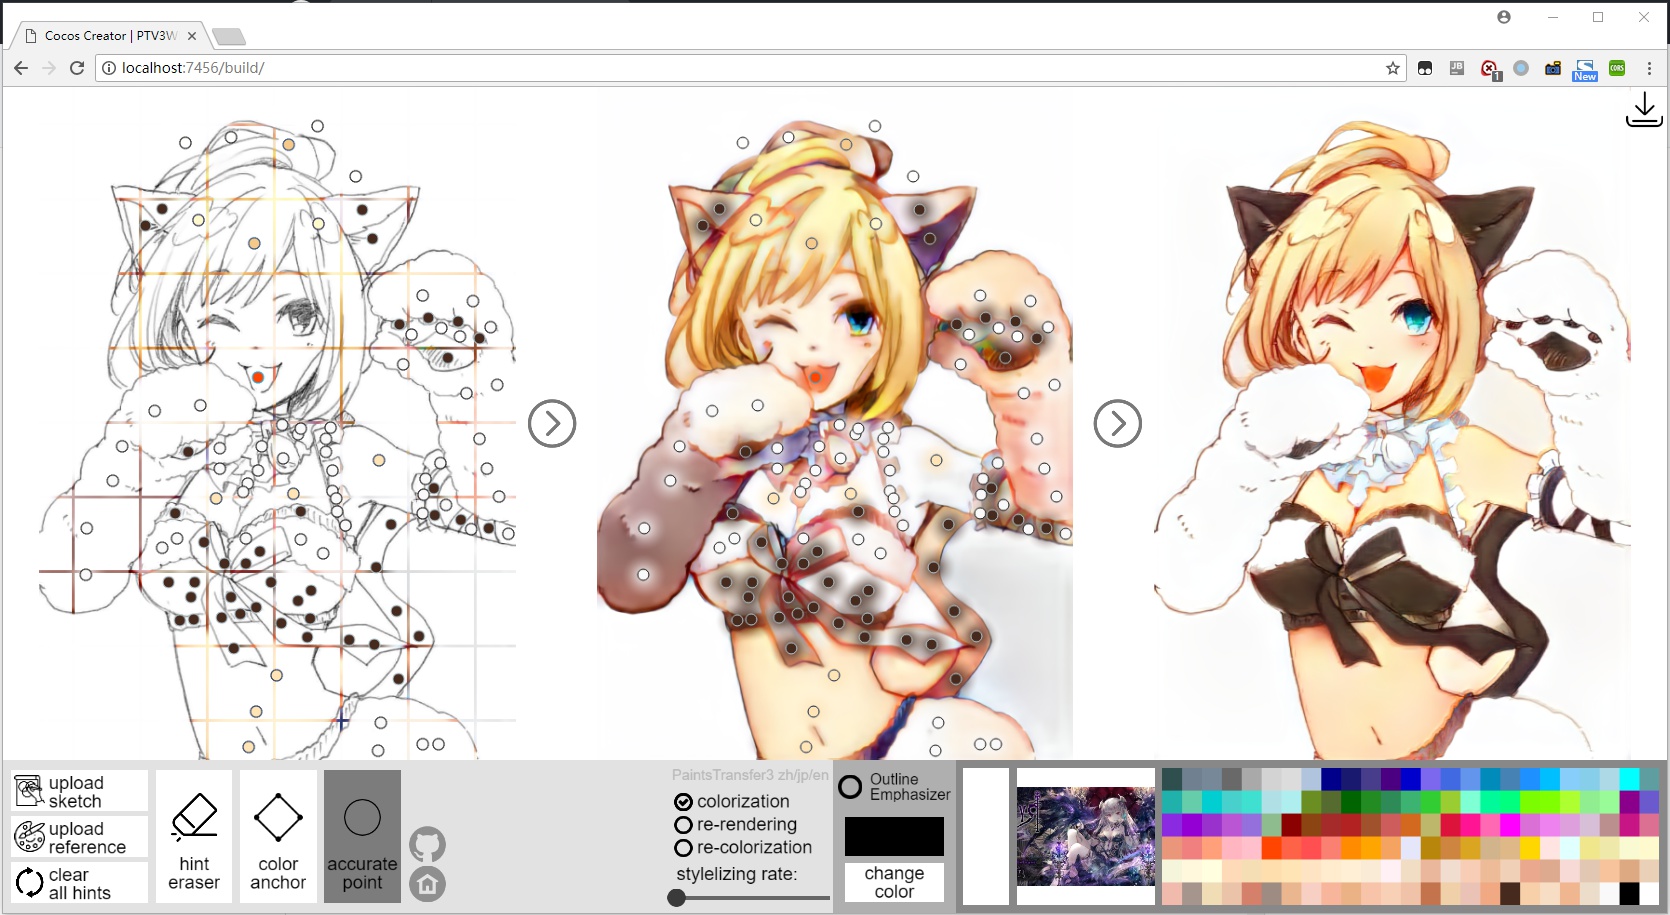
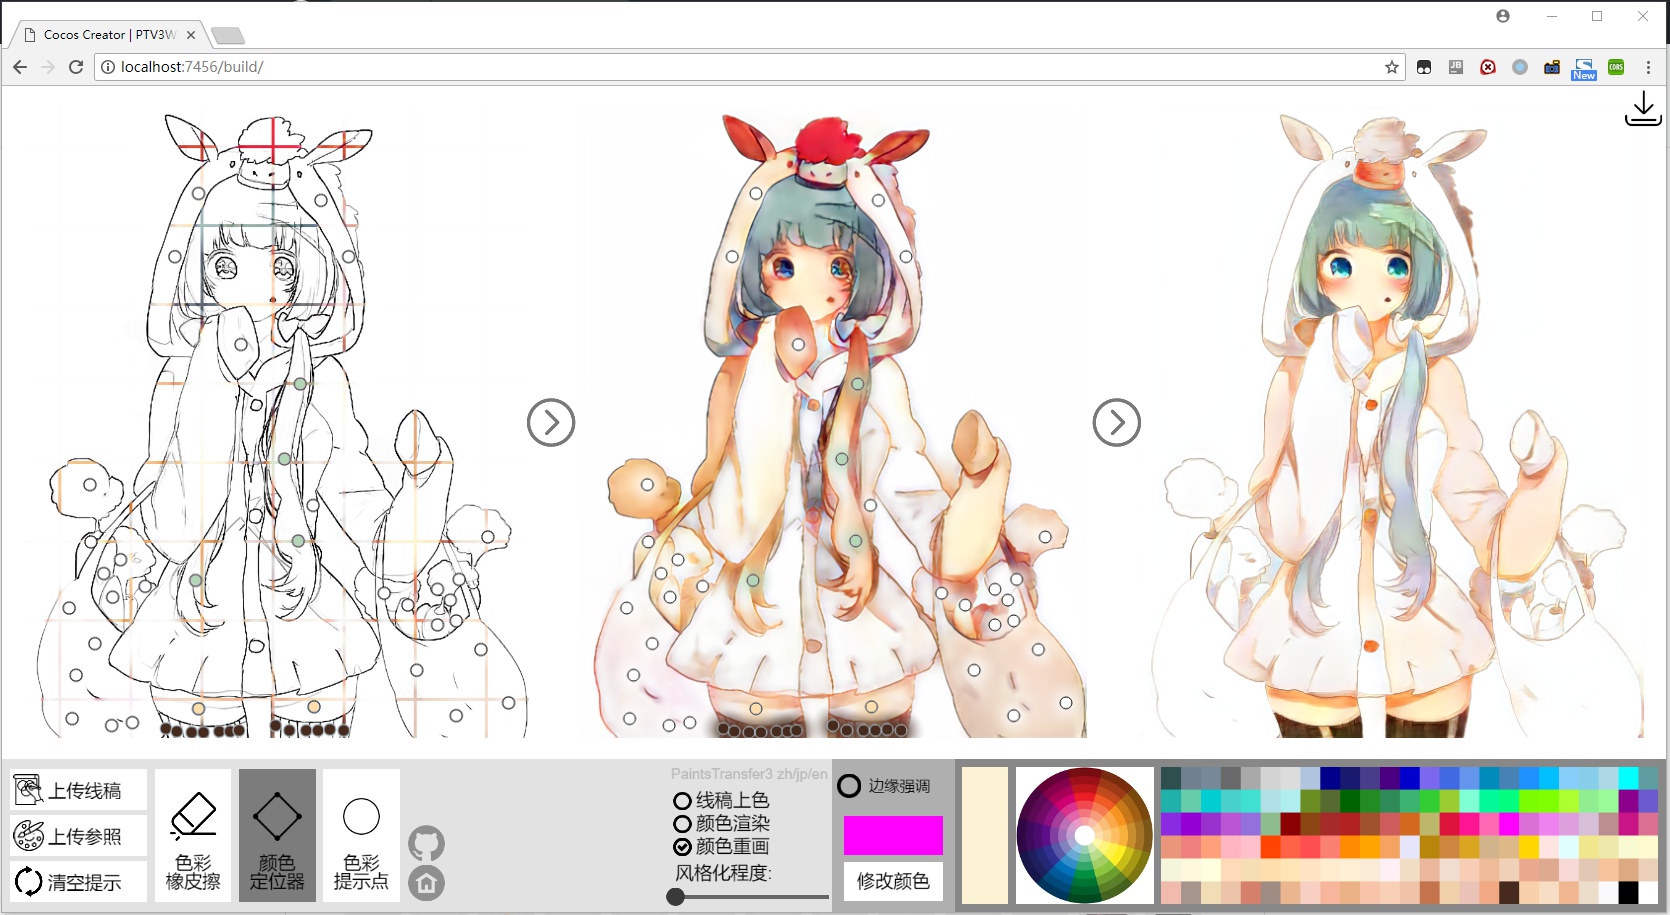
Can you colorize line arts?
If yes, you will do it faster if you can read this page.
If no, you will be able to do it if you can read this page.
First of all, why not spend 5 minutes to try it yourself!
http://paintstransfer.com (Because some financial problems, our online app is shut down temporarily.)
(PaintsTransfer-Euclid is the new name of style2paintsV3.)
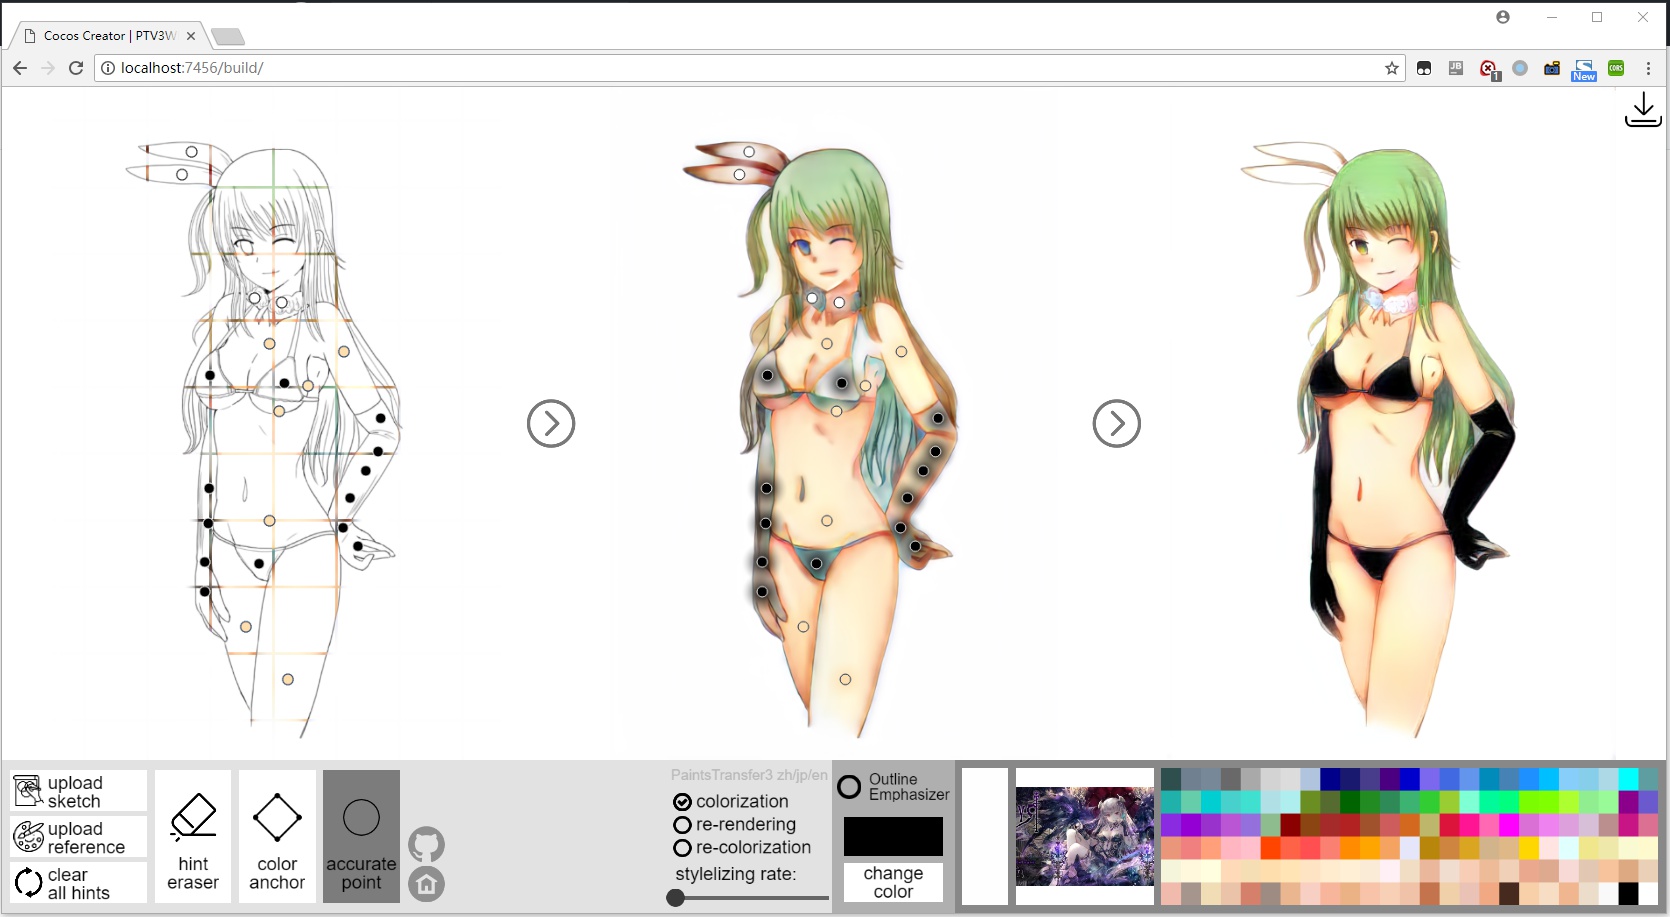
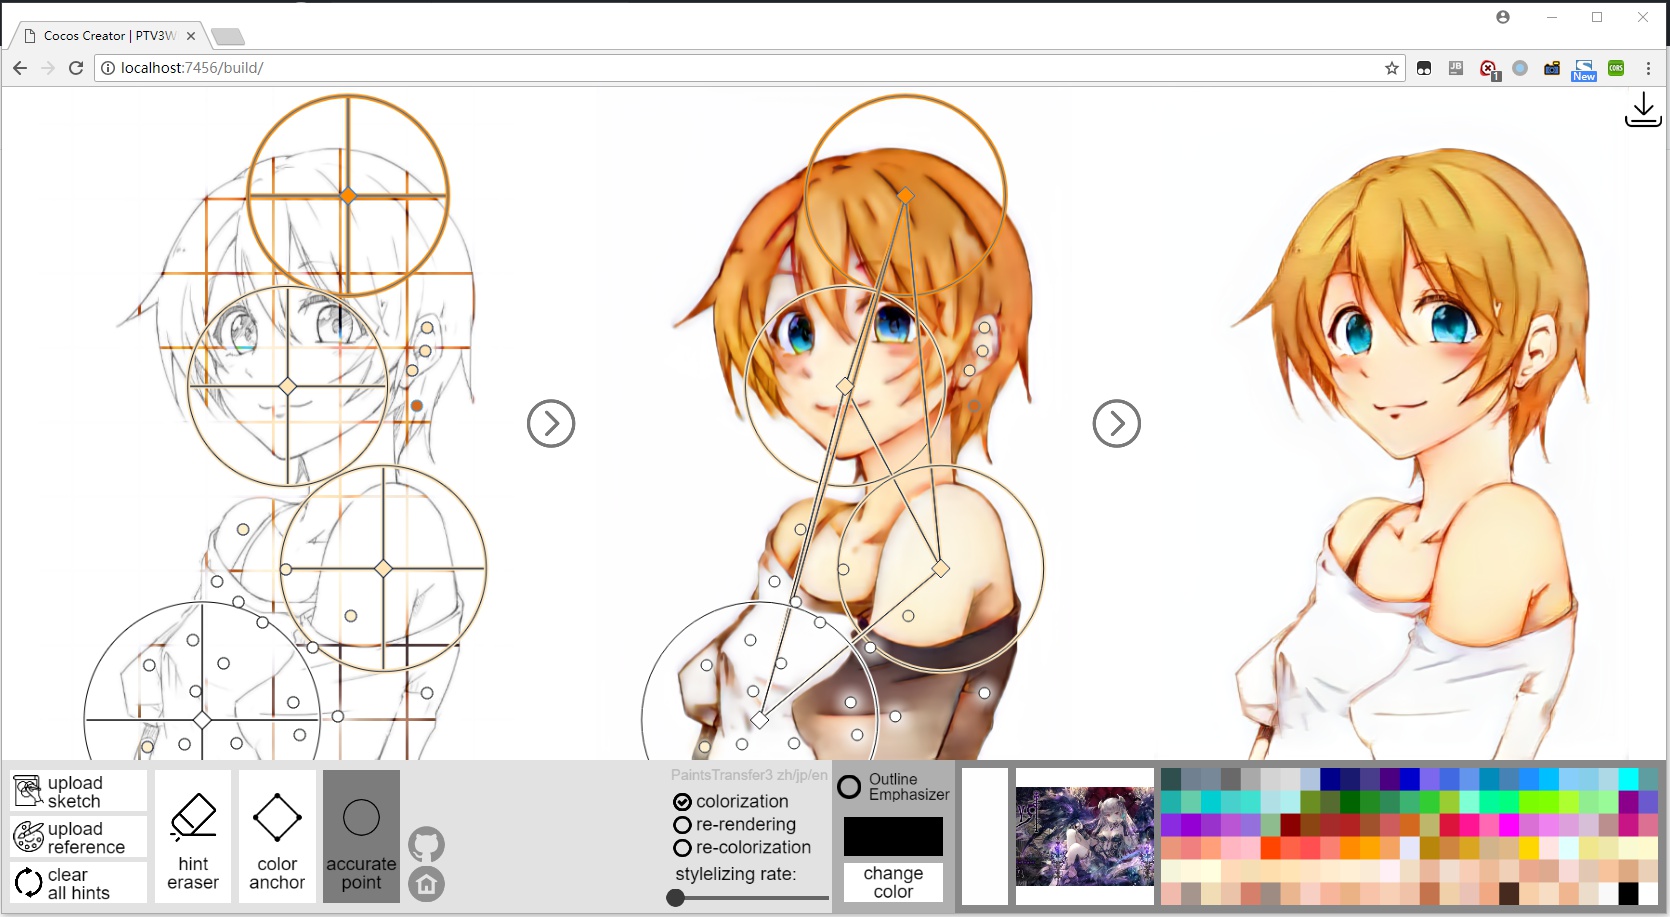
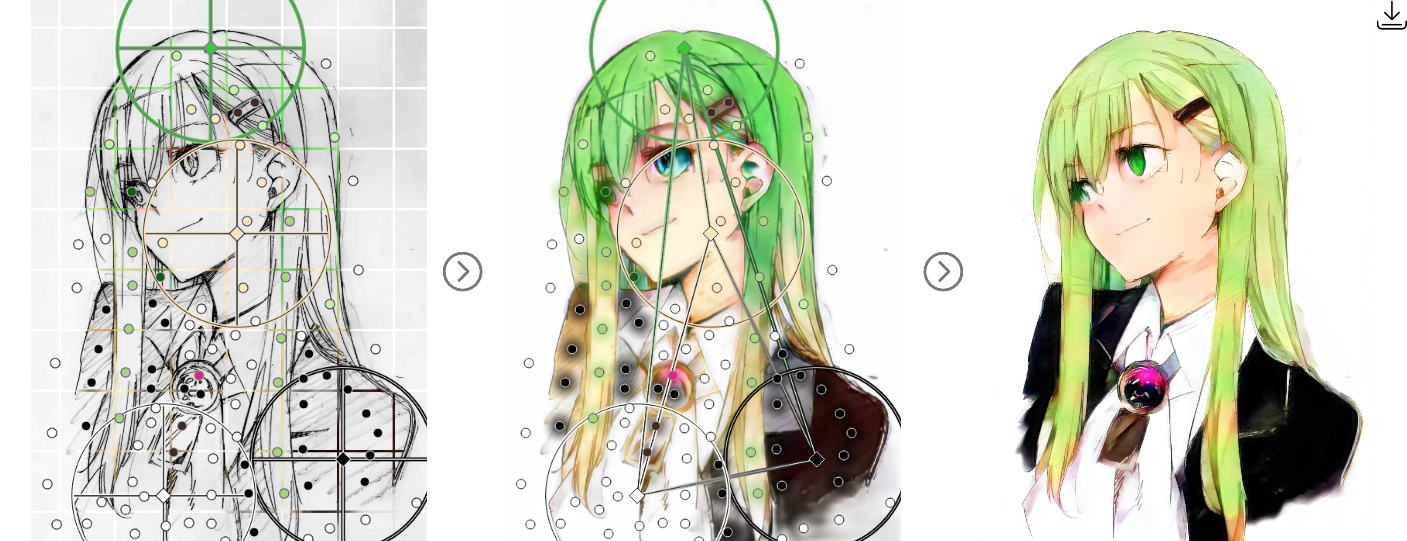
The AI can paint on a sketch, obeying your instructions.
The AI can paint on a sketch according to a given specific color style.
The AI can create its own color style to paint on a sketch.
The AI can transfer illustrations' style.
We focus on interactivity, possibility and creativity.
3 minutes fast colorization in PaintsTransfer 002 (YouTube)
3 minutes fast colorization in PaintsTransfer 002 (YouTube)
3 minutes fast colorization in PaintsTransfer 003 (YouTube)
3 minutes fast colorization in PaintsTransfer 004 (YouTube)
3 minutes fast colorization in PaintsTransfer 001 - 003 (BiliBili搬运) (NOT official)
Contents below may include:
1. Arts with female body.
2. Arts with nude skin.
3. Asia style arts of girls with short skirts, low bosom elements, lolita or others.
4. All virtual characters are more than 18 years old.
If you feel uncomfortable about these elements, you can stop reading here.
You should stop reading if you are under 14 years old.
You have been warned.
This github page contains many gif and png images, and it is a better choice to wait your browser before reading it.
To introduce this feature, let's begin with a kimono sketch of Shiki. The sketch is from google image.
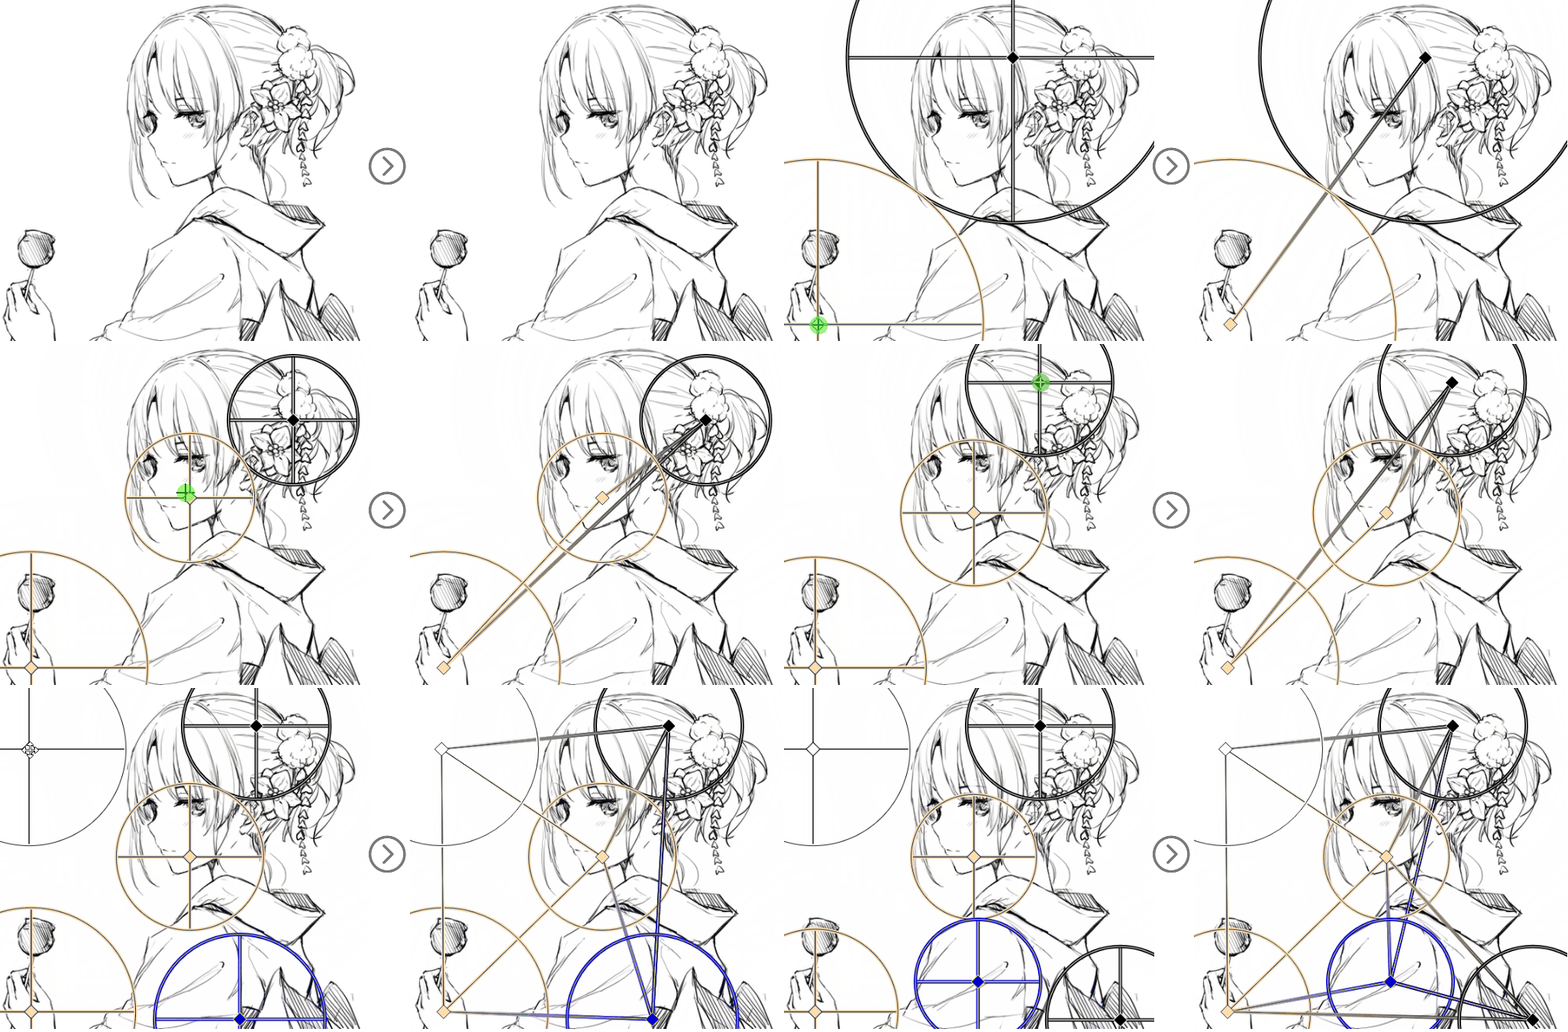
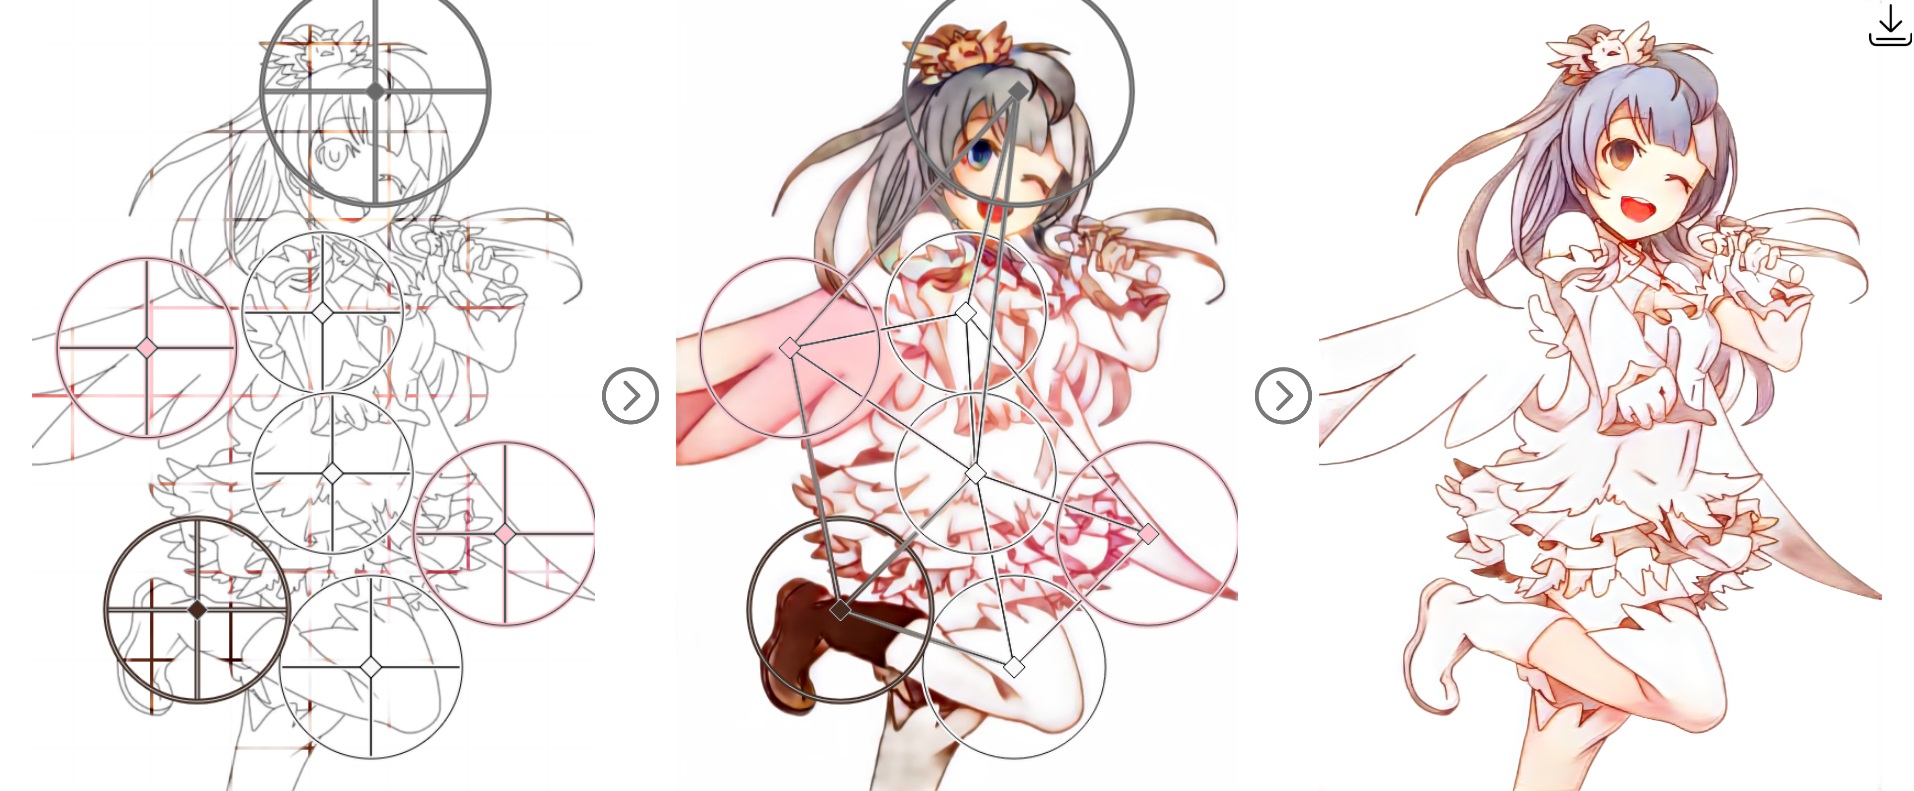
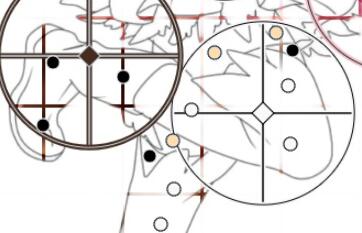
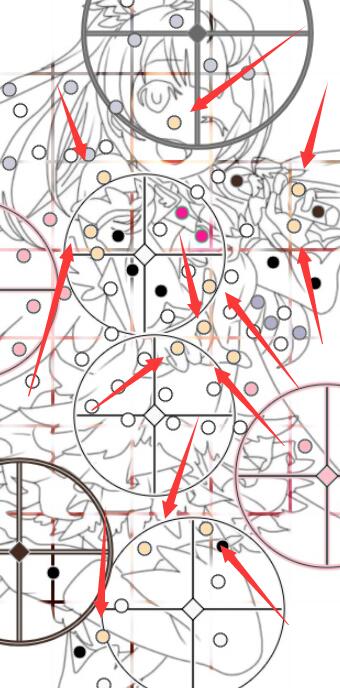
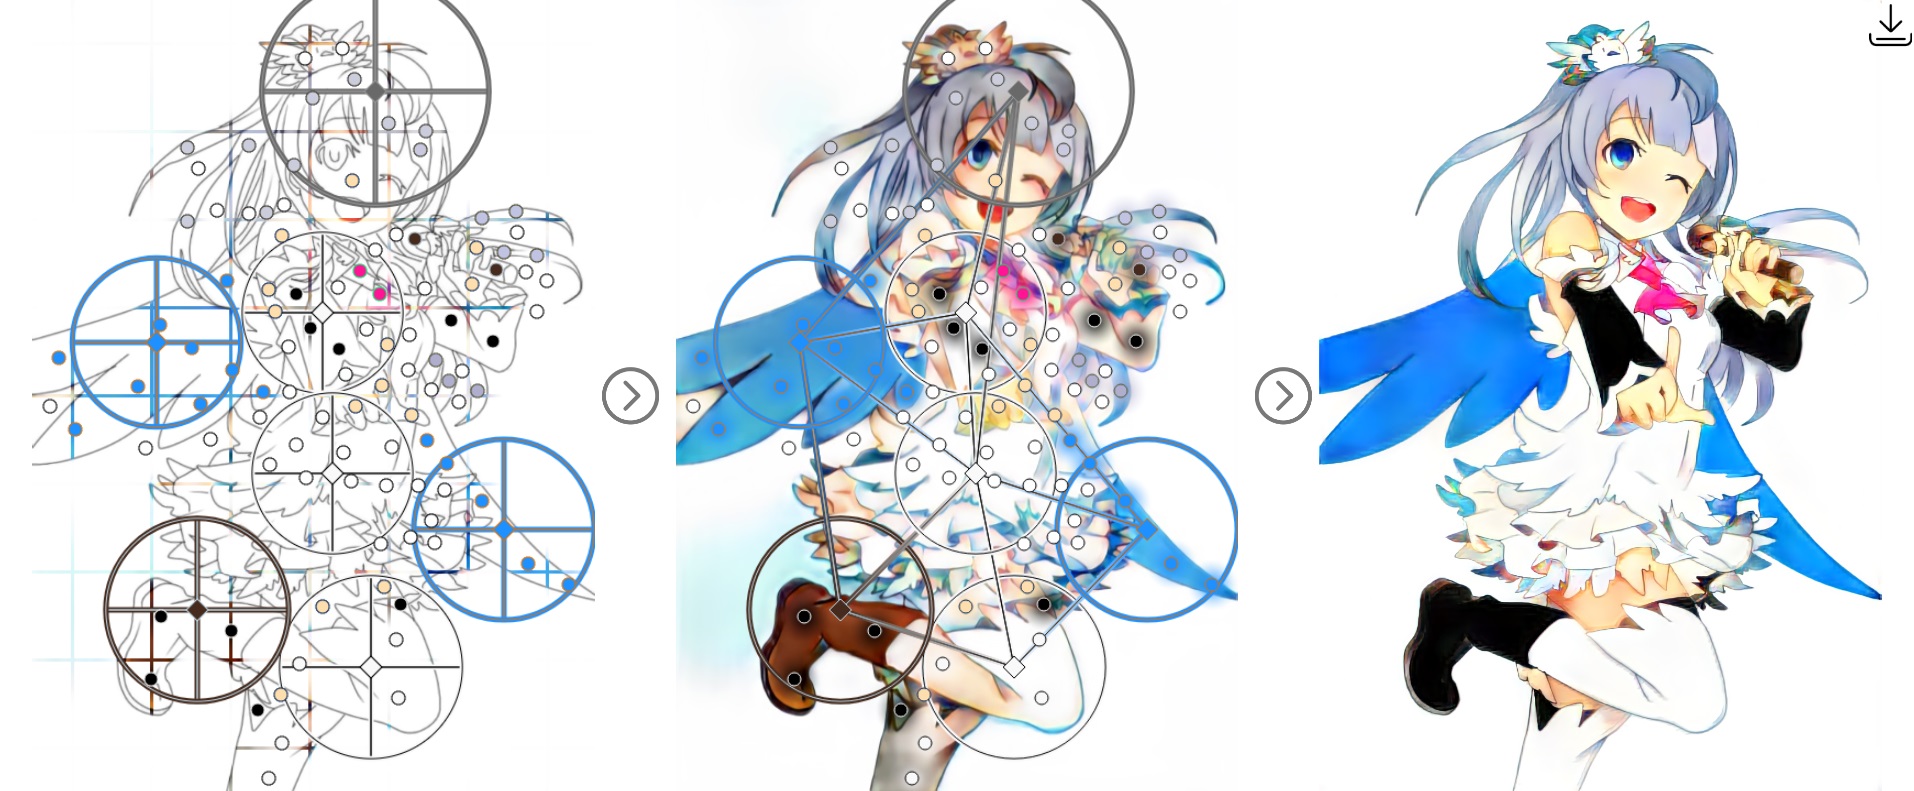
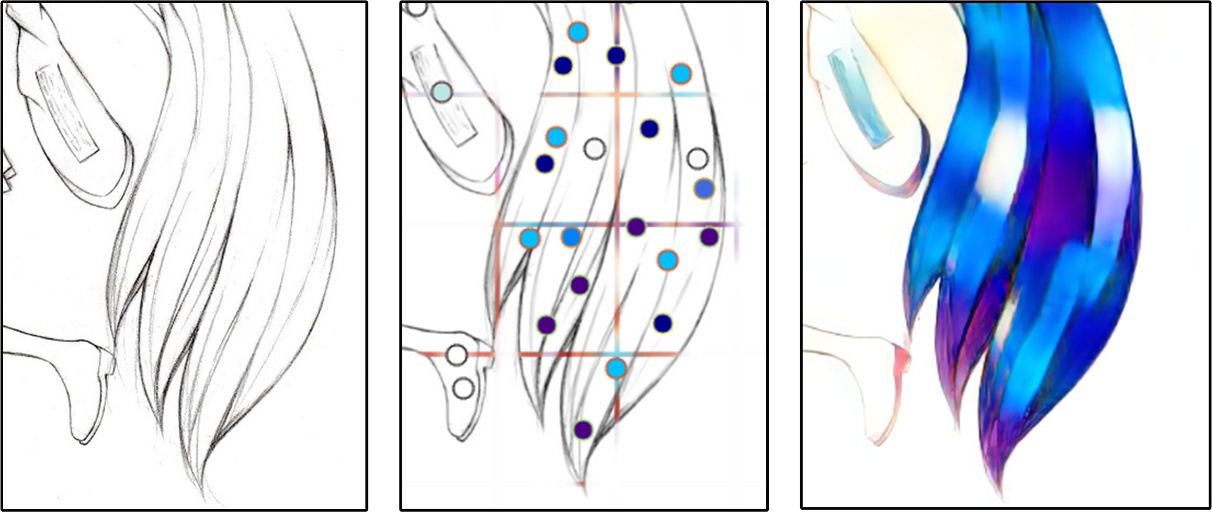
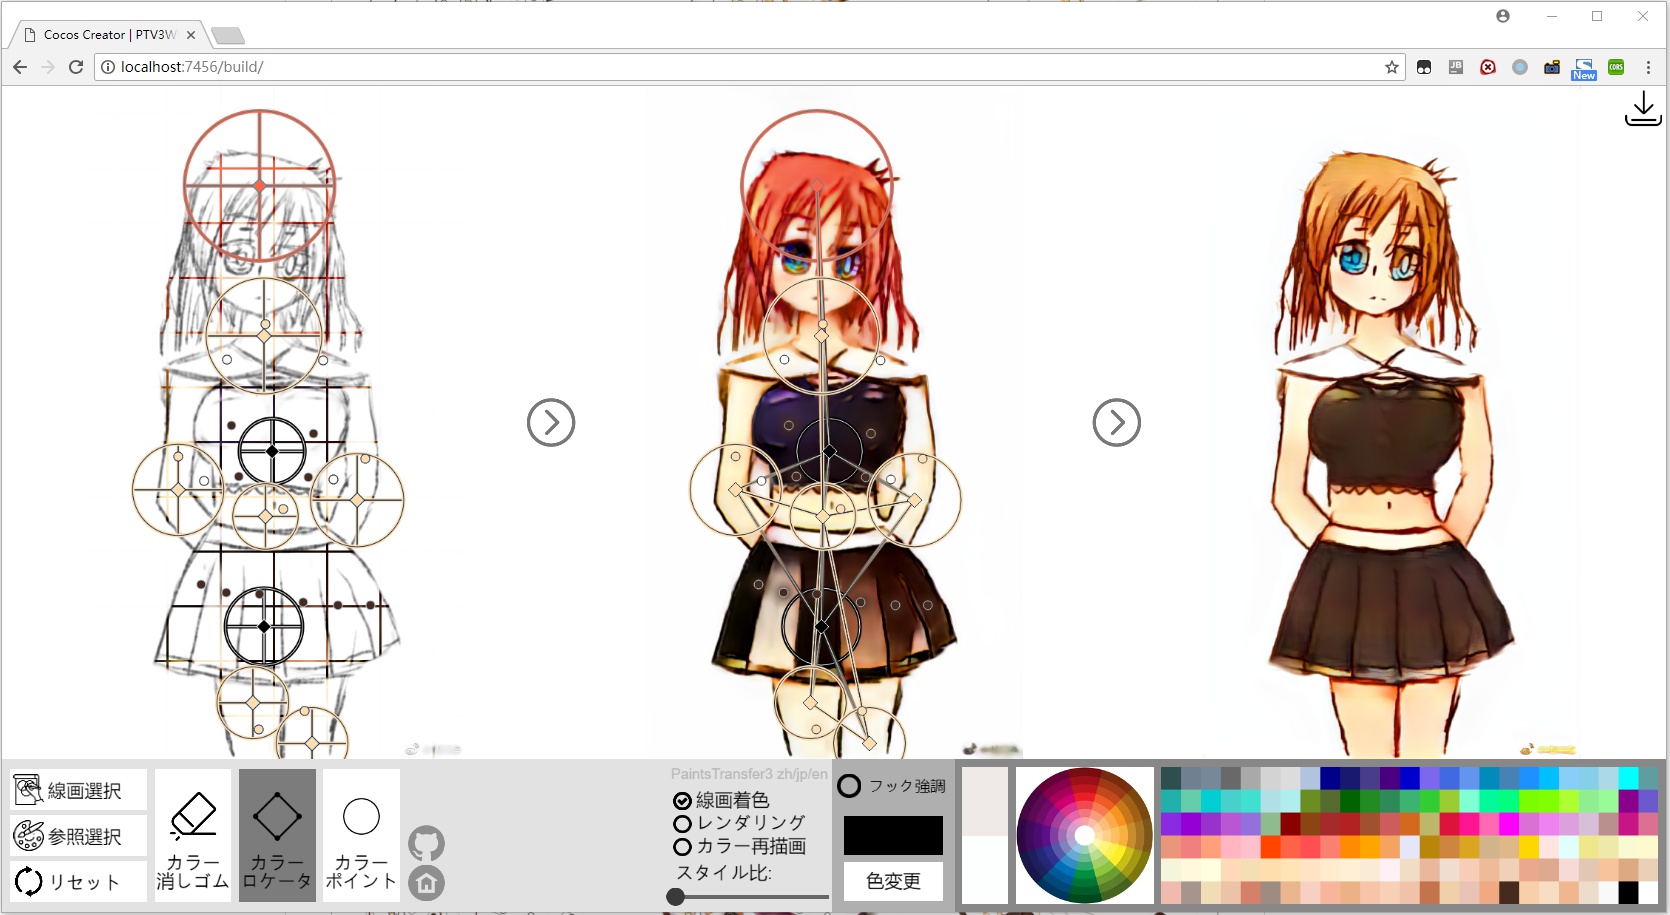
The new tool, color anchor, enable you to control the color of your painting with great stability. In most cases, you can use this tool to control the global color of the painting. In most cases, casting the color anchors should be your first step.
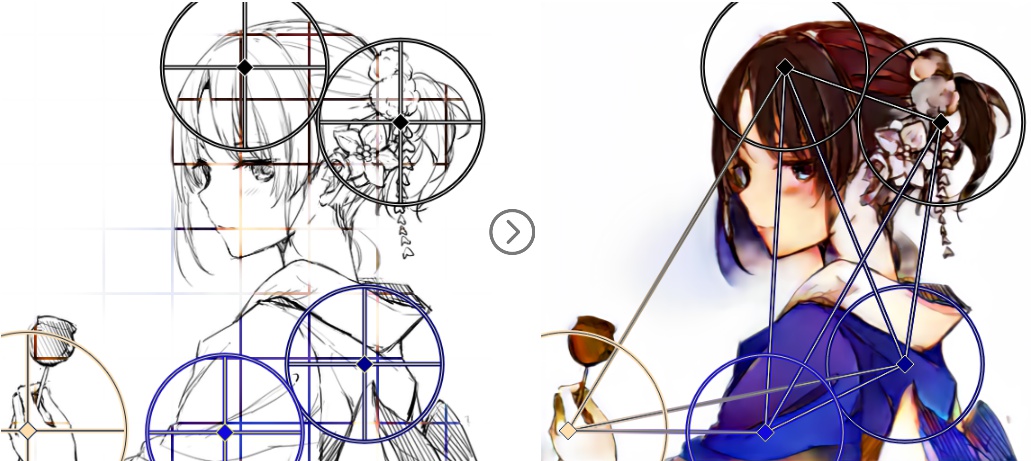
After this step, you should get a color draft like this:
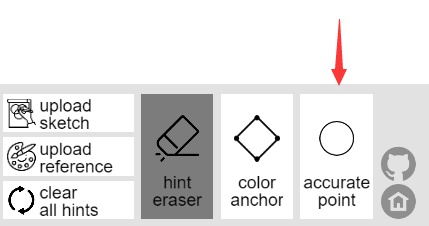
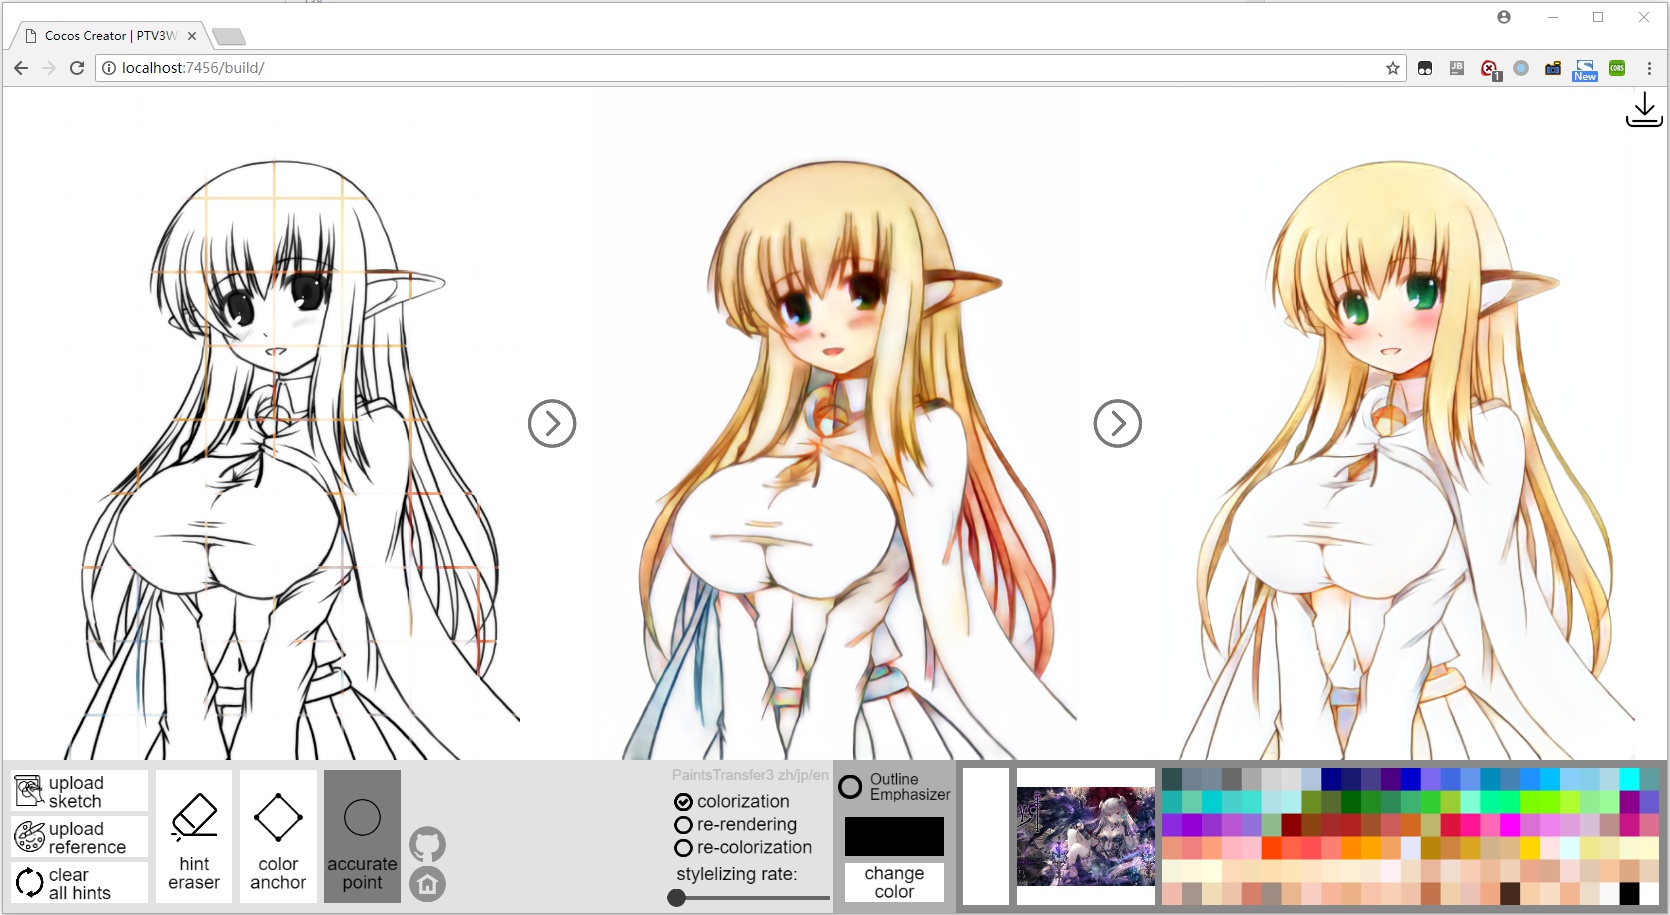
Then, after you finishing your color draft, you should shift to your Accurate Point tool.
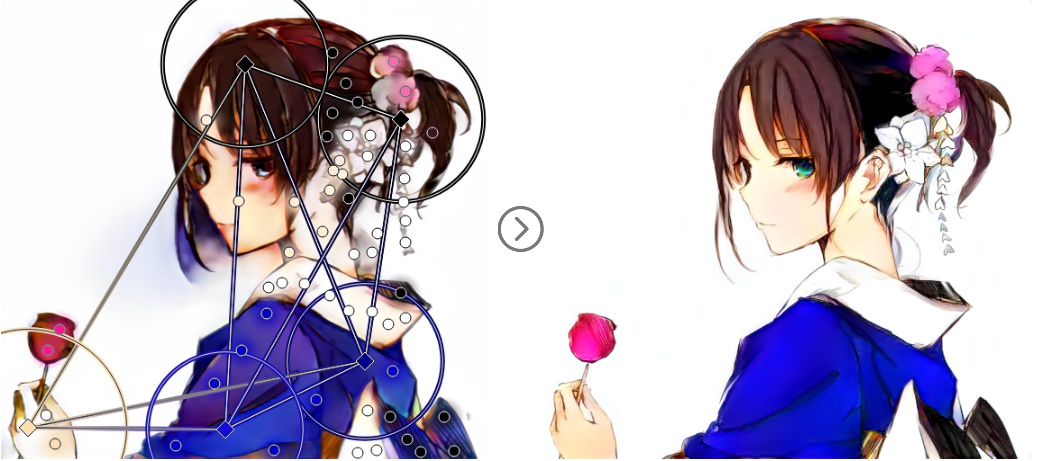
Then, you add hint colors and get the final result, like this:
Here is a gif version of the process:
We provide some best-practice for you:
If you are an artist, we highly recommend you to read these key points!!
1. When color anchors are linked, it means that colors on the line may be
   fused in the final result.

2. Each color anchor has a range circle, it means areas in the cicles may
   be infuenced.

3. Color Anchors does (!!!!!!!!!)NOT(!!!!!!!!!) influence the final color,
   it only influence the color style of the result.
   Thus, DO NOT ONLY use Color Anchors.

4. Accurate Points will only influence detailed, small, minor color area.
   Thus, DO NOT ONLY use Accurate Points.

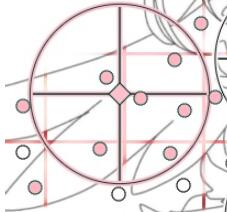
5. In most cases, you can put some Accurate Points around a Color Anchor,
   with same color. But for advanced usage, you can put Accurate Points
   around anchors with different colors.

6. You should NOT put Color Anchors with all same color. For example,
   instead of put 8 blue Color Anchors, You should put 3 blue ones, 2
   black ones, 2 white ones and 1 green one. Otherwise the result color
   will be ugly and unbalanced.
In the same way, you can get many Shiki with different color, such as:
After reading these, you may ask:
"Oh, you are just good at color selection! But I am blind to these color and I have never learnt to painting! How can I select right color?"
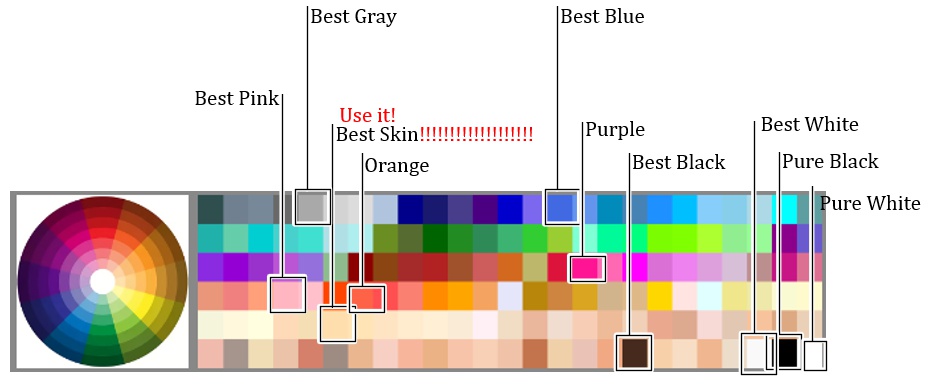
Ok, here we present a best-practice color list for you:
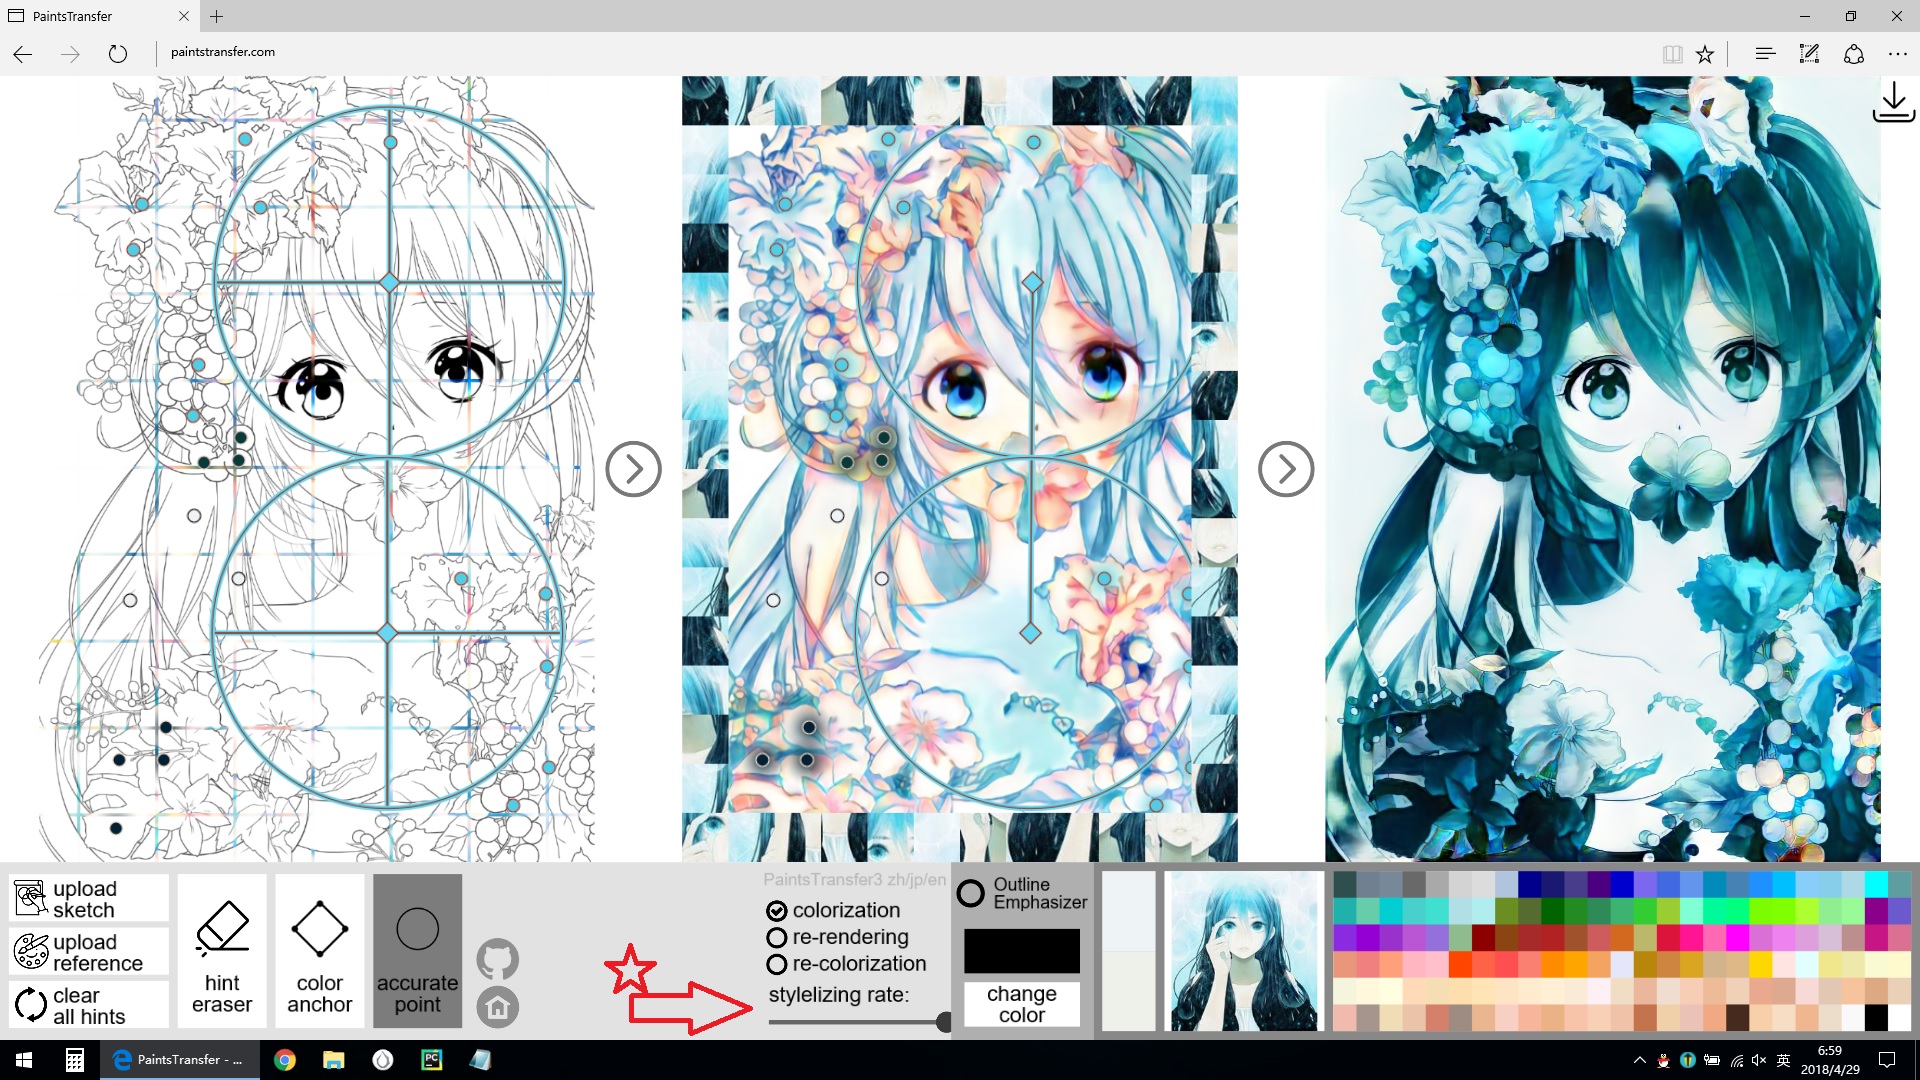
You can still upload your reference, but keep in mind that you need to drag the "stylizing rate" slider.
Here is an example with reference image:
We do NOT recommend you to paint in this way, because it is hard to find suitable reference images.
Anyway, I selected some good reference images for you:
https://github.com/lllyasviel/lllyasviel.github.io/raw/master/default_references.zip
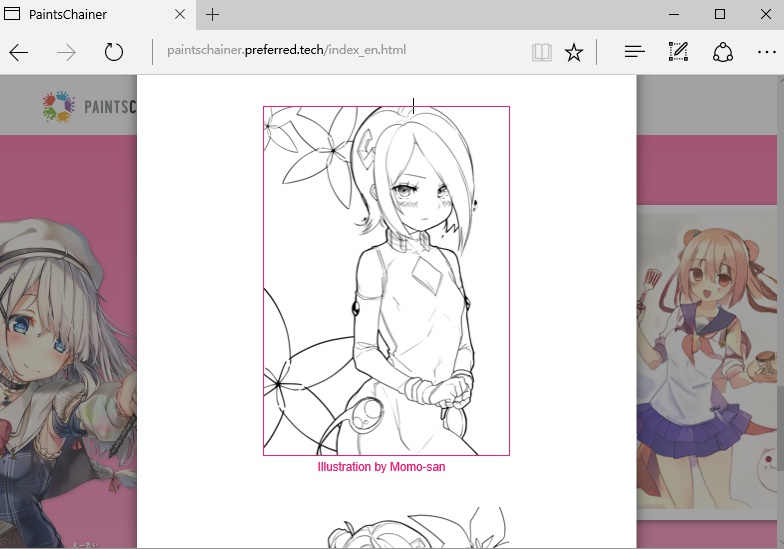
Let's begin with one of the promotion sketch of our friend paintschainer (paintschainer.preferred.tech).
You can find this sketch here:
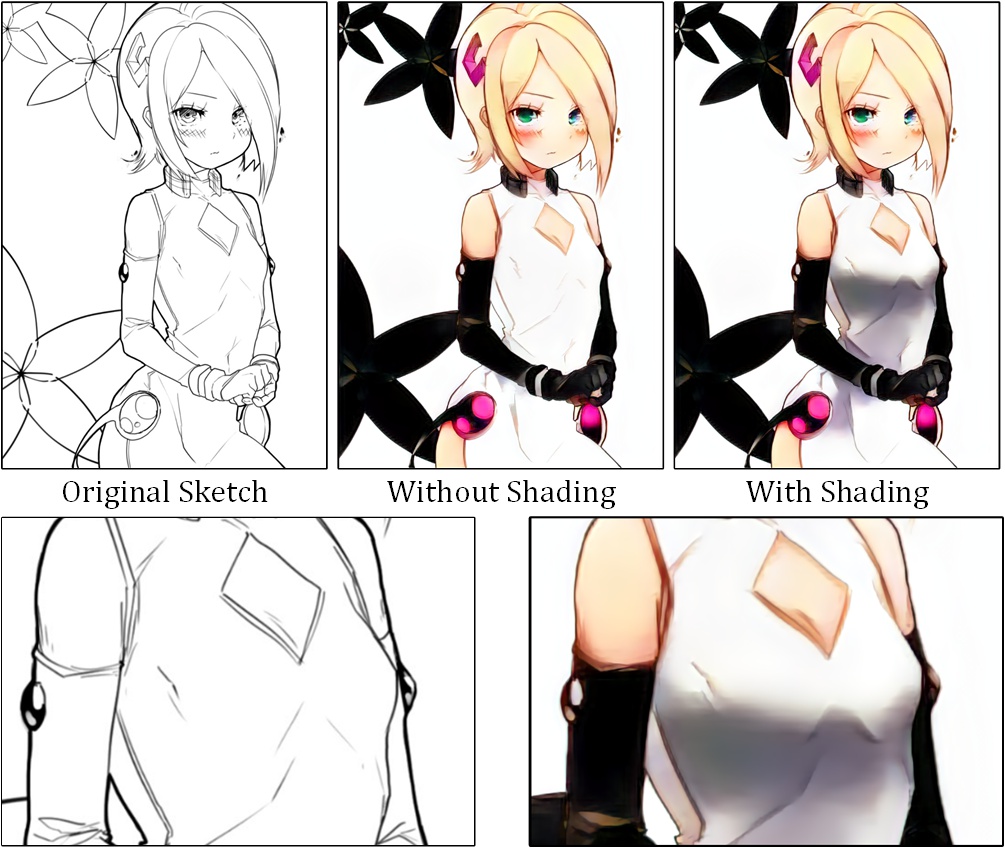
Here is a overview of this feature:
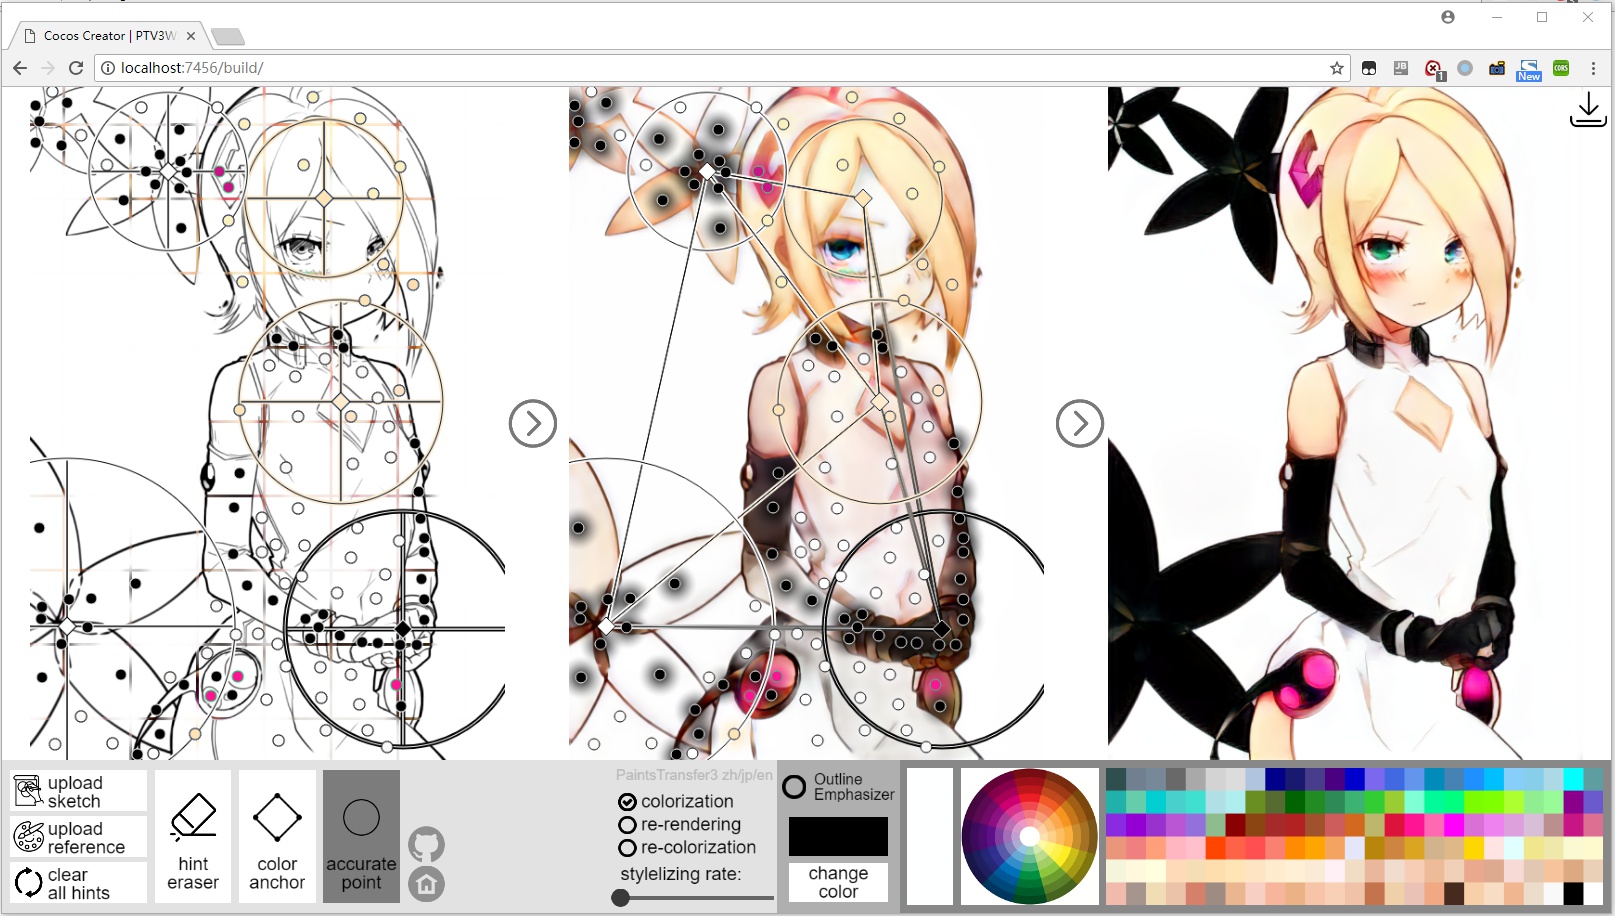
Here we explain what happen. First of all, you just make a normal paintstransfer painting, like this:
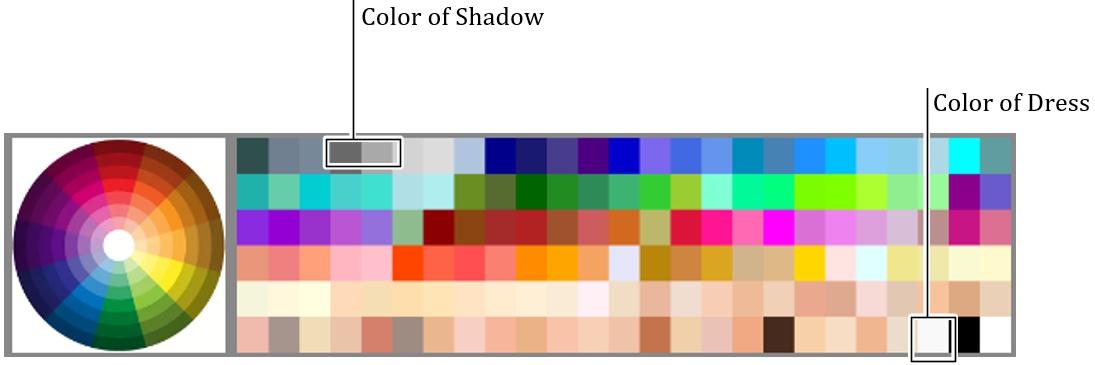
Then we select colors for shadow.
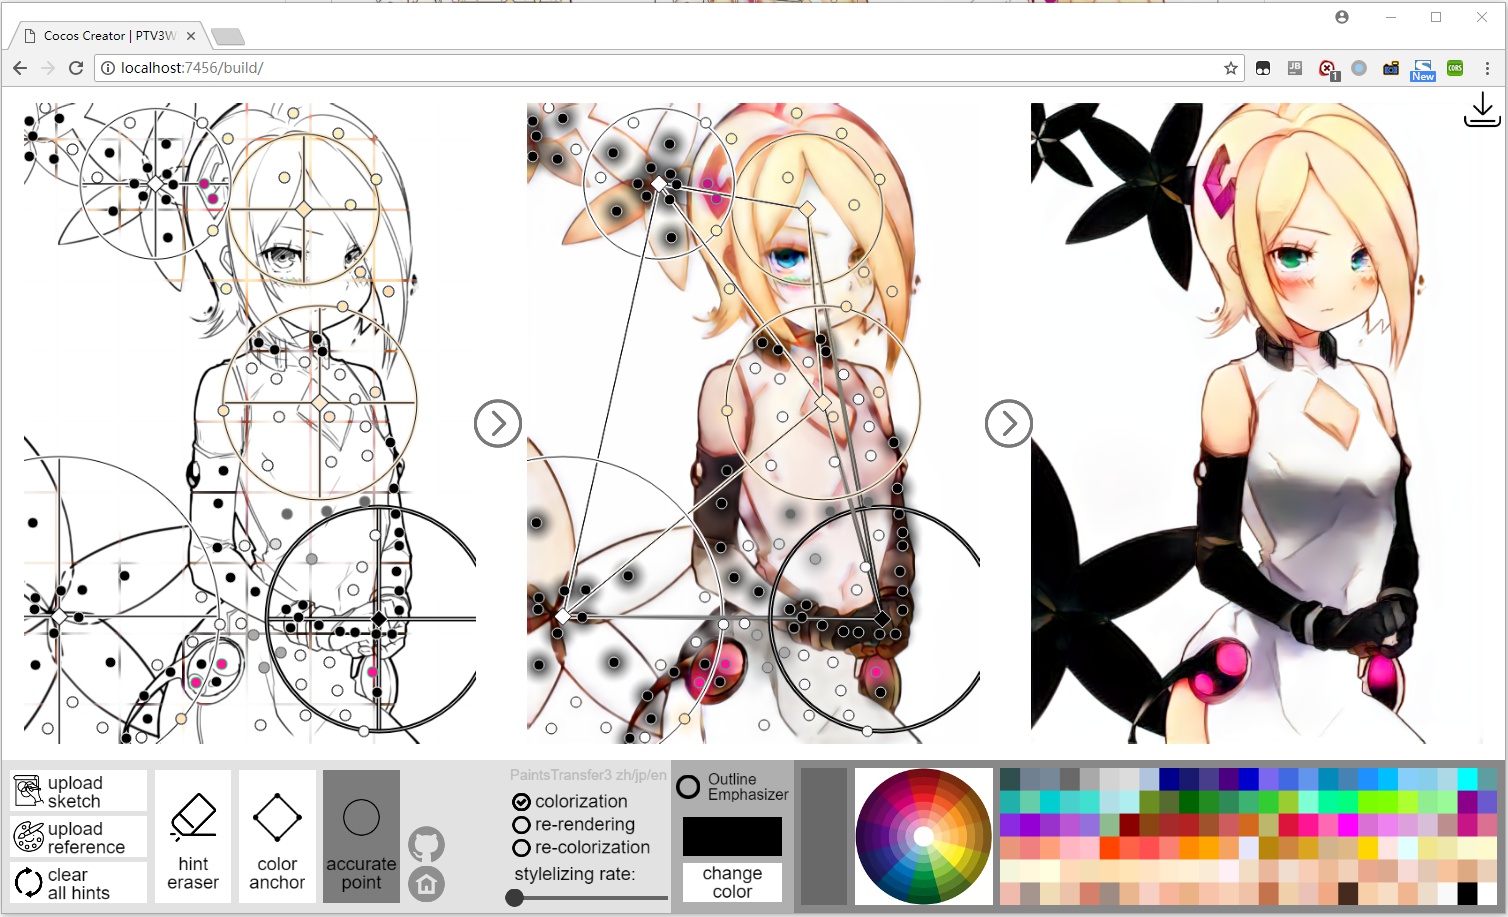
Then you use these four step to get the shadow.
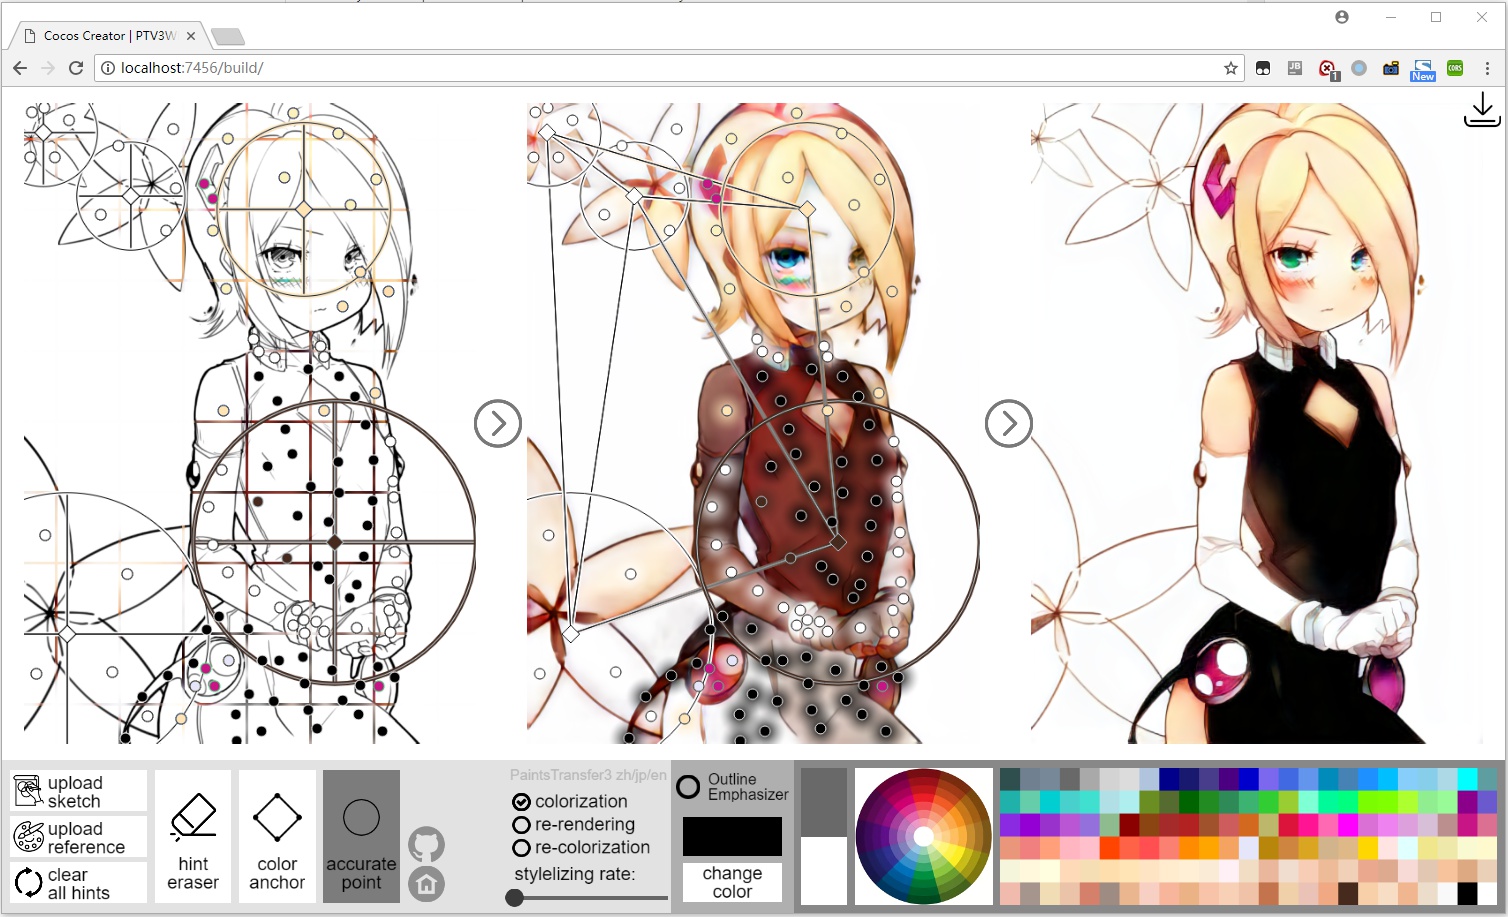
We can also change the dress into black, and use similar method to reach a highlight shading:
Some other similar examples:
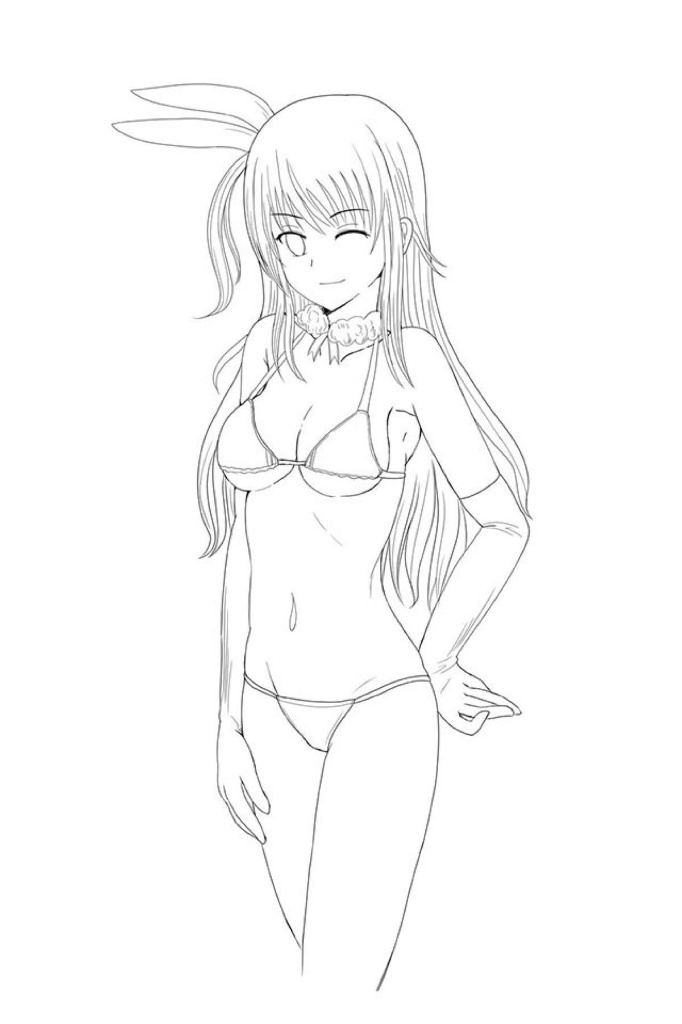
Let us begin with a sketch from google, and this sketch has relative large skin area:
And here is the result from PaintsChainer :
As we can see, the skin rendering is very hard for AI. But we have a new Skin Engine, and here is our result.
And some other similar results:
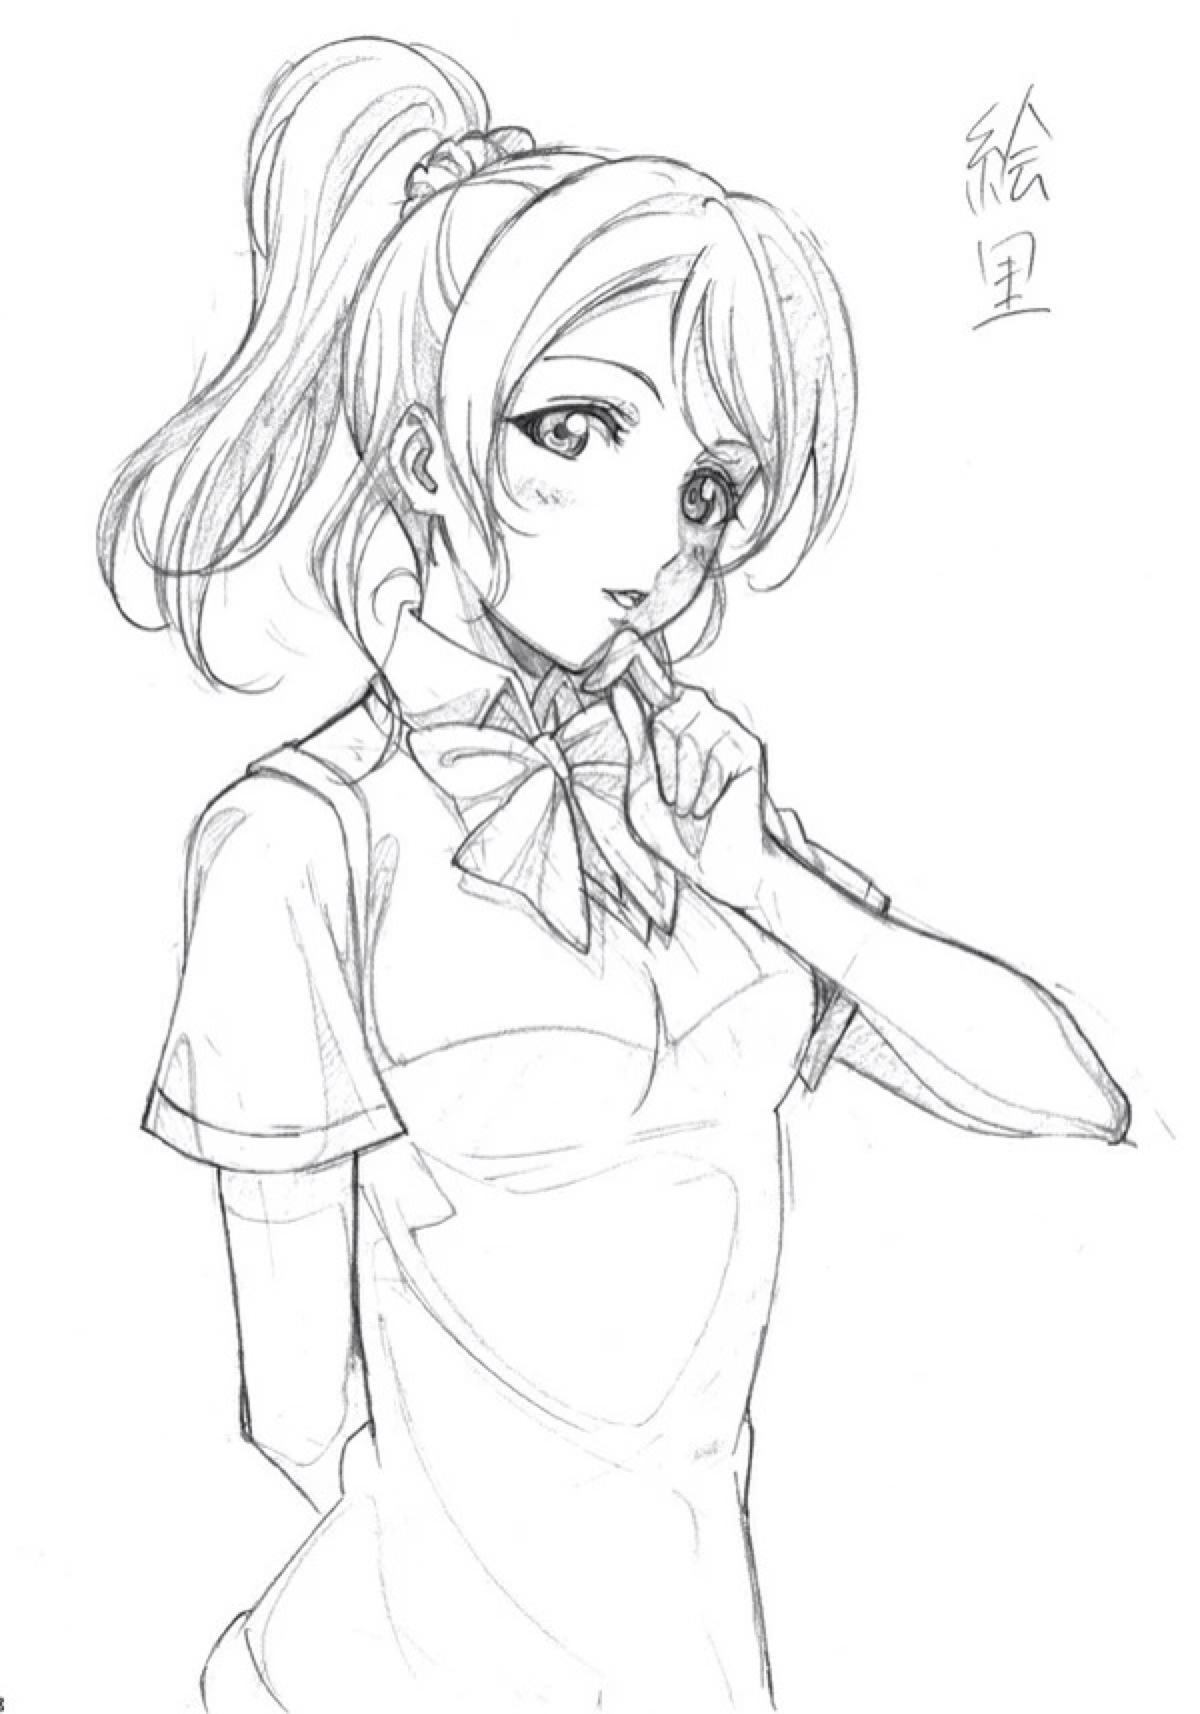
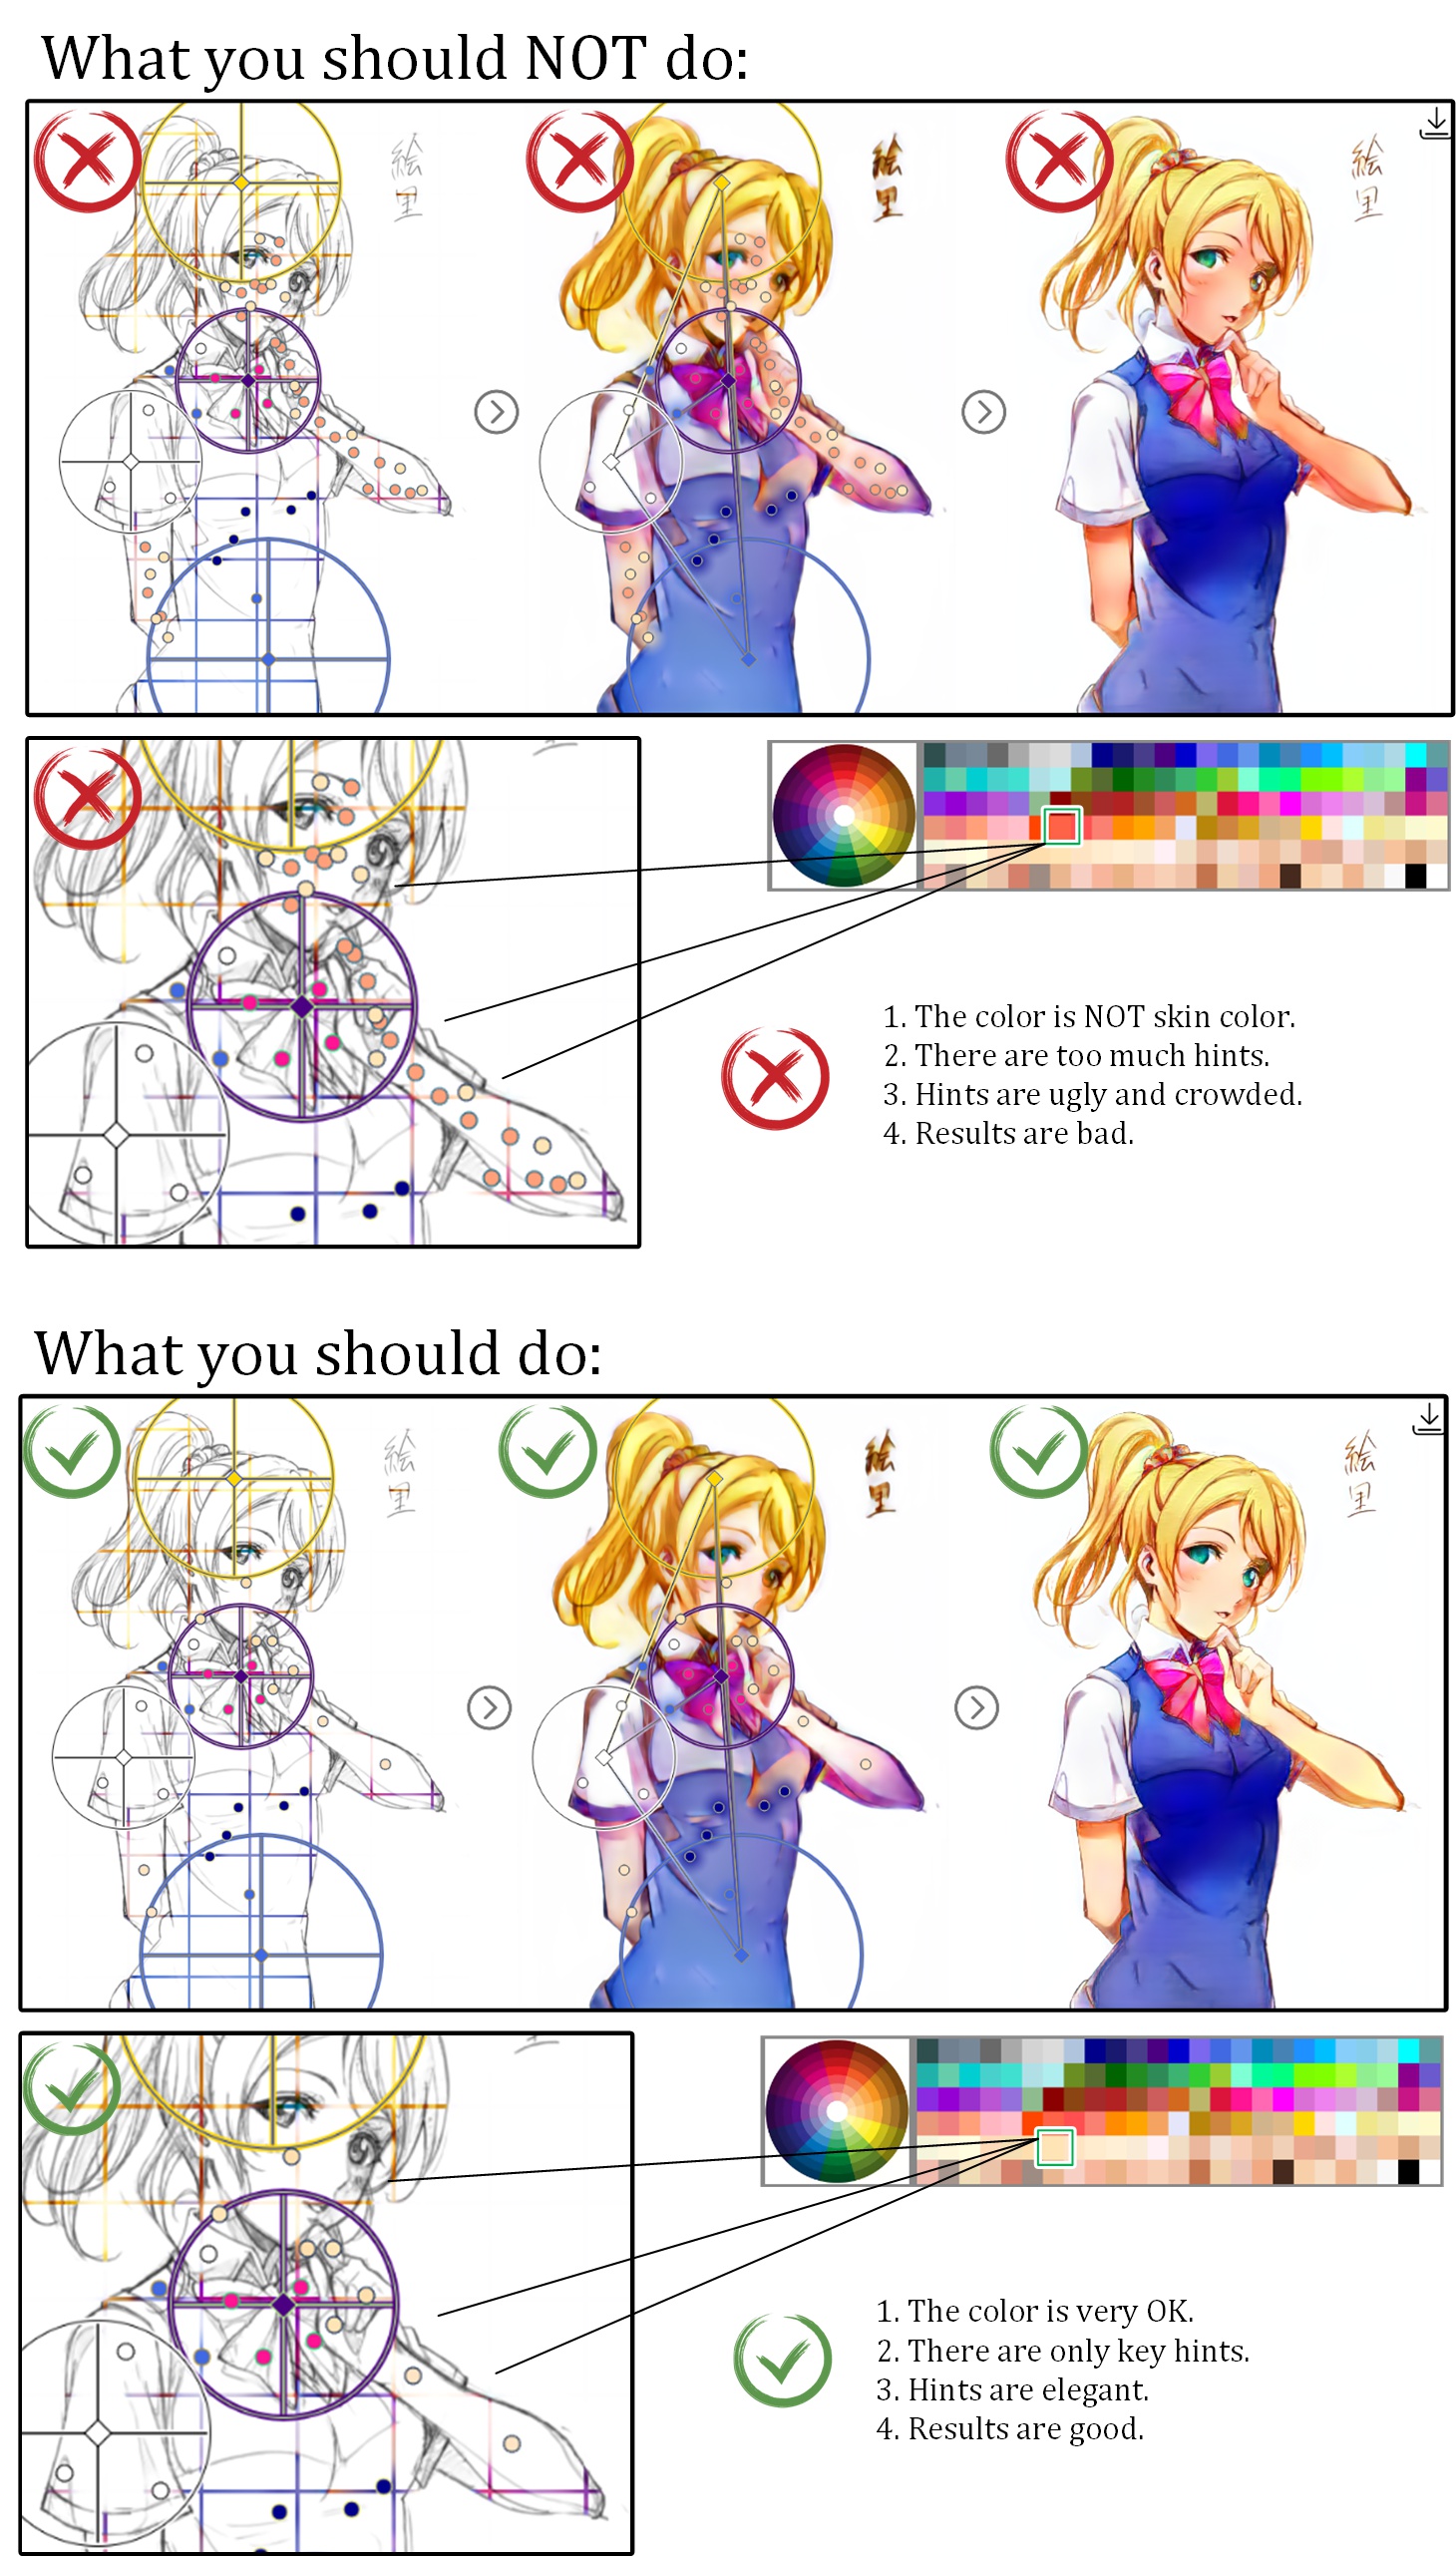
Because our software is designed for professional use, you need to know what is skin color first. It is easy:
And then, you need to try some of these to get your favorite one. Do not be lazy.
Here is an Ayase for you to practice:
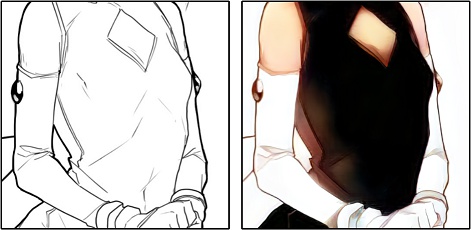
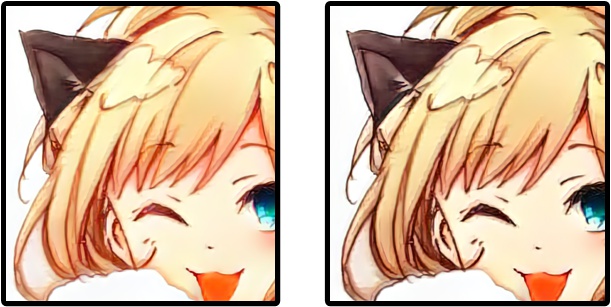
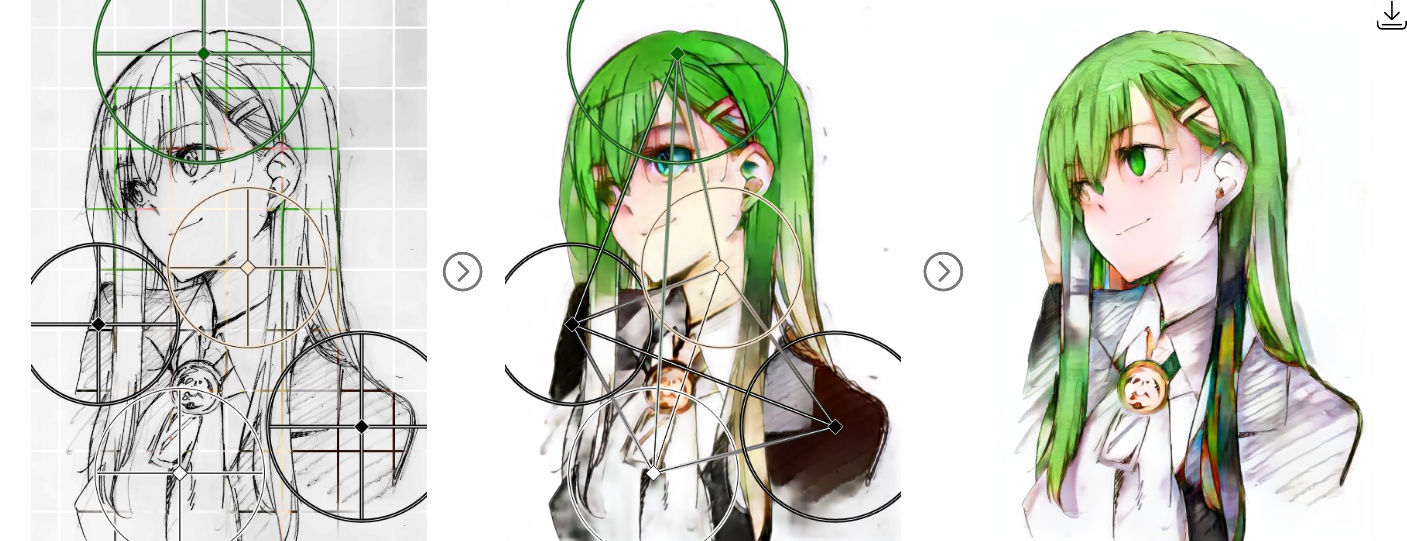
Sometimes you may want to emphasize the lines so as to achieve a natural painting. Then we have developed the standalone Outline Emphasizer:
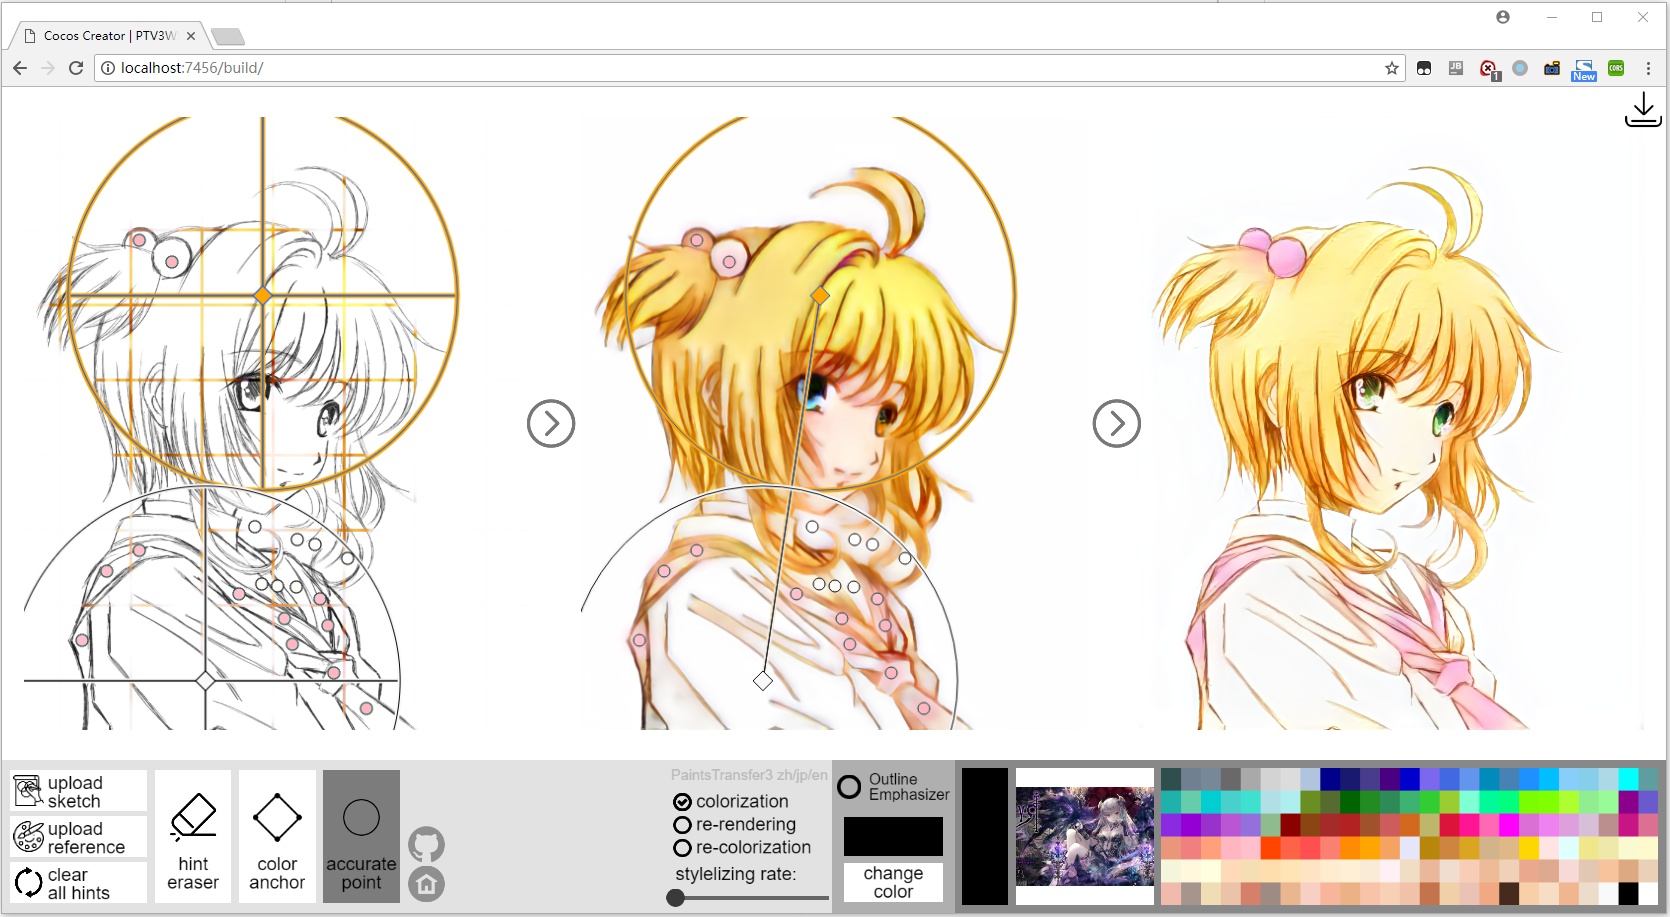
Let begin with a sample of sakura:
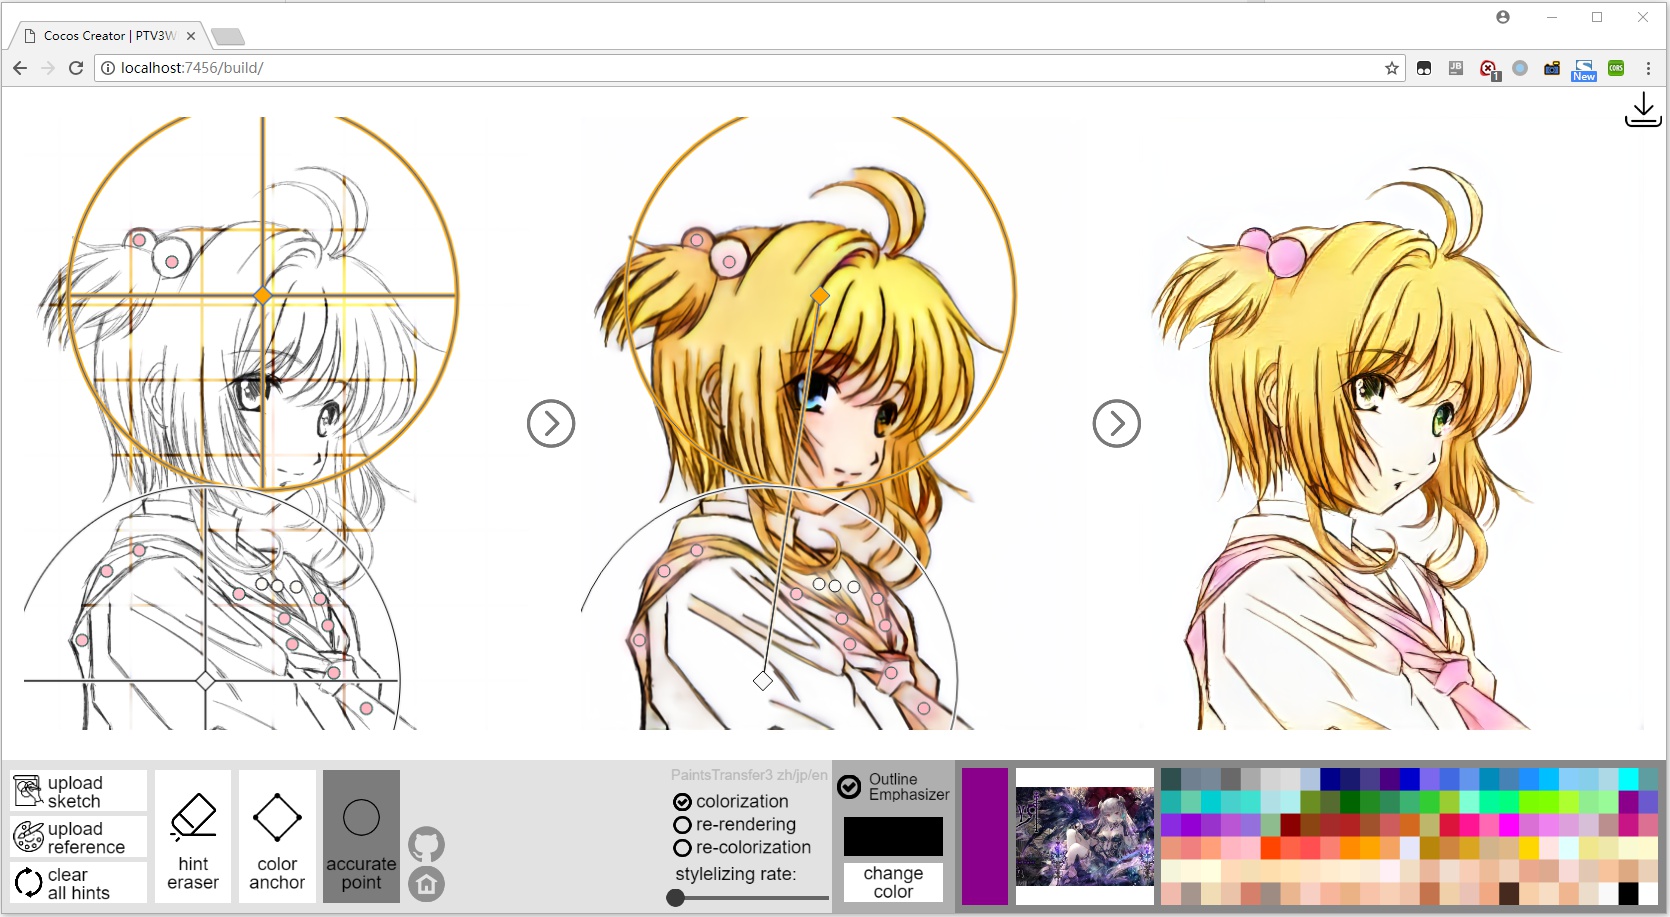
Then, we enable the Outline Emphasizer and we can get this result:
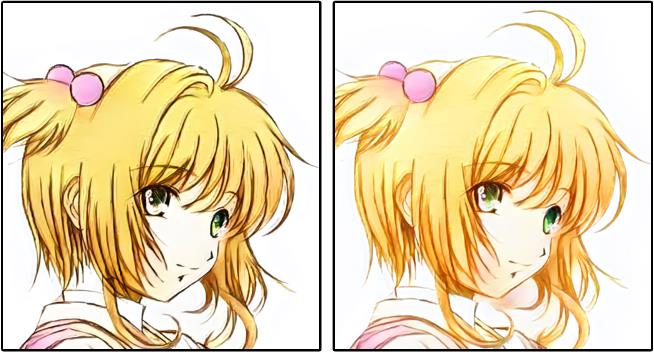
Here is a comparison:
Another example with Outline Emphasizer:
Without Outline Emphasizer:
Here is a comparison:
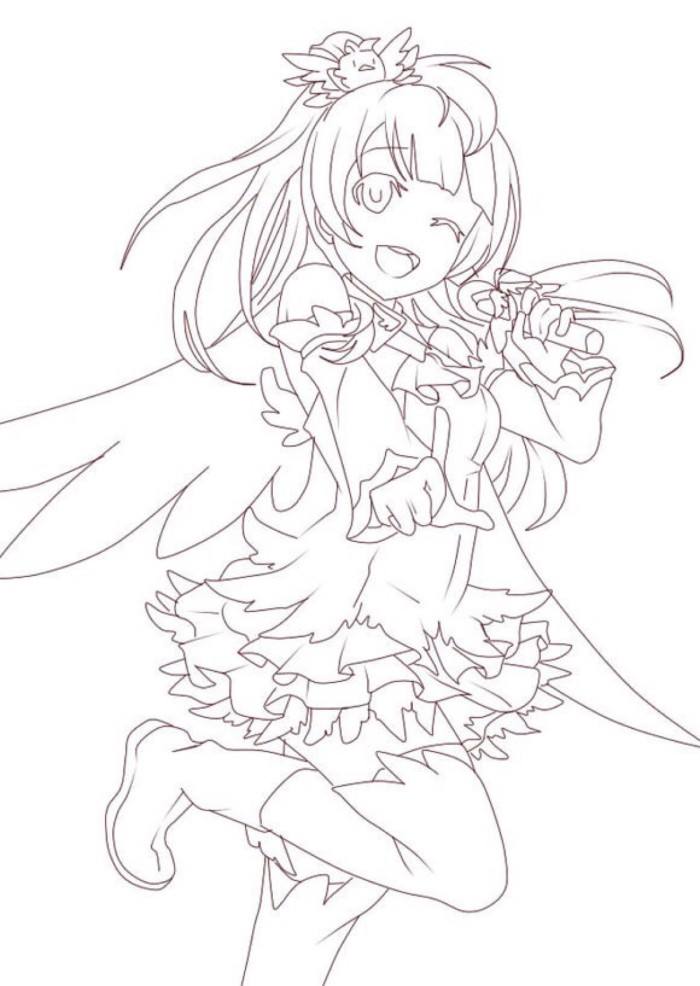
Here is a Minami for you:
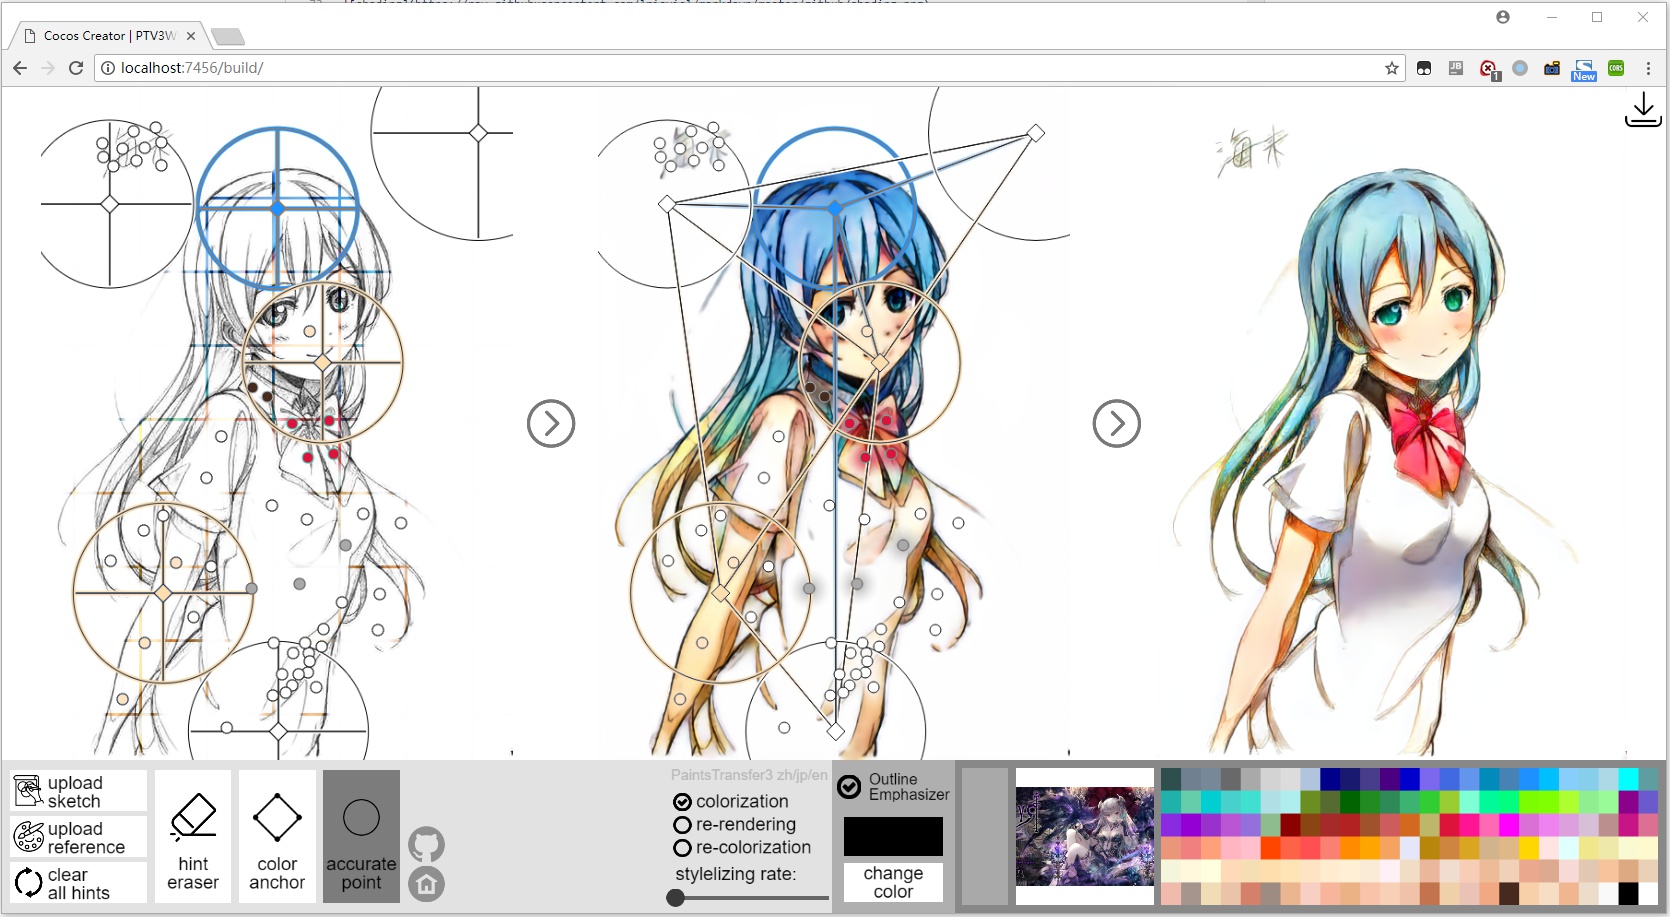
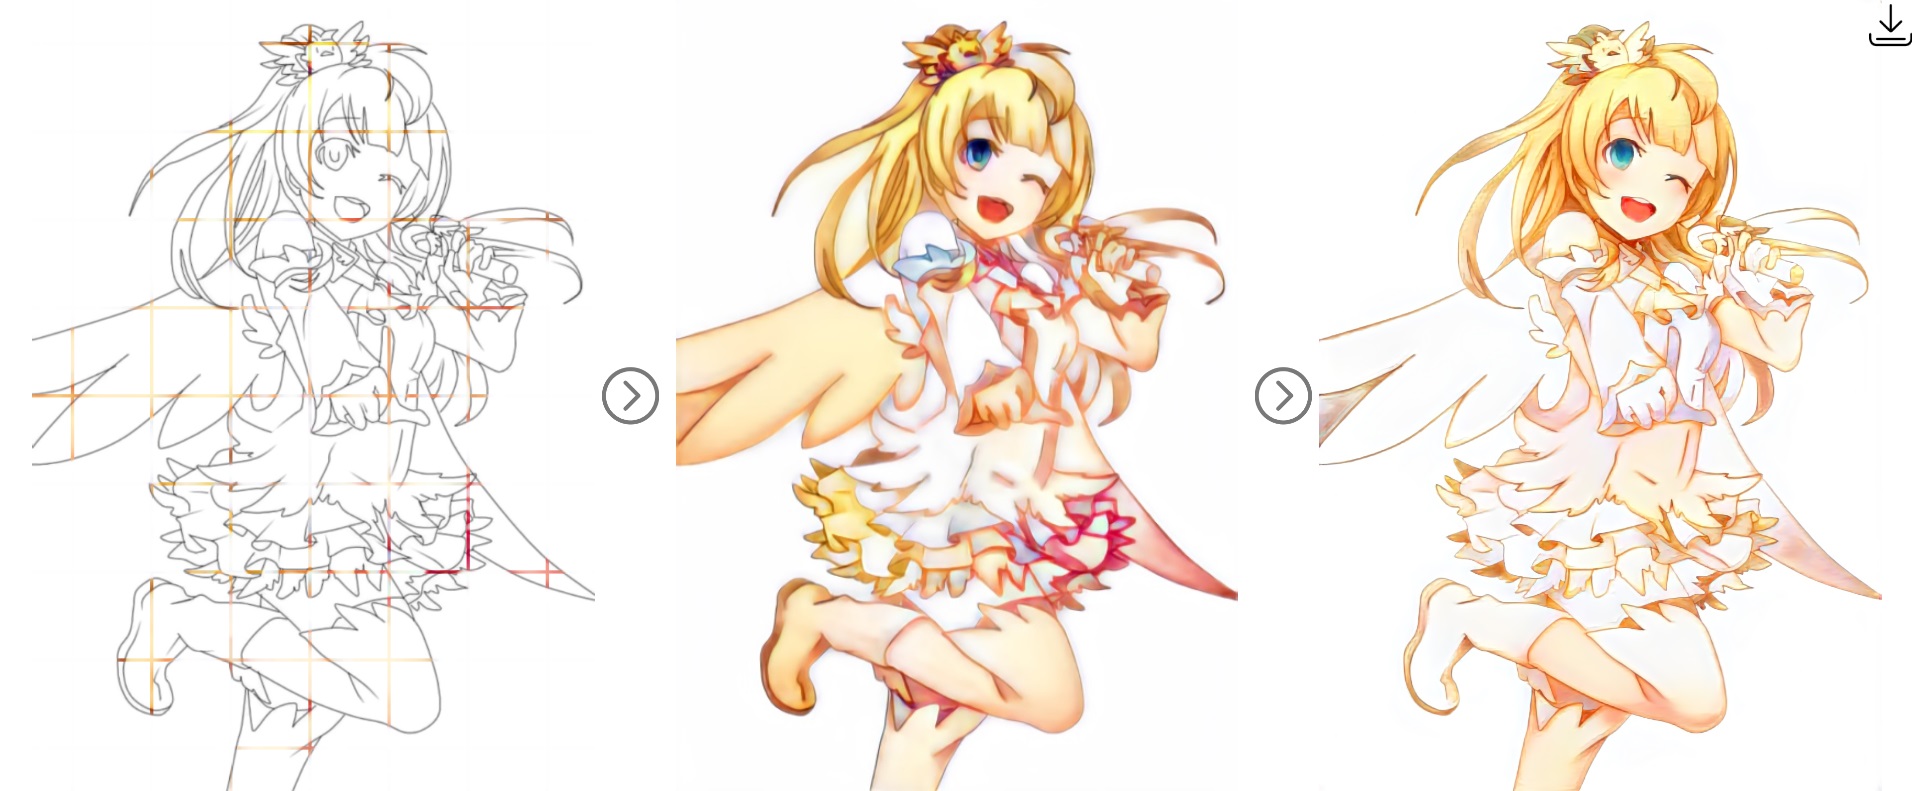
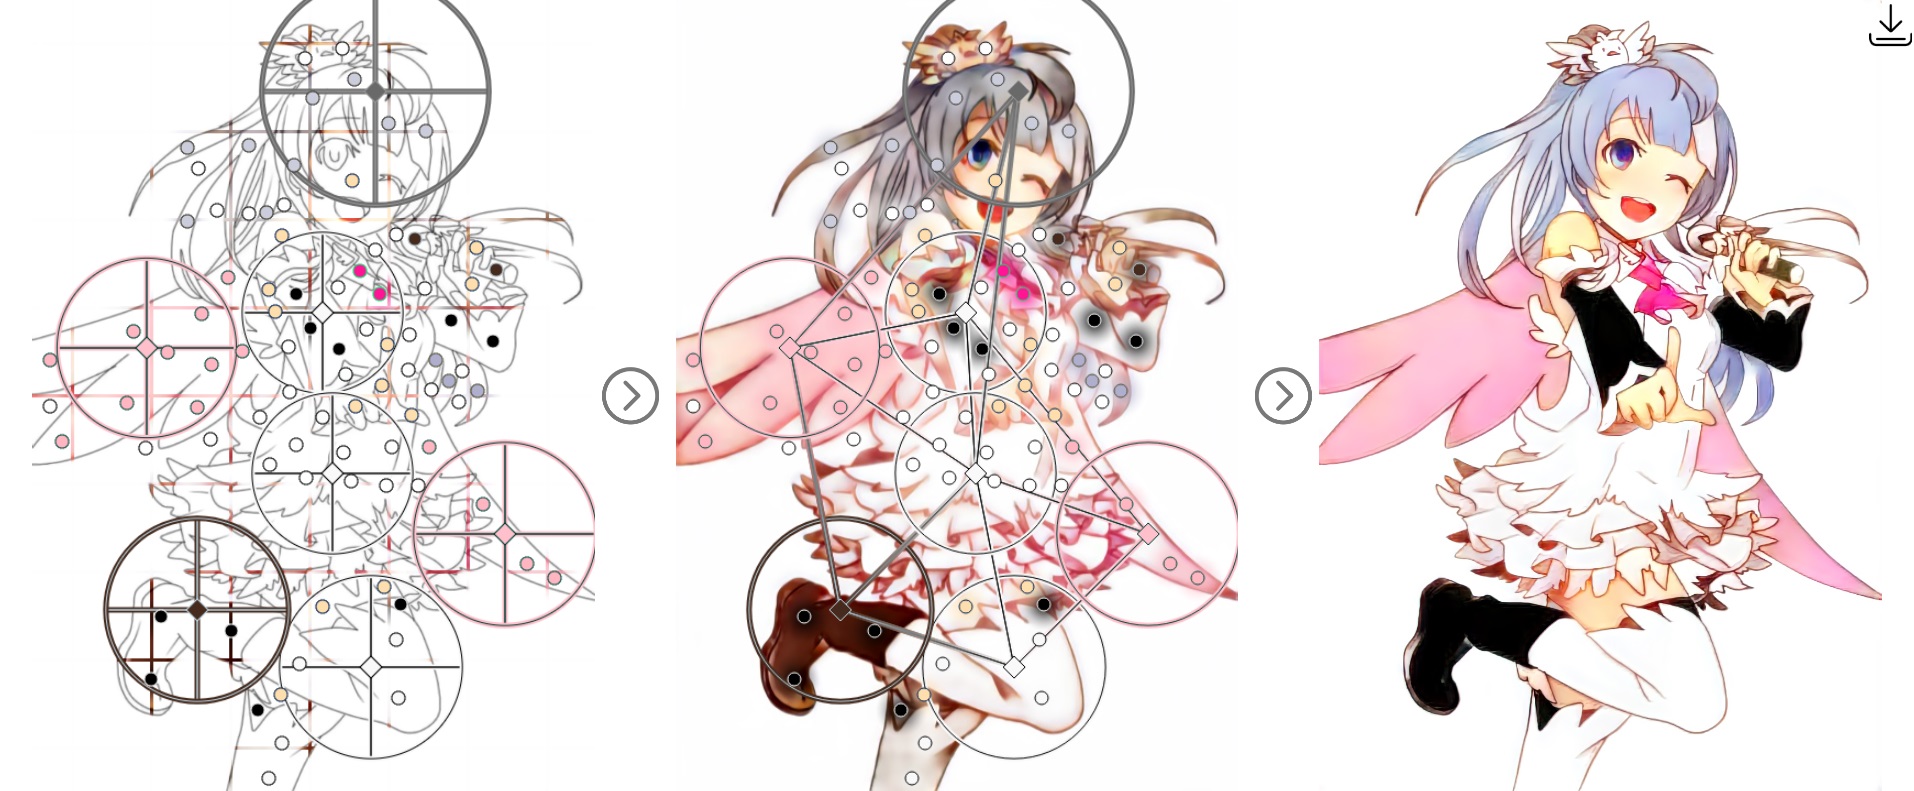
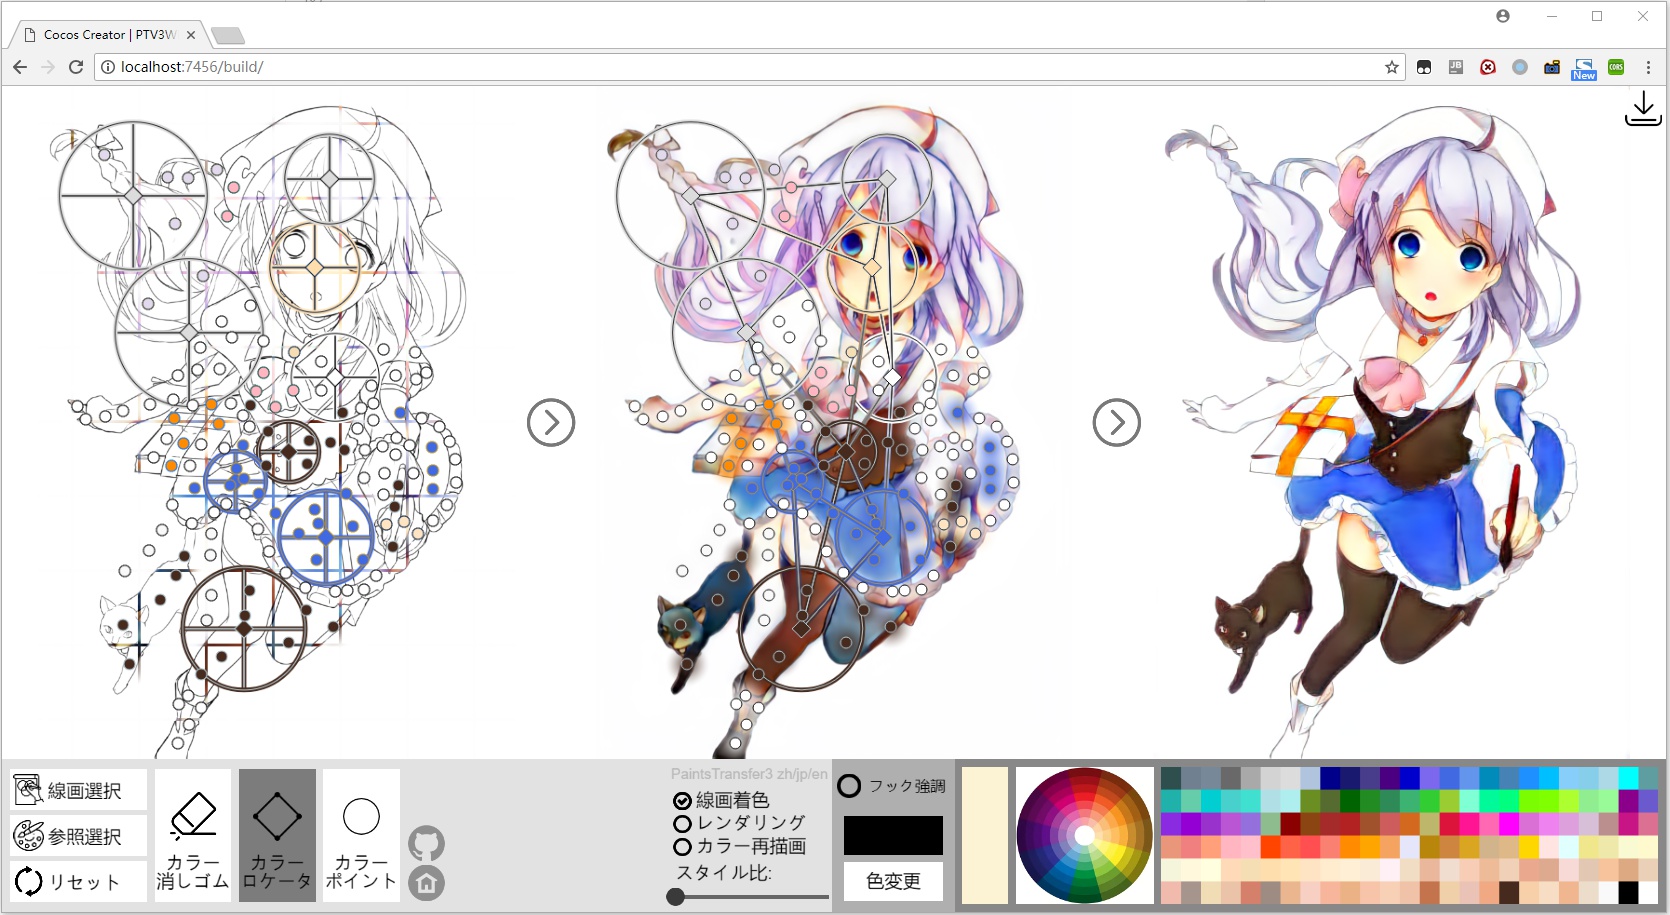
First of all, you just upload this sketch to the APP and click one of the right arrows to get the automatic result, like this:
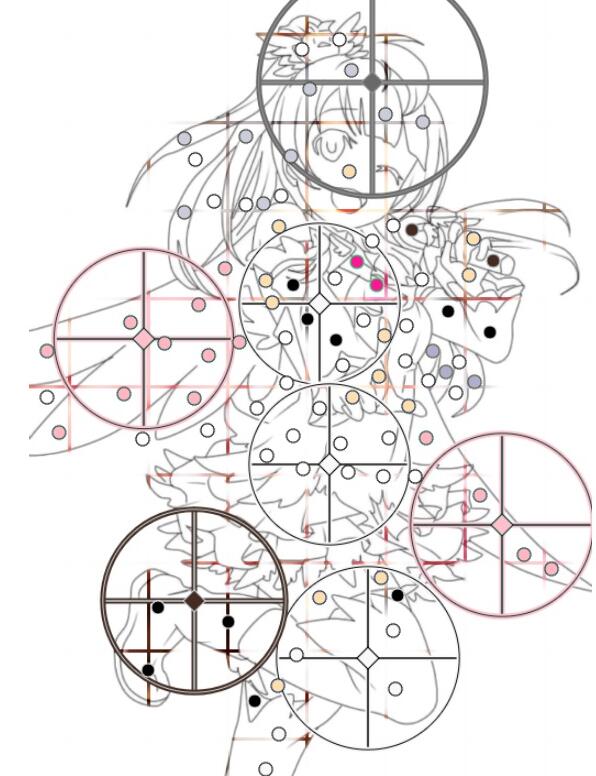
Then, you may change the overall color. In my case, I use 7 color anchors, like this:
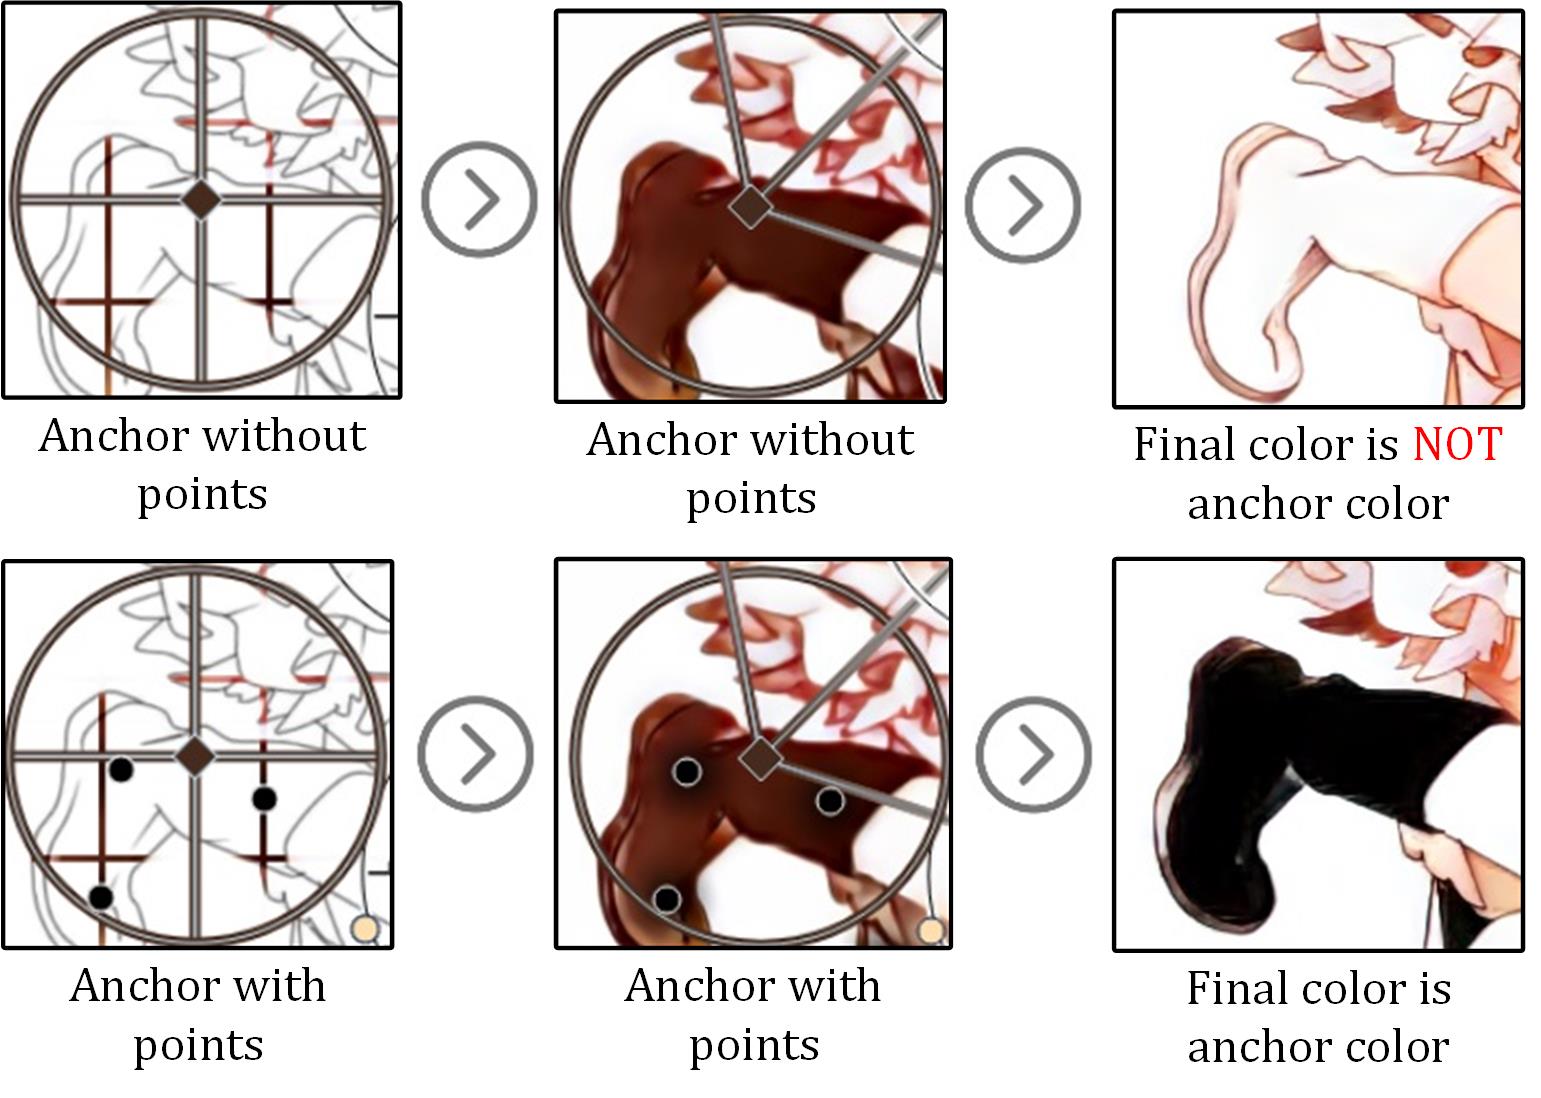
Then, you see that color anchors will NOT directly influence the final color. We only use color anchor to suggest the neural network to create a color atomosphere. In the image above, I put two pink color anchors on the wings and one color anchor on the shose, but these objects are still white in final results. Here is an example:
Then, we come to the important step: We need to make sure of these color. We need to tell the neural network what we really need.
First of all, we make sure of the pink wings:
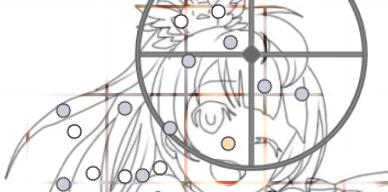
Is it easy? We only add some accurate pink points, and this will tell the AI that you need a pink color block. Then we continue with the face and hair:
Still, it is very easy. We add gray points on hair, and white points on backgrounds. Then, we continue with the skirt:
OK. Still very easy, just put white color on the skirt. This is important because if you do not do that, the AI will not know you need a white skirt. You need to use these points to tell the AI that "you are right", otherwise the AI will be confused and it will hesitate to use these colors.
OK. The shose and leg color are checked. Then we add color to the skin:
And we make some final decoration and get this:
As you can see, this canvas seems very complex, but it is very easy to create if you can follow these steps.
And here is the result:
Another similar result in the same way:
NOTICE!! This feature is NOT stable currently !!
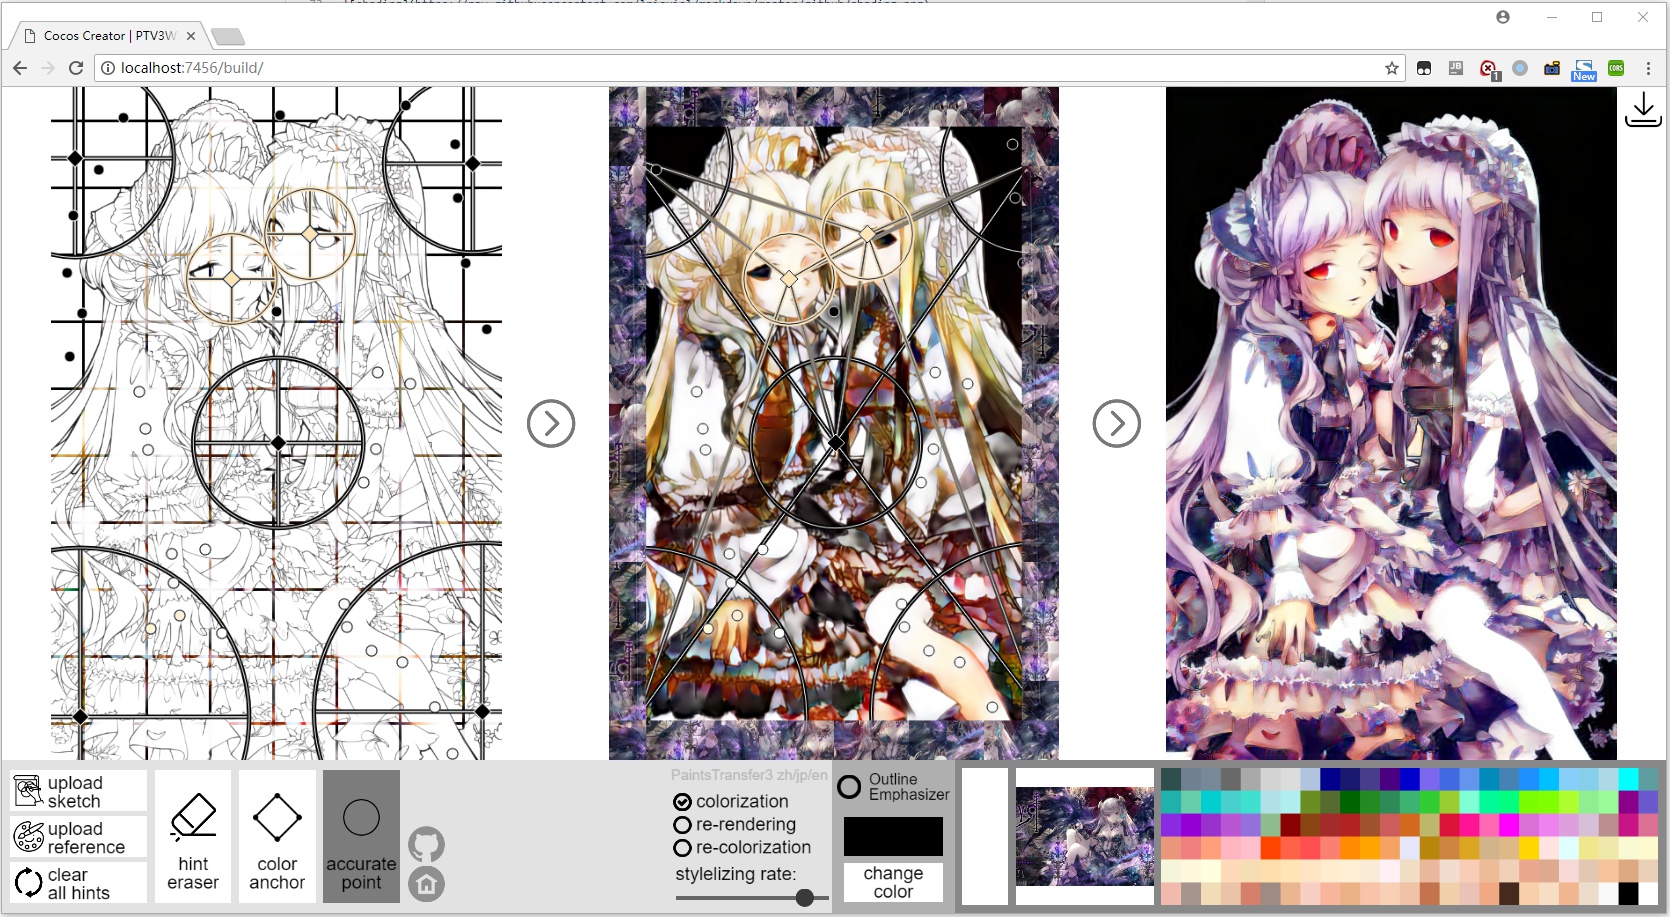
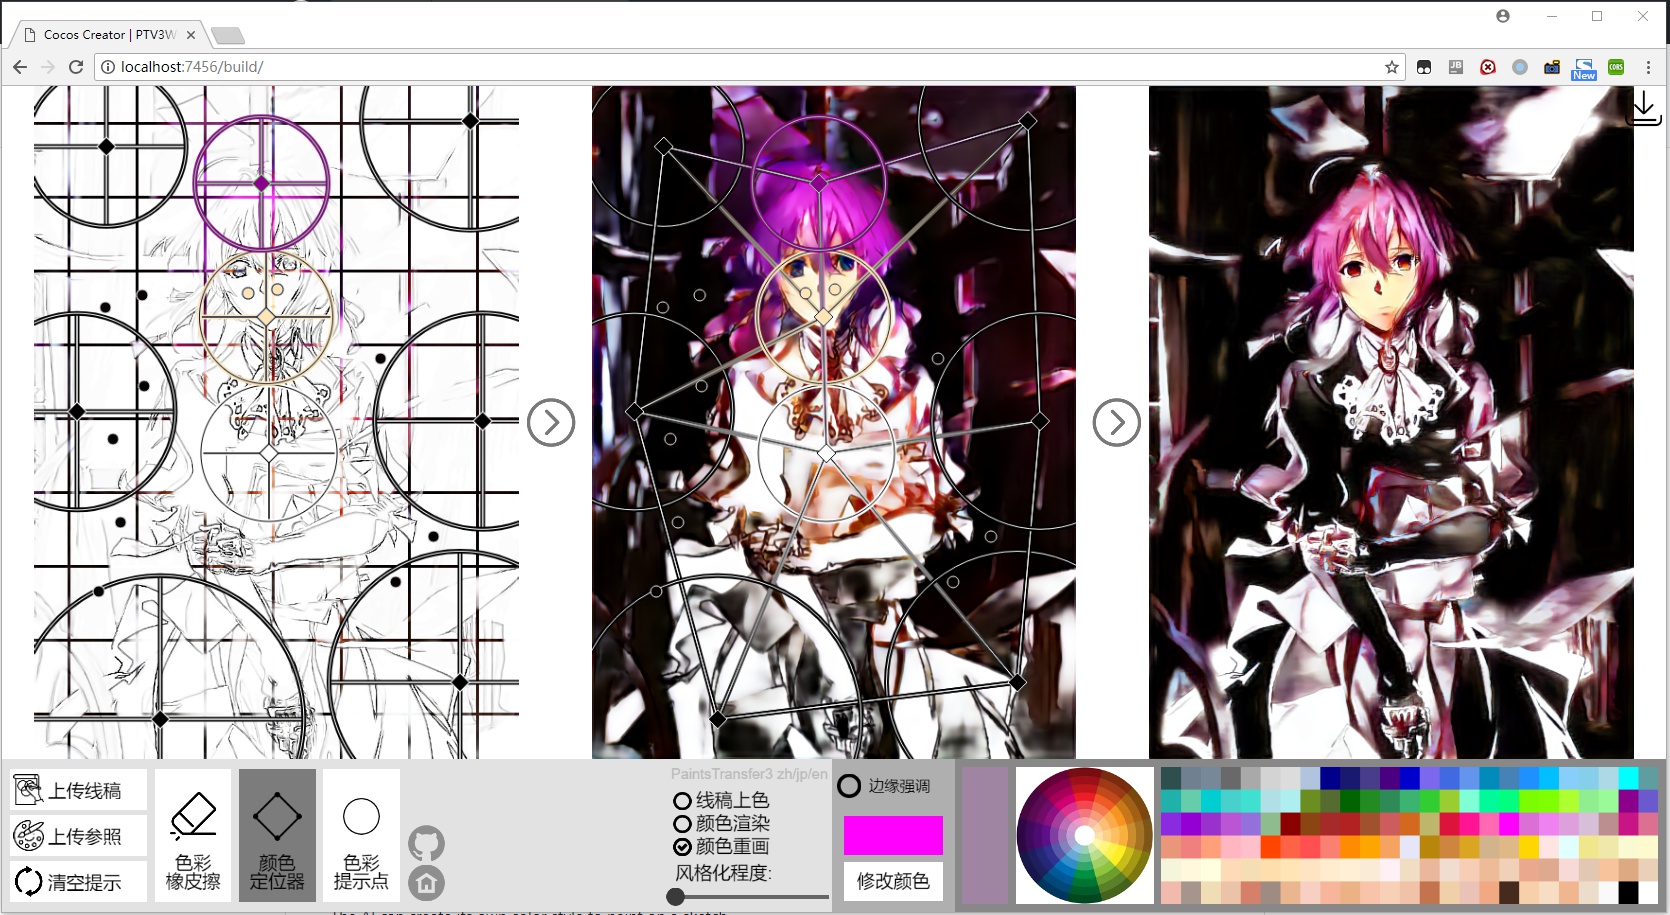
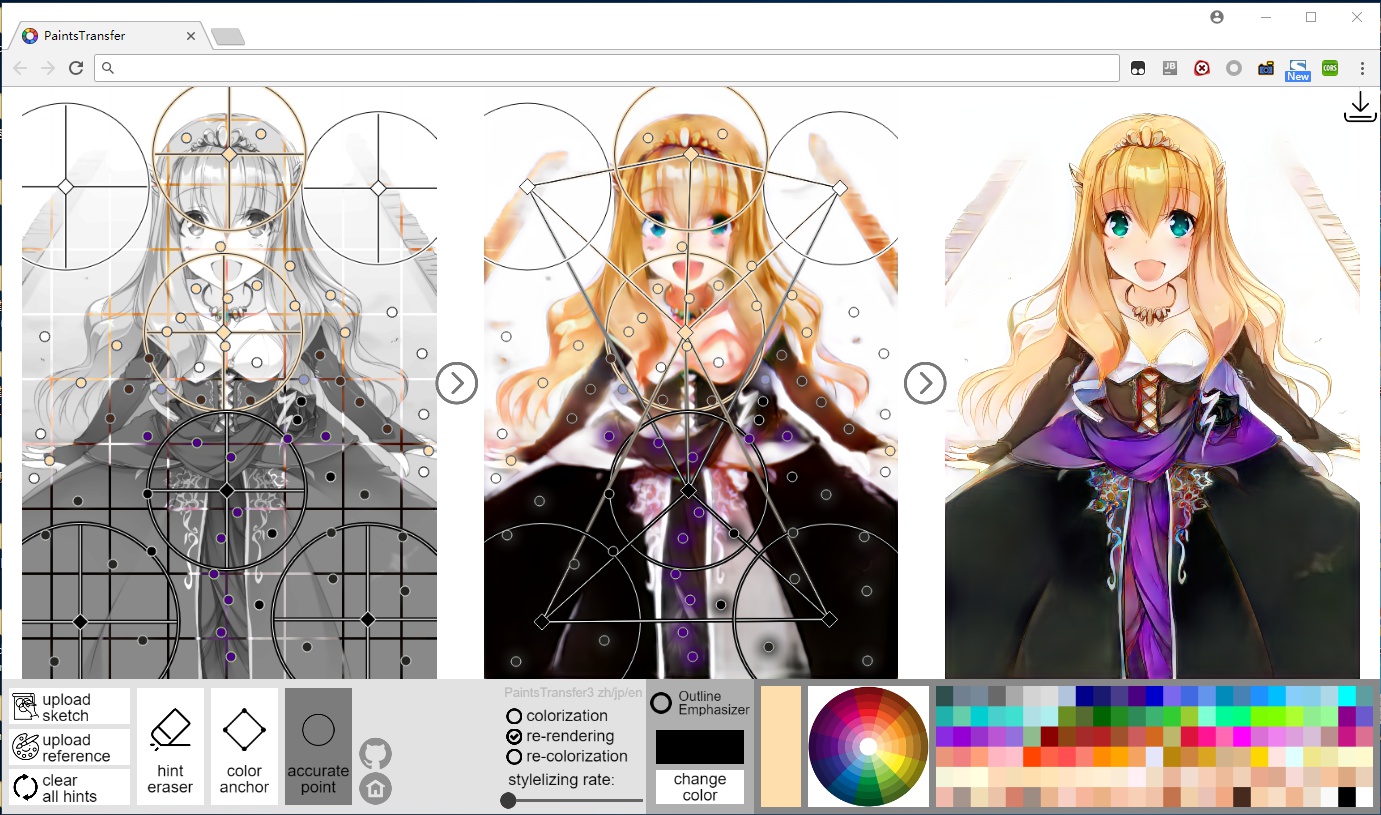
If you upload a finished painting and shift to the re-colorization mode, the software will give you a sketch extracted from the painting and it will paint on the new sketch again, obying your hints.
Here is an example:
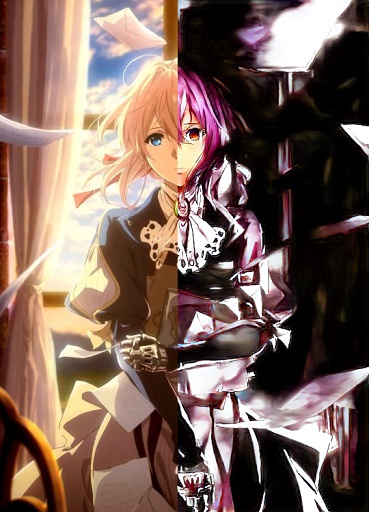
My 《Deep Violet Fantasy》, a result of Re-Colorization Mode in PaintsTransferV3. Original Image is from Here.
Here is how I create it:
Some other examples:
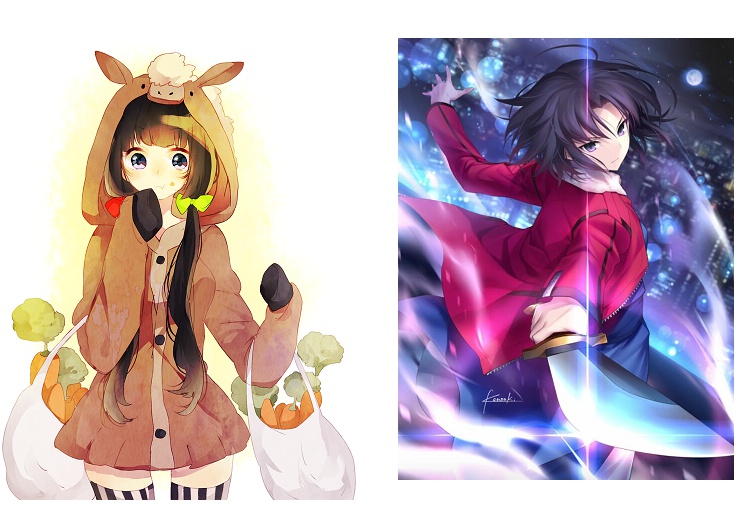
Origins:
Results:
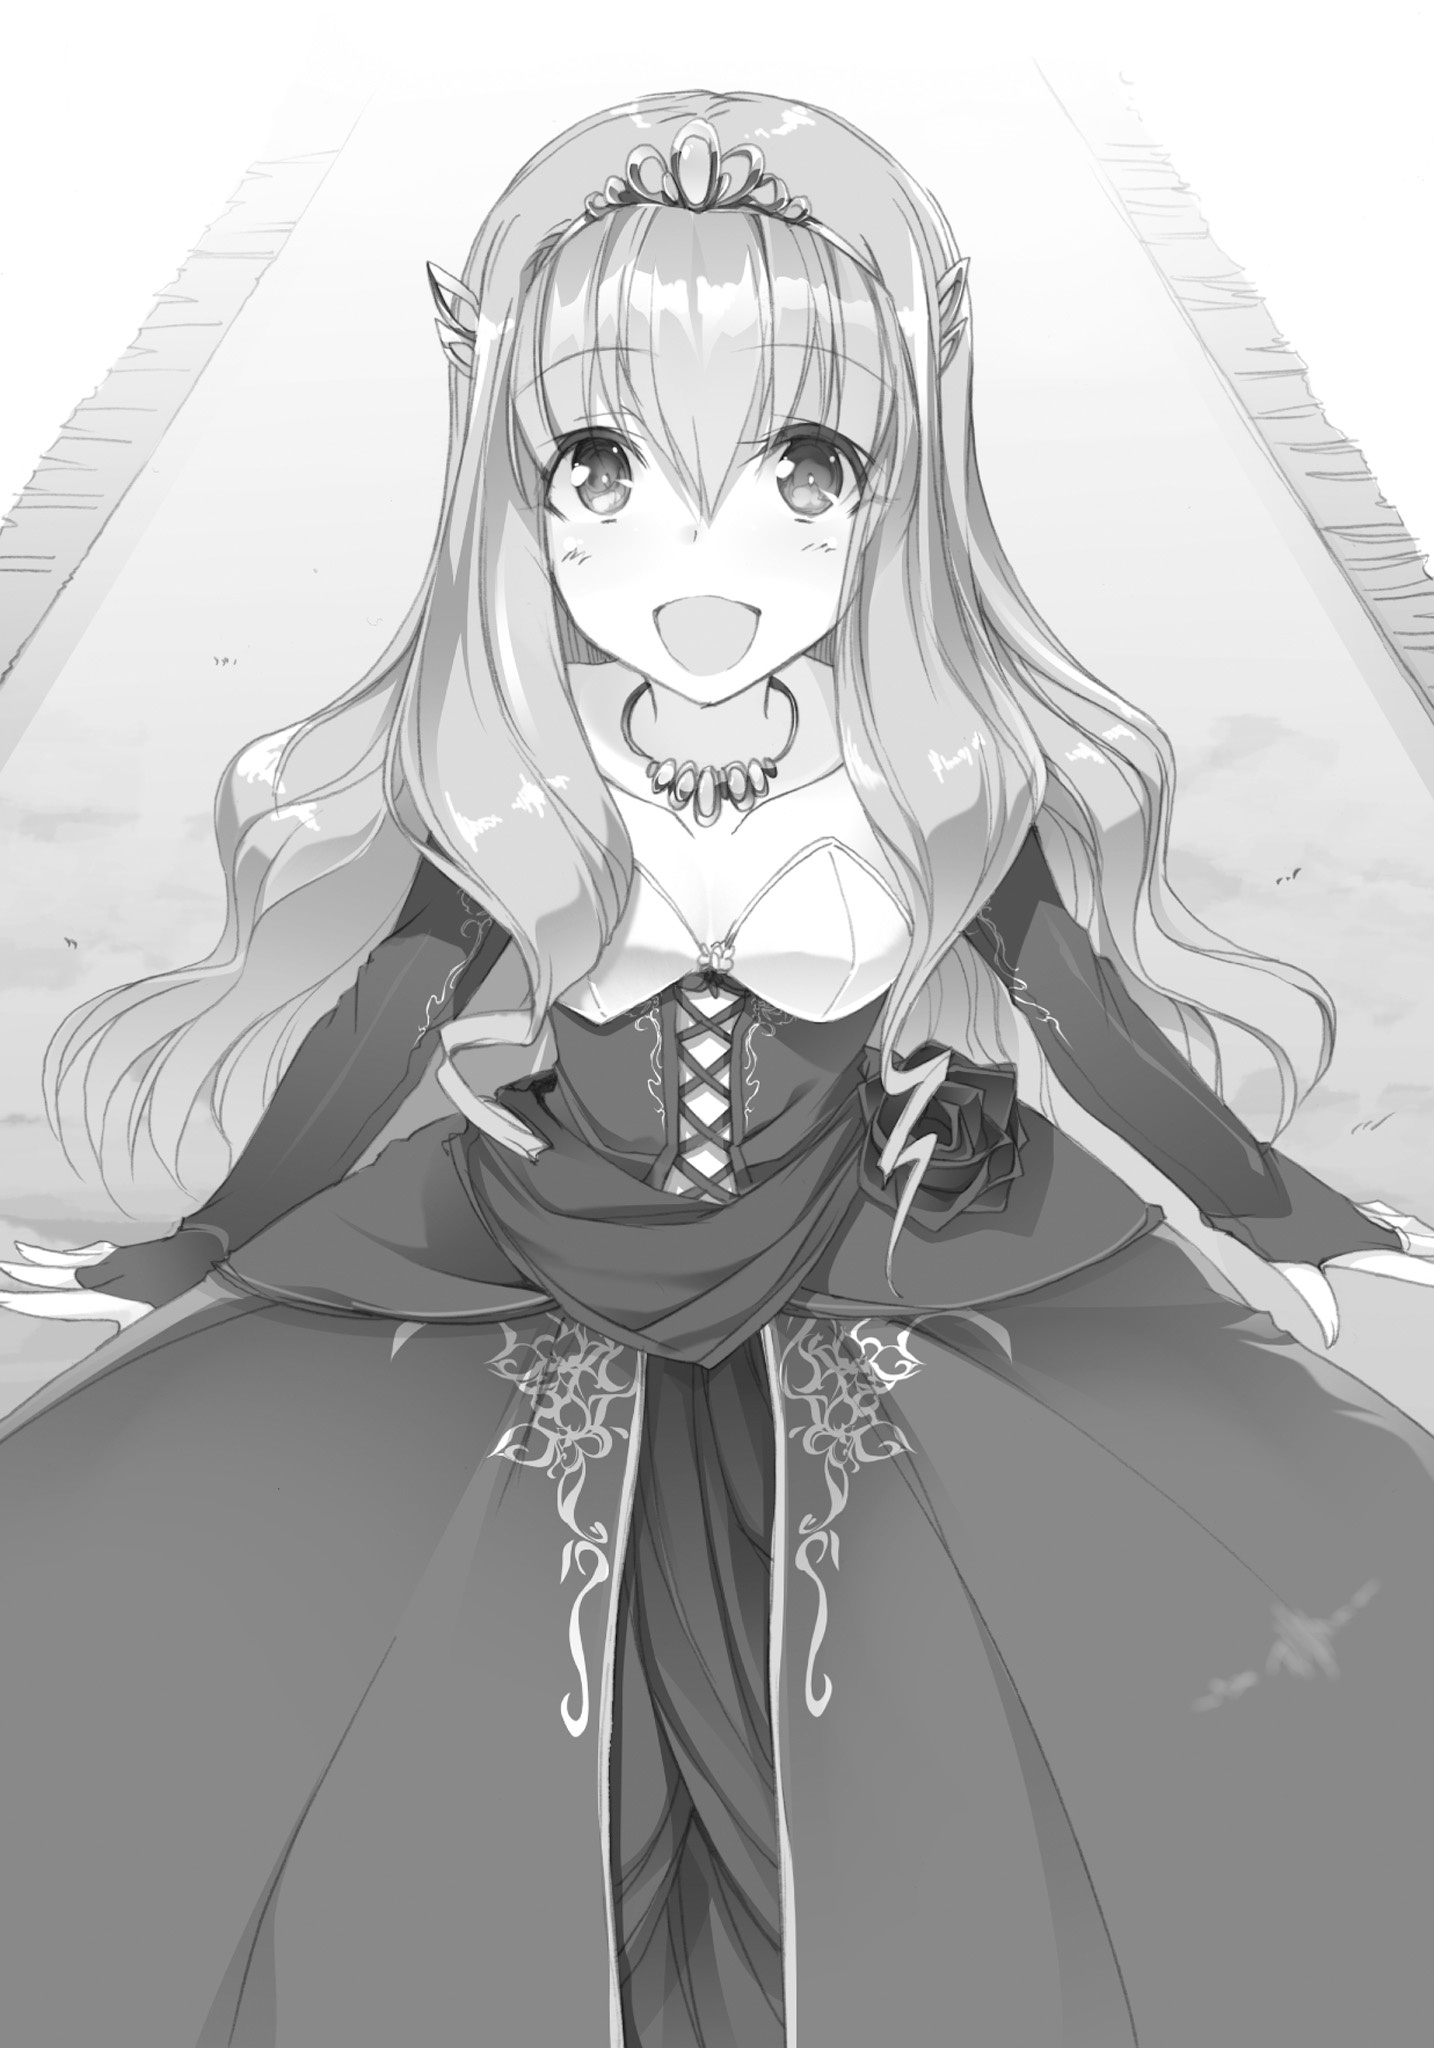
Sometimes your sketch may not combines of lines, or the sketch itself is a black-and-white illustration.
Then you may need this mode. For example, this sketch:
And the results:
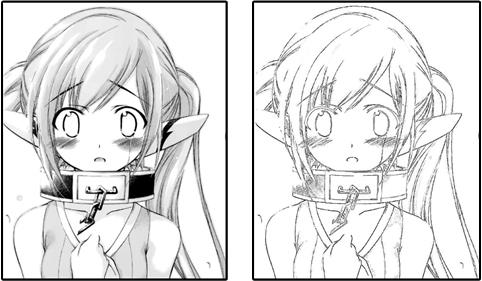
Sometimes your sketch may not combines of lines, and then you can use Re-Colorization Mode option to get the pure sketch.
NOTICE!! This feature is NOT stable currently !!
You can create some special texture like:
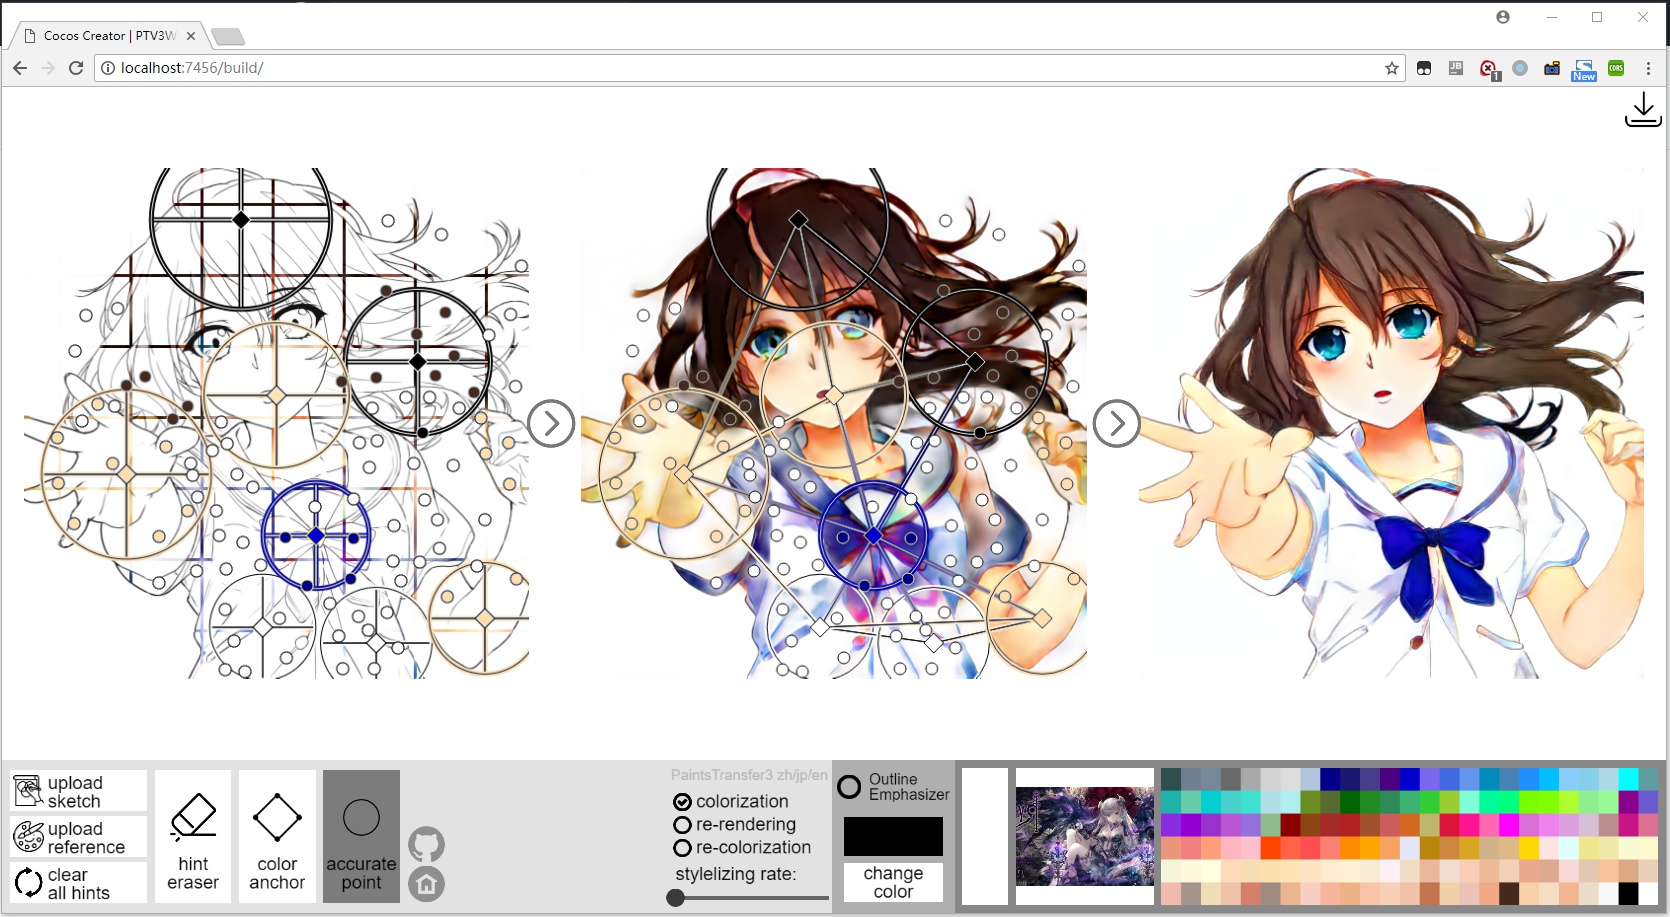
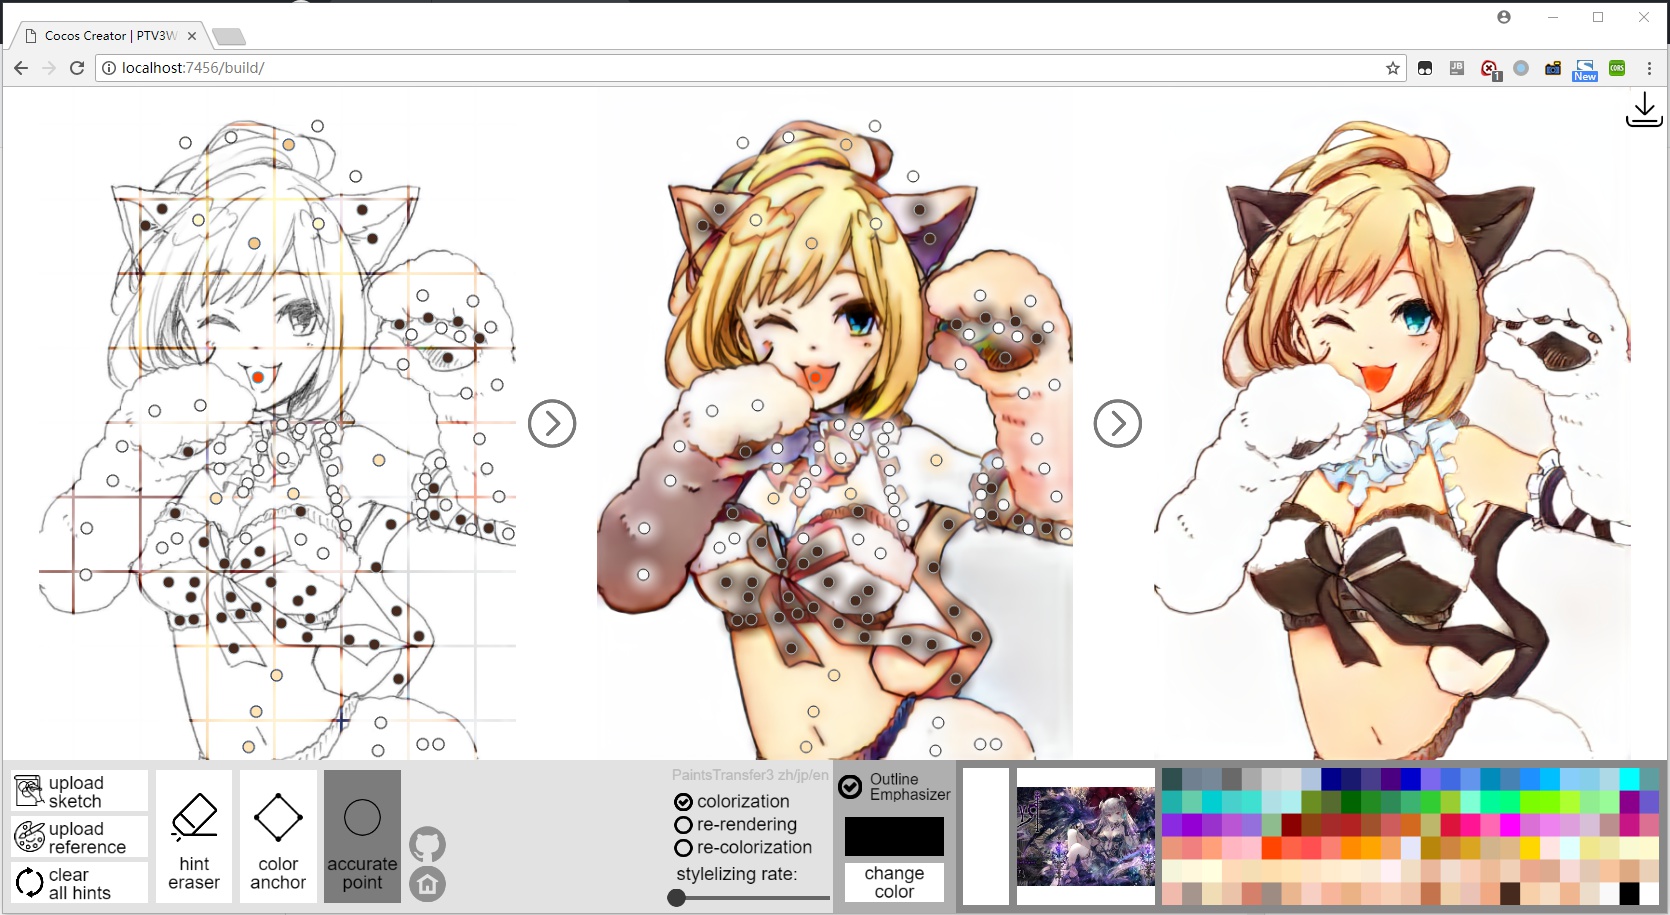
Our new engine can hold as much as possible hints, without causing disordering or blurring.
Here is some example when there are LOTS of user hints:
In many cases, you may get a not very good result, with disordered color or ugly compositions.
But keep in mind that you should not give up this painting!
In our study, we find that more than 70% bad paintings have potential to become fine arts, and they just need your extra 5 minutes to put some hints!!
For example, this painting looks not good at all, when we finish the color anchor:
But if you can spend your extra minutes, making some extra efforts, things may be a bit better:
One of the main advantage of PaintsTransfer is: no matter how much hint points you put, the results will never be blured because of this.
Then you may ask: OMG! Then I need to add sooooooo many points? It is so difficult and not practical at all!!
In fact, though there are many points, most of these points are just of same color. You only need to select one color and then click, click, click, click, click, click.... It is very easy! If you have actually tried, you will find that it do not require any art knowledge.
NOTICE!! This feature is NOT stable currently !!
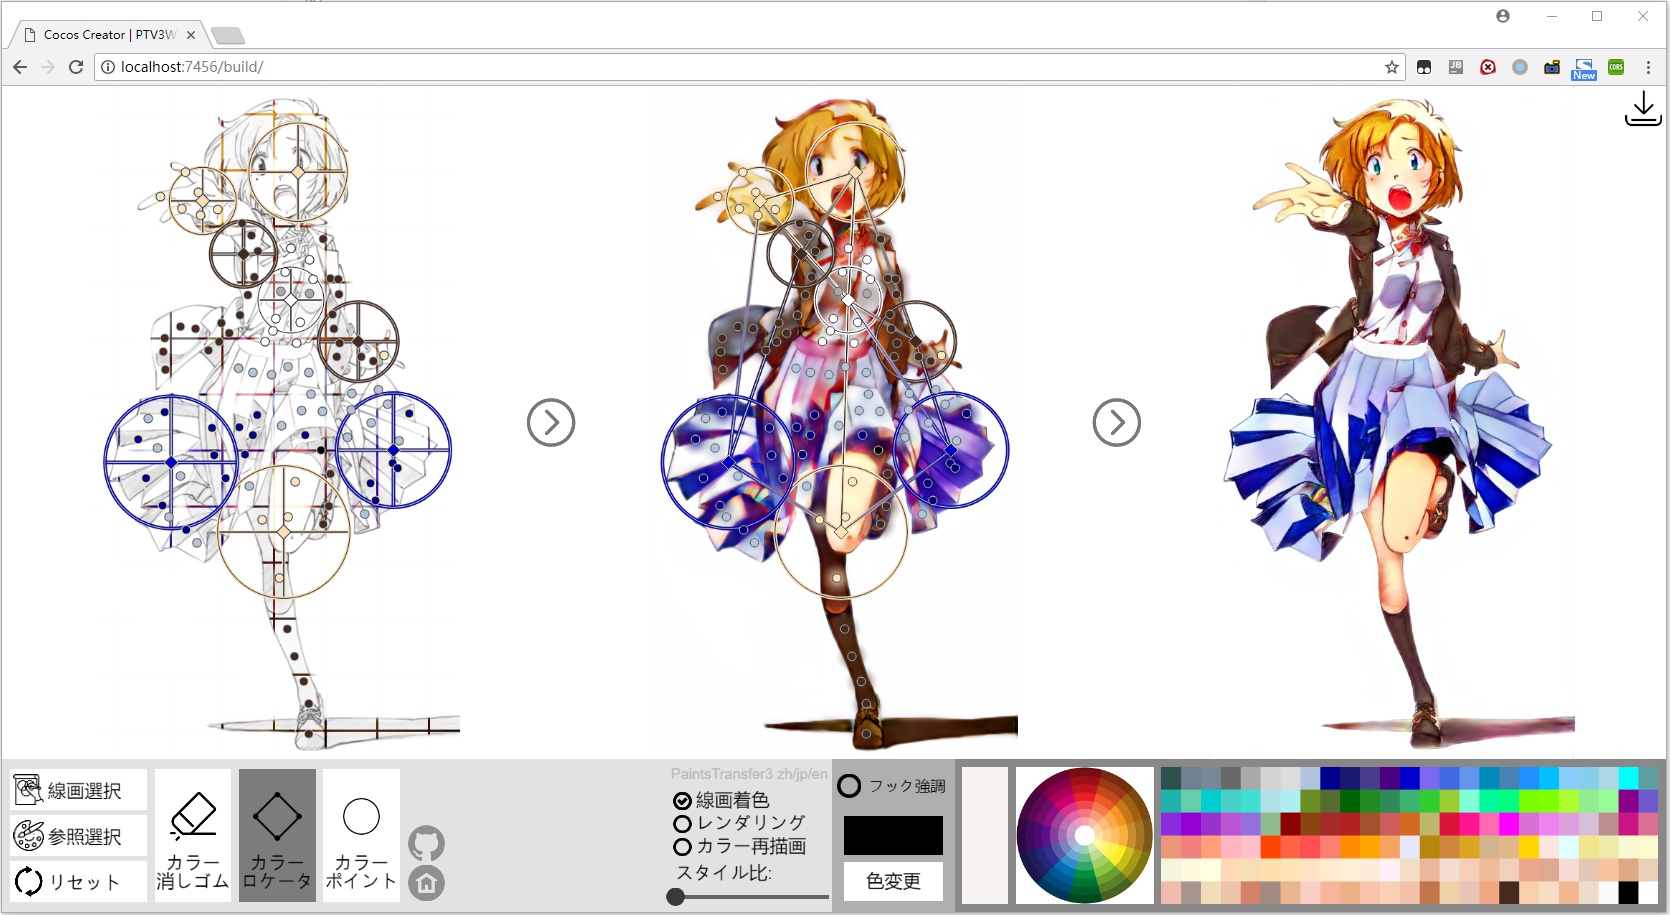
Lazy users are those who do not want to input any instructions. For those users, we updated our core models so as to make the results reasonable when there are no user hints.
All below results are achieved without human hints, or with minor detailed hints:
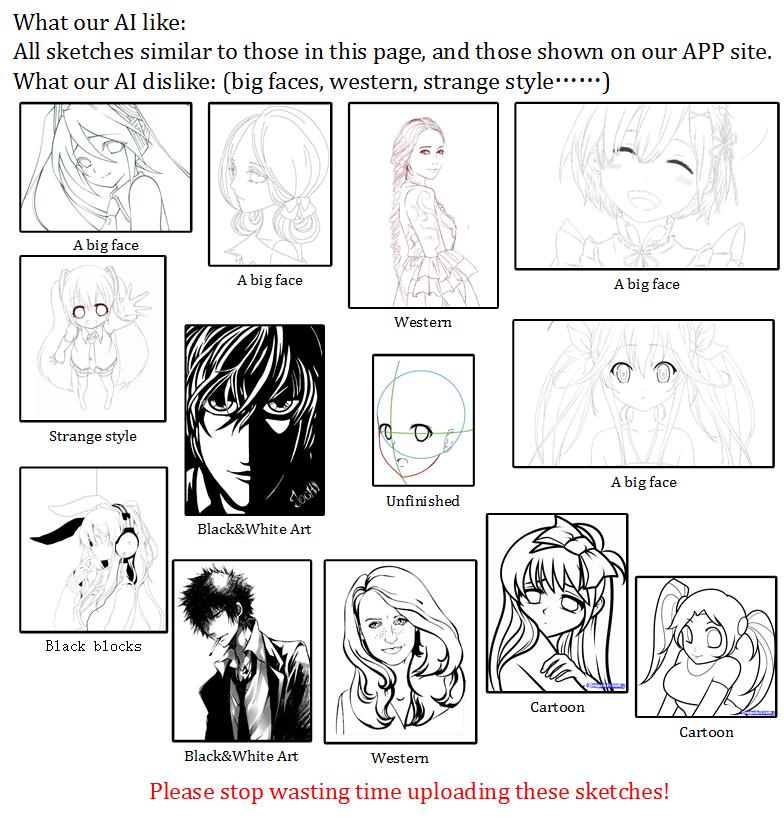
Our AI has its own hobbies. You can get good results if the AI like your sketches. But if our AI dislike your sketch, you would better go to paintschainer (http://paintschainer.preferred.tech).
Here is a list:
Currently, our model is designed to colorize sketch, not manga.
In the near future, we will NOT work on Manga Colorization because our friend PaintsChainer is working on it, and we do not want to see the research community of Manga Colorization be under great pressure.
If you are interested in Manga Colorization, just do your research!
Currently, the baseline of sketch colorization is very high (PaintsChainerV1/V2/V3+PaintsTransferV2/V3), but still, there remains great improvement space.
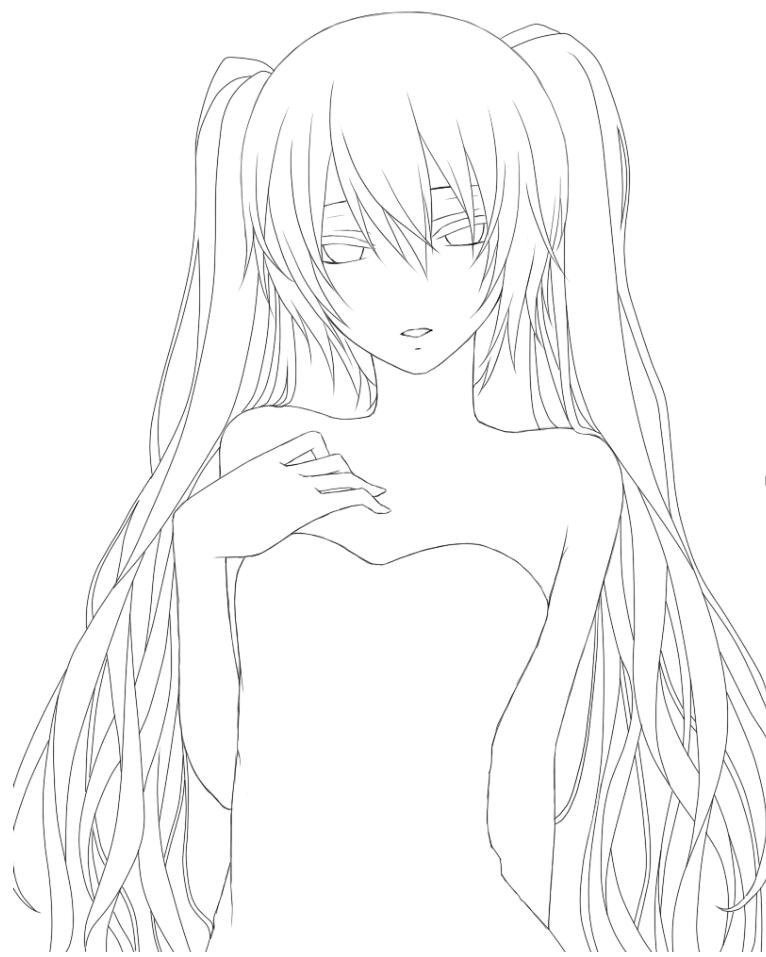
For example, if someone can train a model to colorize this:
Then we will appreciate it very much, because it remains a BIG problem how we can improve sketch itself. BTW, our result is here:
Or we want to see a method to do image to image translation like this:
How to get high quality paintings from line sketches in PaintsTransfer (for non-artist)
2018.4.28 - PaintsTransfer-Euclid released.
2018.4.16 - We changed our time schedule:
1. PaintsTransfer V3 will have an online demo, and V2 demo will not be avaliable online anymore.
2. PaintsTransfer V3 can do all what V2 can do (in theory).
3. PaintsTransfer V3 will be renamed into PaintsTransfer-Euclid V1.0.
4. PaintsTransfer-Euclid will be released at 2018.04.28 23:59 CST.
2018.4.13 - A good news: PaintsTransfer V3 is decided to be released at 2018.04.28-2018.04.30. Have a magical day!
2018.4.13 - A good news: We finally get the server. PaintsTransfer V2 will be avaliable again before 2018.04.13.
2018.4.6 - A bad news: We have developed paintstransfer V3, but it is defeated by V2. Theoretically, the deeper V3 should be better than V2 but our user studies show that V2 is still the best painter.
The consequence is:
50% possibility: We will combine some good part of unfinished V3 into V2 and release V2.5.
                 And V3 will not be released.
50% possibility: We will improve V3 and release V3.
2018.2.12 - PaintsTransfer 3.0 will be released in 2018.04.25-2018.05.15. We will use a totally non-residual very deep model.
2018.2.3 - We added the super accurate pencil, and the original pencil tool is replaced by brush. The problem of over colorization in non-reference mode is fixed when you use the super accurate pencil, and the color spreading of super accurate pencil is limited to a relative small degree.
2018.01.15 - PaintsTransfer V2.1 released.
2017.12.29 - PaintsTransfer V2.0 released.
2017.10.23 - PaintsTransfer released.
you need a python 3.5/3.6 GPU environment with cuda.
pip install tensorflow_gpu
pip install keras
pip install bottle
pip install gevent
pip install h5py
pip install opencv-python
pip install scikit-image
git clone https://github.com/lllyasviel/style2paints.git
Then you need to download all models from our Google Drive and put these into 'server' folder.
cd style2paints/server
python server.py
Currently, we reserve all rights about all these models.
We use Google Drive to upload models:
https://drive.google.com/open?id=1fWi4wmNj-xr-nCzuWMsN2rcm0249_Aem
Current model list of the 6 neural networks:
baby.net
head.net
neck.net
tail.net
reader.net
girder.net
We do not use additional training data.
Danbooru2017 is highly recommended.
-
The recommended training dataset of illustrations is the 400k images from nico-opendata and Danbooru2017.
-
The recommended training sketches is from sketchKeras.
QQ Group ID: 184467946
Thanks a lot to TaiZan. This project could not be achieved without his great help.


