-
Notifications
You must be signed in to change notification settings - Fork 5
IDEs for MicroPython
There are several IDEs (Integrated Development Environments) available for MicroPython programming, each with its own unique features and benefits. The most popular IDEs for MicroPython programming are:
-
Visual Studio Code is a popular and versatile IDE that supports multiple programming languages, including MicroPython. It provides many useful features such as syntax highlighting, code completion, and debugging. It runs on Windows, macOS, and Linux.
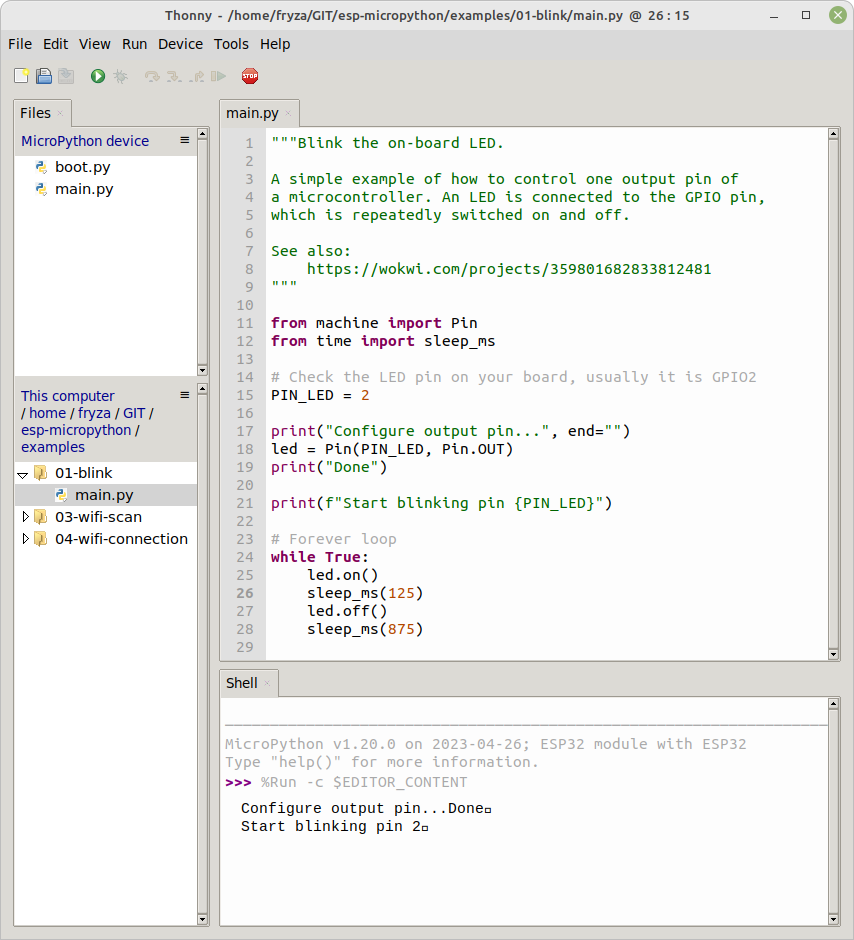
Thonny is a multiplatform IDE for MicroPython programming beginners. It has a simple and user-friendly interface and includes a MicroPython REPL (Read-Eval-Print Loop) that allows you to interact with the MicroPython interpreter and test your code in real-time.
-
Download and install Thonny IDE from webpage or directly in terminal (in Linux-based operating systems):
sudo apt install thonny
-
Run the Thonny and select on-board interpreter. Go to Run > Select interpreter... and select
ESP32orESP8266. Test the board in Shell. -
Copy/paste the example blink code and run the application by Run > Run current script F5.

NOTE: When a program is running at an interactive console, pressing
Ctrl+Cwill raise a `KeyboardInterrupt`` exception on the main thread to stop the script. If it does not respond, press the onboard reset button.
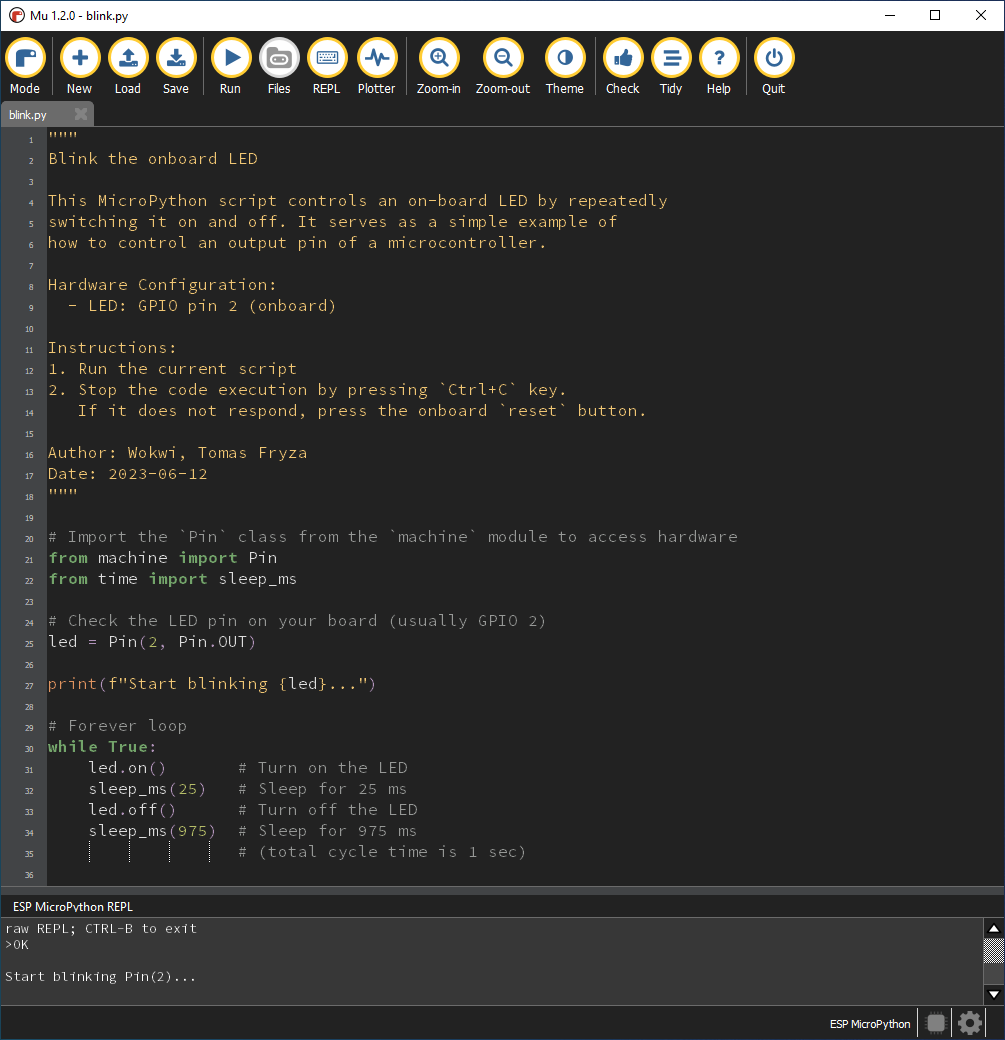
Mu is another multiplatform IDE for MicroPython programming that is designed for beginners. It has a built-in MicroPython REPL and includes a tool for flashing firmware onto your board. It runs on Windows, macOS, and Linux.
-
Download and install Mu for Windows, Mac OSX or Linux.
-
Launch the application, select
ESP Micropythonmode, copy/paste the example blink code, save the script on your local folder, connect the ESP32 board, and run the application.
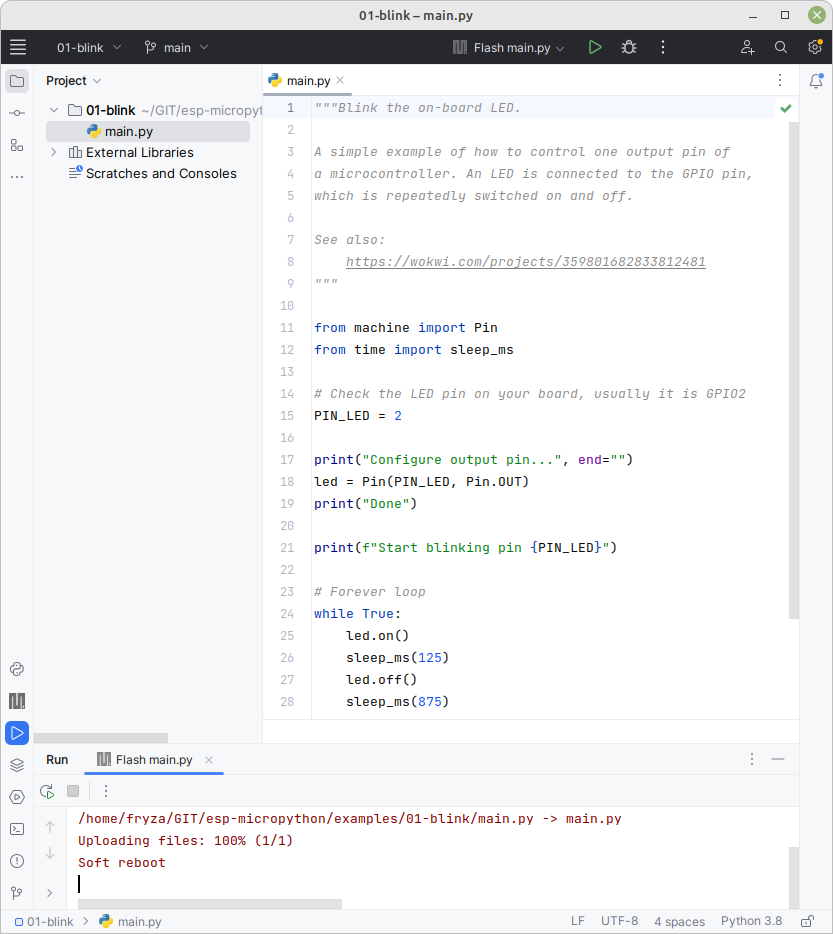
PyCharm is a powerful IDE that provides advanced features such as code completion, debugging, and version control integration. PyCharm also includes a MicroPython debugger that allows you to step through your code and set breakpoints. PyCharm is a commercial product, but has a Community Edition free version. It runs on Windows, macOS, and Linux and it can be especially helpful for larger and more complex Python/MicroPython projects.
-
Download and install Community edition PyCharm.
-
Run the PyCharm and install MicroPython plugin for PyCharm. Go to File > Settings... > Plugins > Marketplace, search for
MicroPythonand install it. Restart the IDE. -
Create a new project, name and locate it wherever you want. Connect your ESP32/ESP8266 board vie USB.
-
Go to File > Settings... > Languages & Frameworks > MicroPython and:
- check
Enable MicroPython support - select
ESP8266device type (it works also for ESP32) - set
Device pathfor your board, such as/dev/ttyUSB0in Linux - click on
OKbutton
Test REPL in Tools > MicroPython > MicroPython REPL Alt+Shift+R. Press on-board reset button if necesary.
Note: Sometimes, there is a useful function to clear all files store in device's memory. Select Tools > MicroPython > Remove All Files from MicroPython Device.
- check
-
Add a file to the project. Select File > New... > Python file and name it
main.py. The missing packages will be installed to work with the ESP32/8266. Copy/paste the example blink code tomain.pyfile. -
Upload a program. Right-click the
main.pyfile in the project browser on the left side and select Run 'Flash main.py'.
Note: Check MicroPython Tutorial for other simple examples and see description of machine module.
-
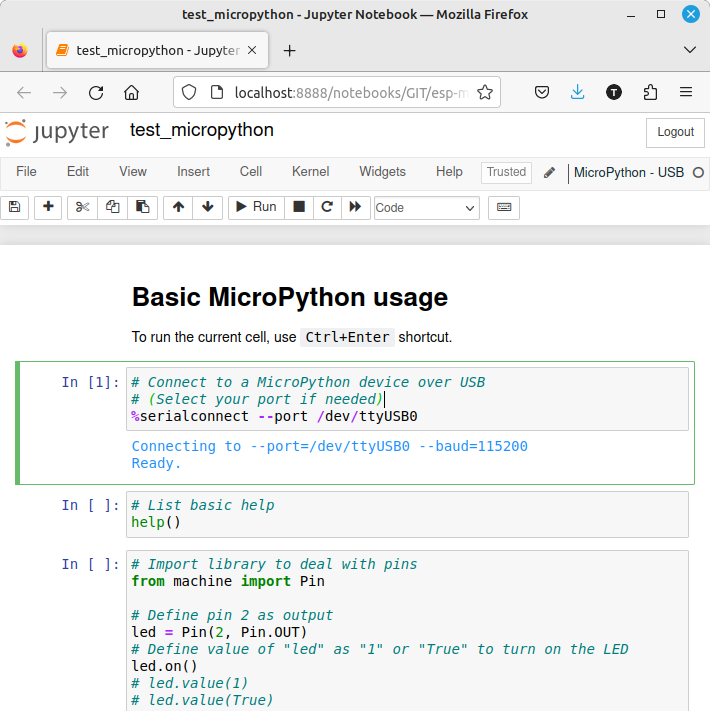
Open Terminal and install Jupyter notebook and/or lab:
pip install notebook
pip install jupyterlab
-
Install MicroPython kernel:
pip install jupyter_micropython_kernel
python3 -m jupyter_micropython_kernel.install
-
Run Jupyter notebook and open example:
jupyter-notebook
